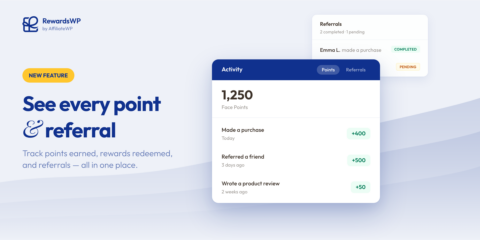
Your Customers Have Points. Now They Have Proof.
Rewards Activity gives your customers a full points history and real-time referral tracking, right inside the rewards widget. Available on all RewardsWP plans.
Continue Reading →
Rewards Activity gives your customers a full points history and real-time referral tracking, right inside the rewards widget. Available on all RewardsWP plans.
Continue Reading →
Do you need to accept credit card payments on your WordPress website?
Don’t worry, it couldn’t be easier, and we’re going to show you exactly how to do it.
Start accepting credit card payments on WordPress in just a few simple steps.
Accepting online credit card payments is about more than just software.
It’s a critical part of your business process where you turn potential customers into actual paying customers, and you can’t afford to get it wrong. As any salesperson would tell you, it’s often the last small step of a customer’s journey, but it can be the most difficult.

That’s because customers go through a complicated purchase decision before they commit to buying your product. One small change in the equation (not seeing their preferred credit card payment options for example), and they’ve abandoned their cart, never to be seen again.
To get people to the checkout page, you’ve put in an enormous amount of work, so it’s important your payment process doesn’t blow it.
So, what should you be looking to achieve when you accept debit card and credit card payments on WordPress?
So, now you know what you’re looking to achieve, but how can you do it?
Let’s look at the easiest way to immediately start accepting credit card payments on WordPress.
Here’s what we’re going to cover:
Once you’ve completed these steps, you’ll be able to immediately start accepting credit card payments on your WordPress website or e-commerce store.
It should be simple to configure, but if you have any problems, then check out the documentation for a quick tutorial.
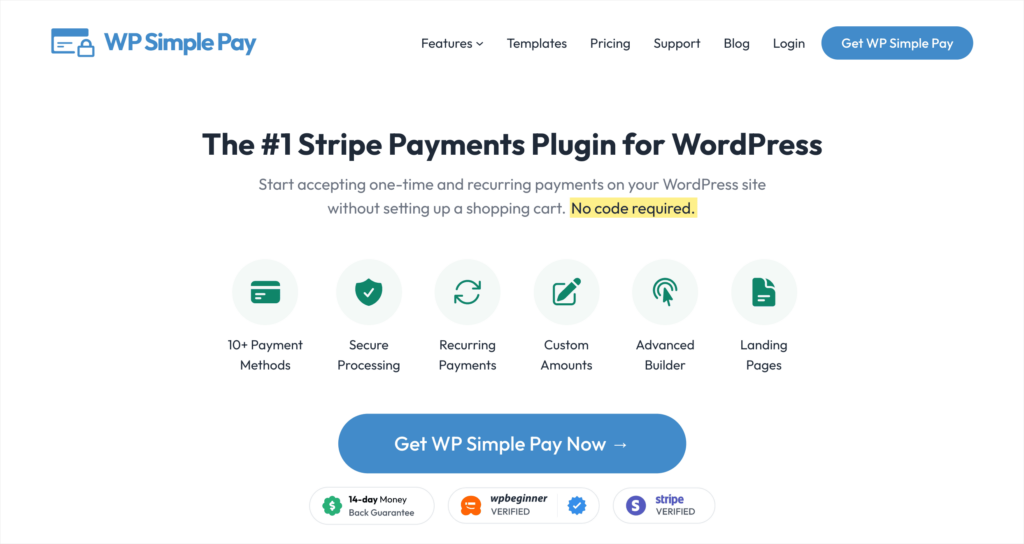
WP Simple Pay is the best payment plugin for WordPress.
Why is this?
Because it ticks all the boxes we mentioned in the important things to remember section.
You don’t need to invest in an e-commerce platform, build a shopping cart, or create a complicated checkout process. Simply add a Stripe button to your site and start accepting payments directly from people’s bank accounts.
We’re going to show you how to accept online credit card payments with the free WP Simple Pay Lite version. It’s a great free WordPress plugin, but for the more advanced features (like buy now, pay later, and subscription payments) it’s well worth upgrading to WP Simple Pay Pro.
Simply head over to your WordPress dashboard and select Plugins > Add New from the left-hand sidebar.
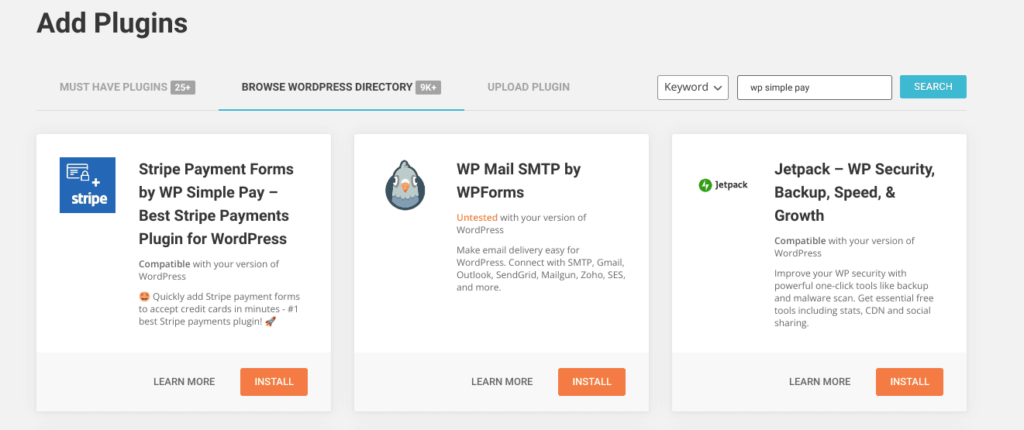
Use the search bar to search for WP Simple Pay.
Click Install and then Activate to open up the WP Simple Pay setup wizard.
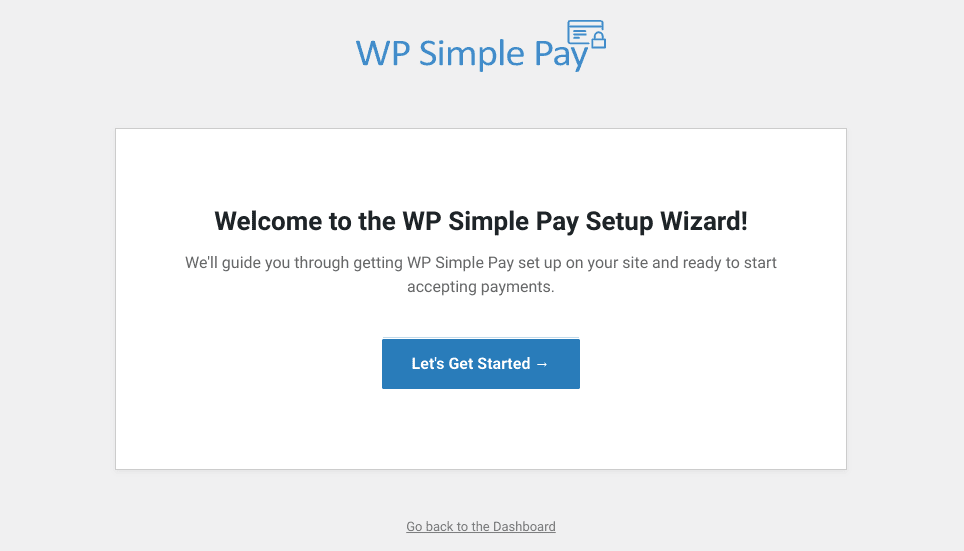
Start by clicking Let’s Get Started to begin the Setup Wizard.
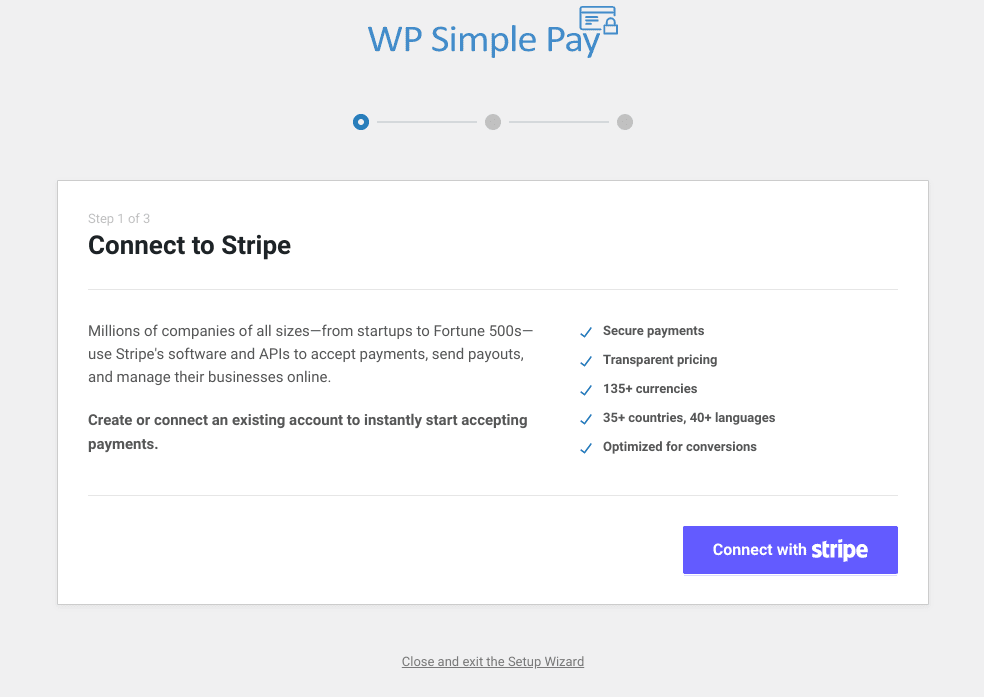
WP Simple Pay uses Stripe as its WordPress payment gateway, so the first step is to link your Stripe account. If you don’t have one yet, then the setup wizard will walk you through the process of setting one up.
Hit the Connect with Stripe button.
If you have an existing Stripe account, enter the email linked to that account, if not, then don’t worry. Simply enter the email you would like to open an account on and hit Continue.
For those people with an existing Stripe account, just enter your password to sync your account. Then follow the last steps on the WP Simple Pay setup wizard to complete.
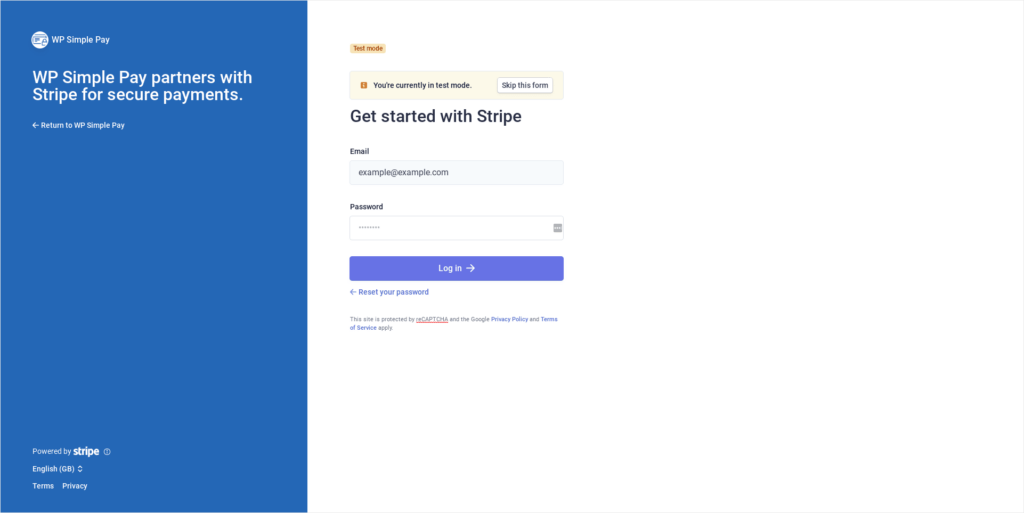
If you don’t already have a Stripe account, then you’ll be prompted to set a new password, before hitting Continue.
Enter your mobile number to authenticate the request, and then put the security code into the box.
You’ll then be prompted to fill in basic information about your business and follow the steps to complete your Stripe account.
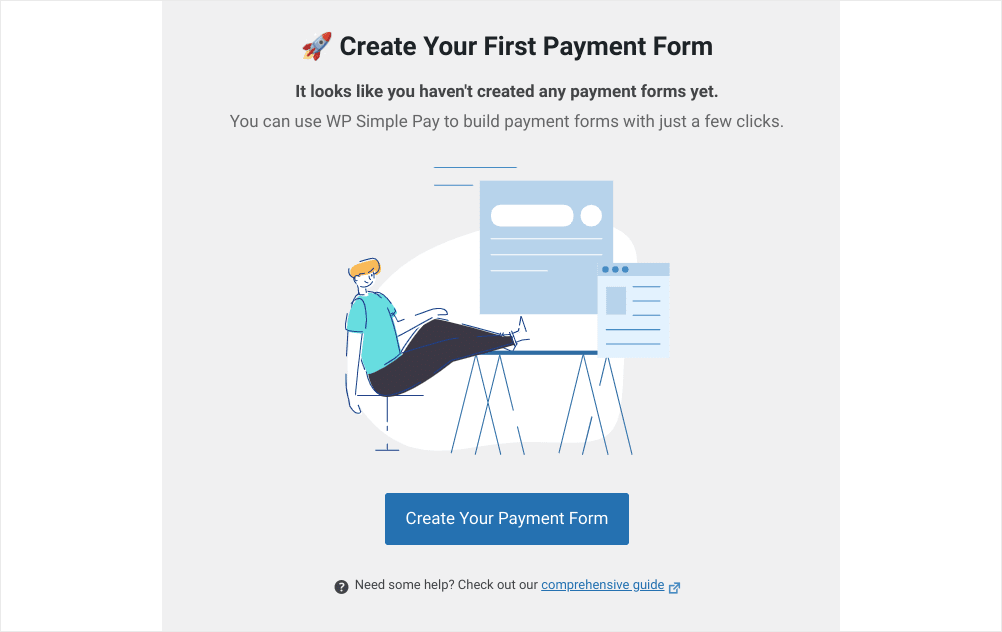
Once you’ve completed the setup wizard, you’ll see an option to create your first payment form.
At this point, you might also want to change your notifications settings by going to WP Simple Pay > Settings > Emails.
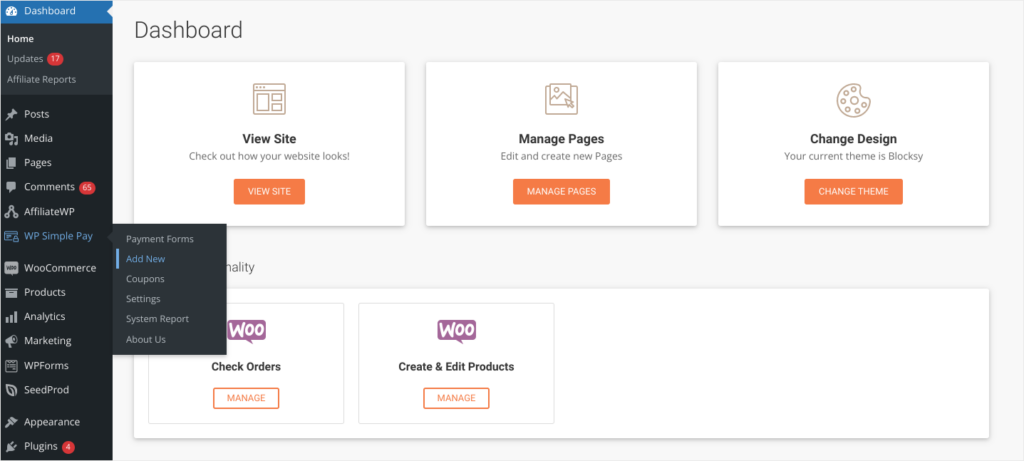
To set up your first payment form click Create Your Payment Form in the setup wizard or head to Payment Forms in the WP Simple Pay tab in the left-hand sidebar of your WordPress dashboard.
You’ll be presented with a huge selection of templates, but for now, we’re going to choose the simple Payment Form template.
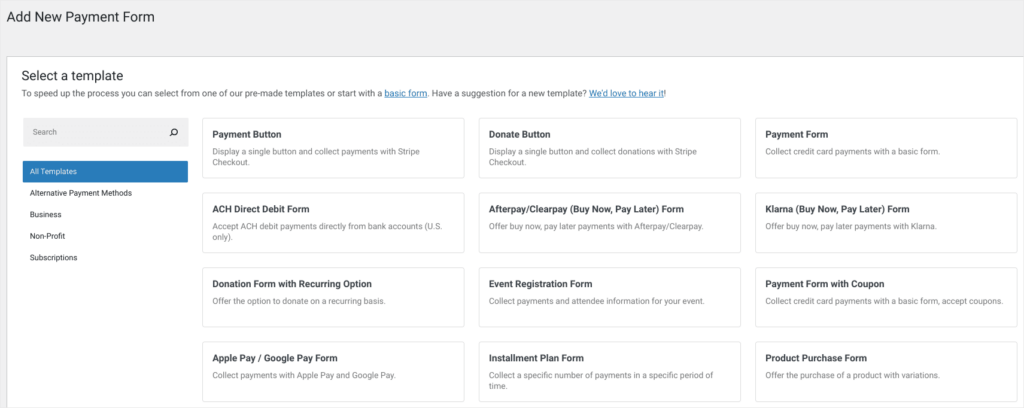
Enter your form name, description, what type of form you would like to create, and where you want to send customers to once they’ve completed their purchase from the General tab. Then select the Payment tab to enter pricing details.
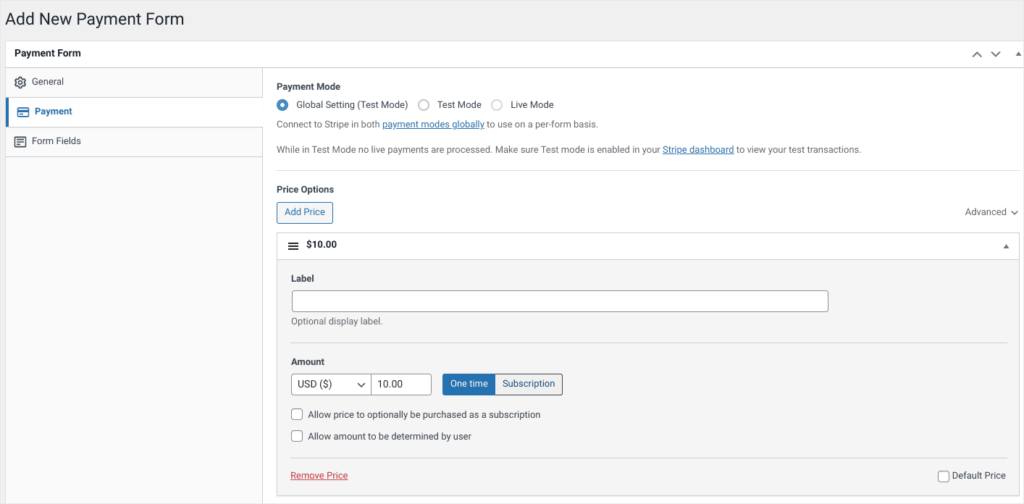
You can then click the Form tab to edit the forms fields and make sure you collect all the information you need.
Whenever you want to take a look at what your form will look like, just click the Preview button in the publish box in the top-right corner. Once you’re happy with your payment form, then you simply hit Publish and it will go live on your chosen pages.
As soon as you hit Publish you’re ready to accept online payments on WordPress.
Note: By default, your WP Simple Pay account will start in test mode, which means it won’t be able to take live payments. This is ideal when you’re setting up, as it allows you to test everything out without making any errors. When you’re ready to take payments though, you’ll want to go to the Stripe tab in your WP Simple Pay settings and click Disabled next to the Test Mode option.
So, what if you already have a great WordPress form (WPForms is the perfect option if you’re looking to build high-converting forms), and you simply want to add a payment option to it?
WP Simple Pay has you covered here with Payment Buttons.
Select Add New from the WP Simple Pay menu and choose the Payment Button template.
Use the General, Payment, Form Fields, and Stripe Checkout tabs to customize your button and set payment options. Once you’re happy with your work, check how it looks by hitting the Preview button before publishing.
When published, a shortcode will be created, enabling you to place your Payment Button anywhere on your e-commerce website. This could be in a contact form, blog post (ideal for bloggers), or virtually anywhere.
Simply copy the shortcode and head to the page, post, or form where you’d like to place the button. In your page editor, search for a block titled shortcode, and paste the button shortcode into the block.
Your Payment Button is now ready to accept payments.
Notes: By default, your WP Simple Pay account will start in test mode, which means it won’t be able to take live payments. This is ideal when you’re setting up, as it allows you to test everything out without making any errors. Once you’re ready to take payments though, you’ll want to go to the Stripe tab in your WP Simple Pay settings and click Disabled next to the Test Mode option.
We also considered other payment gateways like PayPal payments and Authorize.net, but ultimately we went with WP Simple Pay for its ease of use, powerful Stripe add-ons, and great functionality.
Now that you can take credit and debit card payments on your WordPress site, you’ve opened up a huge new opportunity.
Affiliate marketing is one of the fastest ways to grow your online store.
It allows you to recruit top marketers who sell your products for you in return for a commission. This means you can immediately expand your audience and get your products in front of new customers.
The great news is, WP Simple Play plugs directly into AffiliateWP to create a powerful affiliate marketing program. In just a few clicks, you can set up referral tracking, and recruit top affiliates to help market your products.
AffiliateWP is the best WordPress plugin for affiliate marketing, and it integrates with a ton of other WordPress plugins:
It sounds daunting, but it couldn’t be easier.
You’ve got the payment process down, now it’s time to take it to the next level with an affiliate program from AffiliateWP.
The easiest way to accept credit card payments on WordPress is with WP Simple Pay. All you have to do is go to the Plugins page in your WordPress admin and search for WP Simple Pay. Follow a few simple steps to download the plugin and set up your account, and you can start accepting credit card payments on WordPress in minutes.
You can accept payments through WordPress websites and it’s actually very easy to set up. Plugins like WP Simple Pay and WPForms make it incredibly simple to start accepting payments on WordPress to grow your business.
The easiest way to accept a credit card payment on your website is with WP Simple Pay. It will walk you through the setup and it makes your life extremely simple. You don’t have to worry about setting up a cart – just start taking payments with minimal hassle.
WP Simple Pay is the best way to accept credit card payments on WordPress because it makes things easy for you and your customers.
The WP Simple Pay Lite plugin is a perfect way to take simple payments and give your customers the best possible experience. And, if you want to take things up a level, then the WP Simple Pay pro plan gives you some incredibly powerful payment tools.
This means WP Simple Pay isn’t just a tool to help you take credit card payments on WordPress, but one that’s designed to grow your small business. That’s what we all want, so it’s a perfect place to start out!
Even better, once you’re set up to take payments, then you’re able to build your own affiliate marketing program with AffiliateWP.
Looking for more ways to grow your e-commerce sales? We’ve got some great resources for you!
Disclosure: Our content is reader-supported. This means if you click on some of our links, then we may earn a commission. We only recommend products that we believe will add value to our readers.
Launch your affiliate program today and unlock a new revenue channel to grow your business faster.
We use cookies to improve your experience on our site. By using our site, you consent to cookies.
Manage your cookie preferences below:
Essential cookies enable basic functions and are necessary for the proper function of the website.
Statistics cookies collect information anonymously. This information helps us understand how visitors use our website.
Marketing cookies are used to follow visitors to websites. The intention is to show ads that are relevant and engaging to the individual user.