




Want to schedule your creatives for your affiliates in WordPress?
Managing your affiliates’ creatives can feel like a constant game of catch-up, constantly switching them on and off to line up with your marketing campaigns. But what if you could set everything in advance, have your creatives go live just when needed, and fade away without your constant monitoring?
In this guide, we will show you how to schedule creatives for affiliates and manage your affiliate campaigns more efficiently.
Why Schedule Creatives for Affiliates
Scheduling creatives for your affiliates offers numerous benefits for your business and can significantly enhance the efficacy of your affiliate marketing strategy.
Firstly, scheduling creatives provides enhanced visibility control. You can strategically plan your marketing campaigns by ensuring affiliates only see relevant promotions within specific timeframes.
Moreover, scheduling creatives is ideal for time-sensitive promotions. This could be seasonal discounts, limited-time sales, or upcoming product launches.
For example, if you’re running a Halloween sale, you can schedule your Halloween-themed creatives to be visible only in the run-up to Halloween. This drives urgency, prompts immediate action from your customers, and can significantly boost conversion rates.
Additionally, scheduling creatives improves the affiliate experience. Affiliates prefer seeing up-to-date and relevant creatives that align with ongoing promotions. Delivering timely and accurate promotional materials increases affiliate engagement.
It boosts performance, as affiliates are more likely to promote products with suitable materials at the right time actively.
Now that you have understood why scheduling creatives for your affiliate program is crucial, let’s learn how to schedule creatives on WordPress in a few steps.
Steps to Schedule Creatives for Affiliates in Your Affiliate Program
Scheduling creatives for your affiliates in advance is a breeze with AffiliateWP. Just follow these simple steps:
Step 1: Install and Activate AffiliateWP

Firstly, you need to install AffiliateWP on your WordPress website. AffiliateWP is user-friendly and packed with features that make managing your affiliate program a breeze.
To begin, visit the AffiliateWP pricing page and choose the plan that suits your needs.
After purchasing, head to your WordPress dashboard, click the Plugins tab, and then Add New. We will use the Pro plan for this guide since it includes the Scheduled Creatives feature.
Upload the AffiliateWP plugin file, then hit Install Now » Activate. You can also check out this guide on installing AffiliateWP plugin on WordPress.
You’ve now successfully installed and activated AffiliateWP and are ready to configure your affiliate program.
Step 2: Configure the Setup Wizard
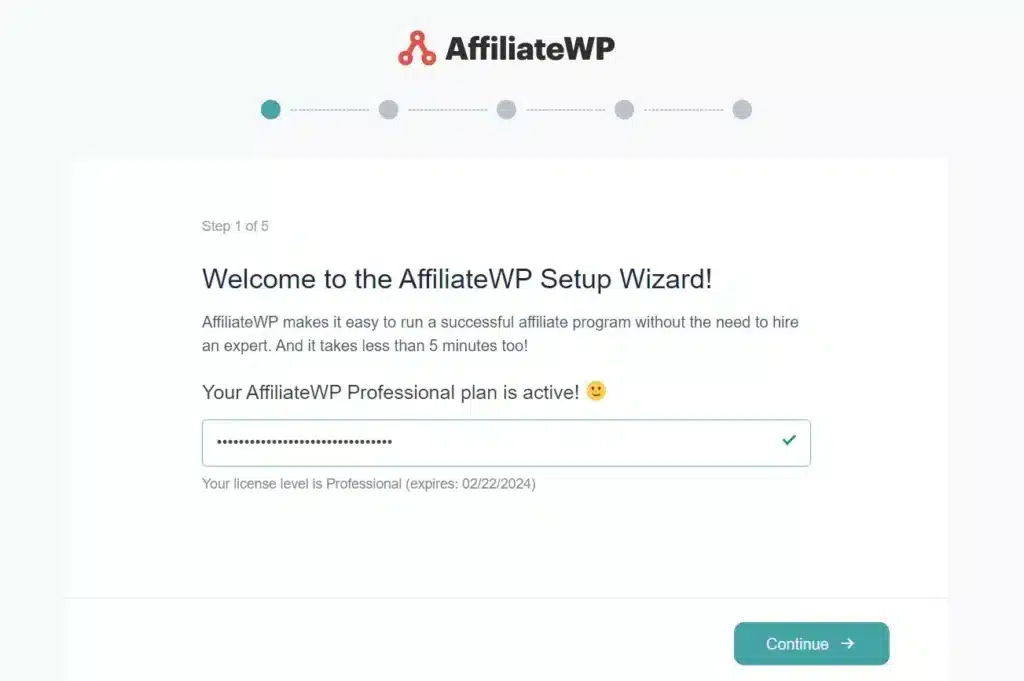
After installing and activating the plugin, the AffiliateWP setup wizard will guide you through configuring your affiliate program.
Access the setup wizard by hovering over AffiliateWP in the left-hand sidebar of your WordPress dashboard and clicking on Settings.

You will be prompted to enter your license key, which you can find in your confirmation email or AffiliateWP account.
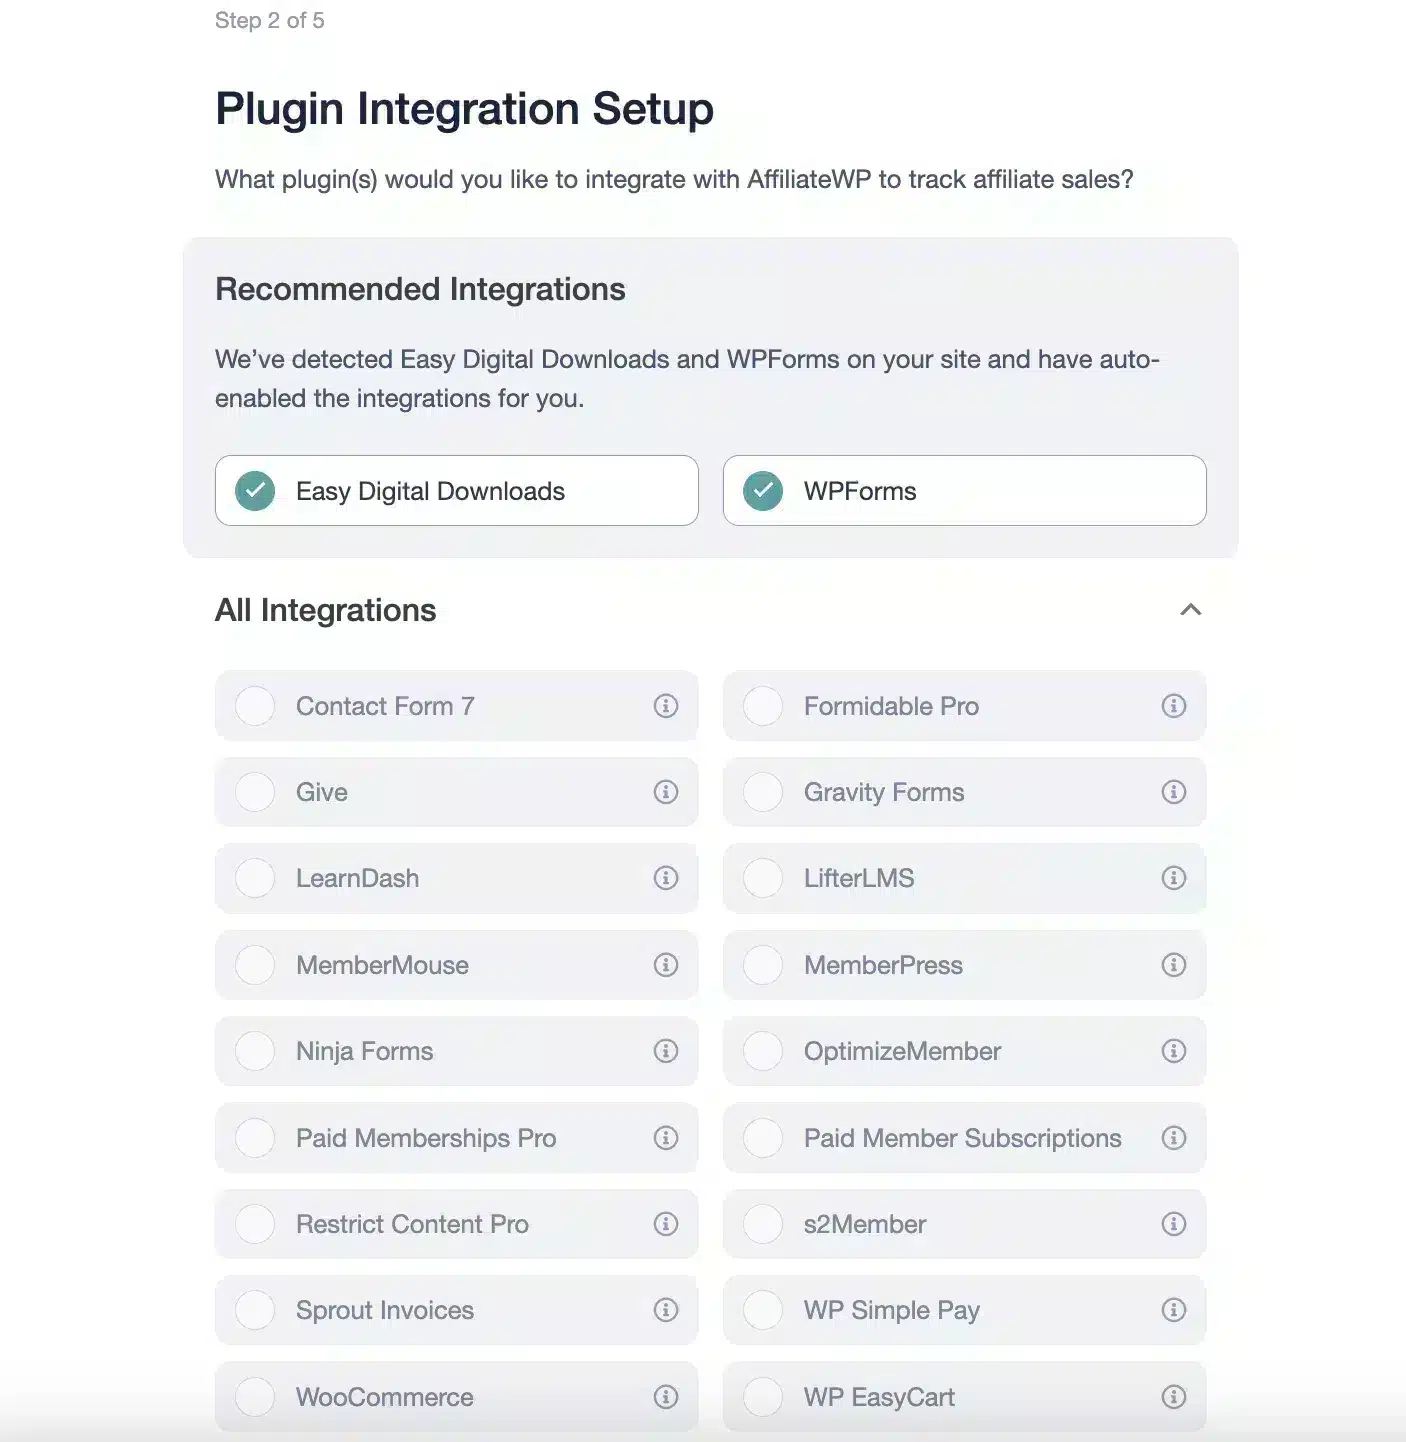
The setup wizard will also guide you through integrating AffiliateWP with your preferred e-commerce or membership plugin, such as WooCommerce, Easy Digital Downloads, or MemberPress.
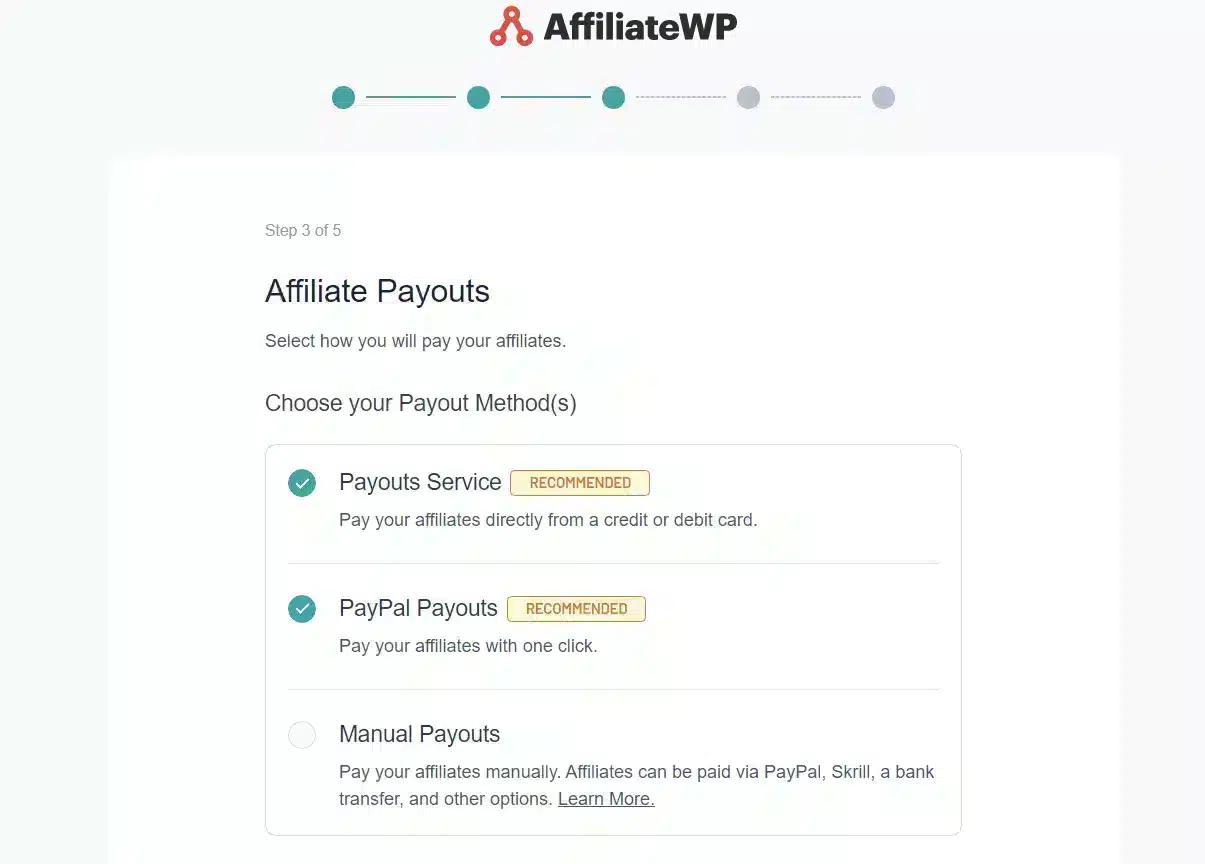
The wizard will then ask you to choose your preferred payout settings.
You can pay your affiliates through the AffiliateWP payout service, use PayPal, or handle payments manually.
Next, you’ll configure basic settings, like currency, referral type, and referral amount.
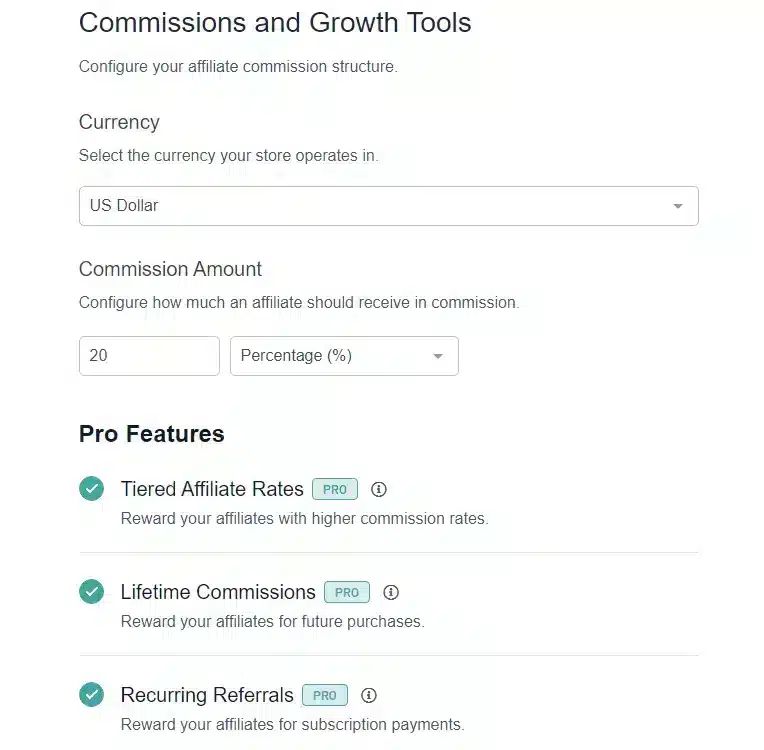
While these settings establish your global affiliate commission rate, you can always adjust them later in the AffiliateWP Settings tab.
Click Finish Setup and Exit to exit the Setup Wizard.

Step 3: Navigate to the Creatives Admin Screen
Start by adding a new creative (or editing an existing one) from the Creatives admin screen.

This is where you manage all of the promotional materials for your affiliates.
Whether it’s images or text links, this is the place where you can create and manage them all. You can start by giving a name, link, and description, choosing the type of creative you want, adding a URL, and more.
Once you have created your creative content for your affiliates and selected the appropriate privacy settings, such as sharing it with all affiliates or specific ones privately, the next step is to schedule it.

Step 4: Schedule Your Creative
The scheduled creatives feature simplifies your affiliate marketing strategy by automating the activation and deactivation of your creatives.
You can set specific start and end dates for each creative, aligning them perfectly with your marketing campaigns without manually toggling them on and off.
Moreover, Scheduled Creatives is compatible with Private Creatives, allowing you to schedule creatives for specific affiliates or affiliate groups for enhanced customization.
To schedule a creative, navigate to the AffiliateWP Creatives Admin Screen and add a new creative or edit an existing one.
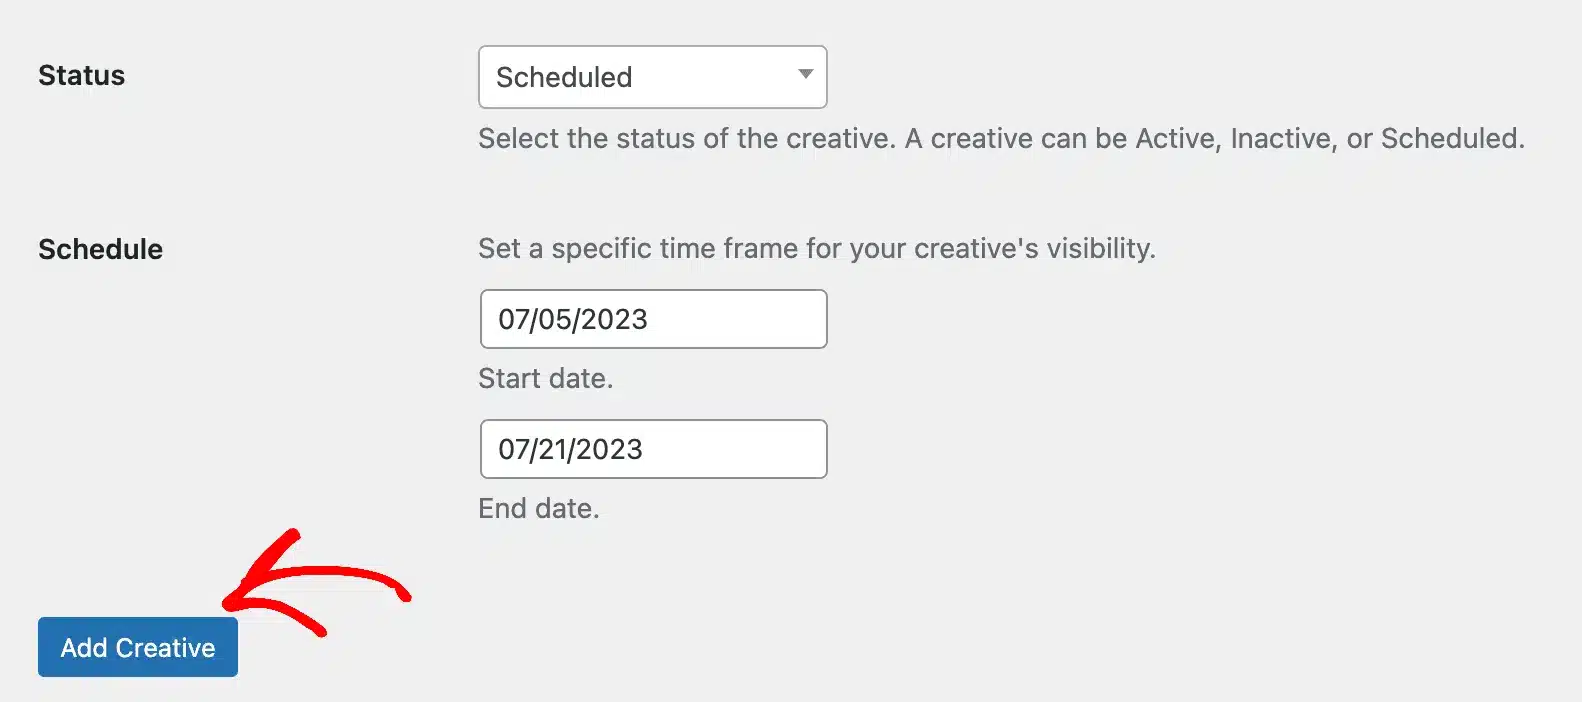
Once the creative’s details are set up, you’ll find a dropdown option for Status. Here, select Scheduled.
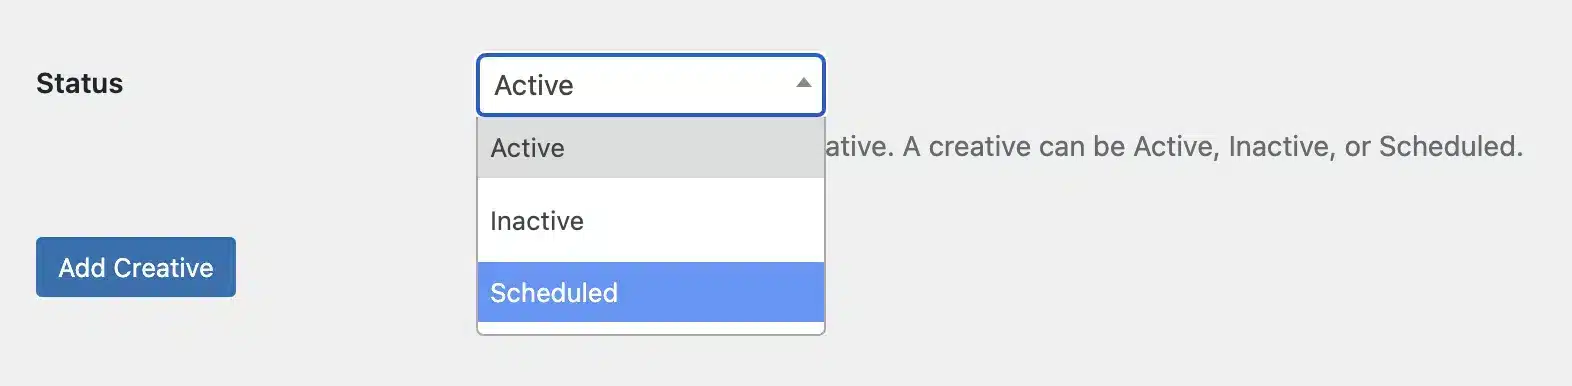
A new Schedule section will appear where you can set your creative’s start and end dates.
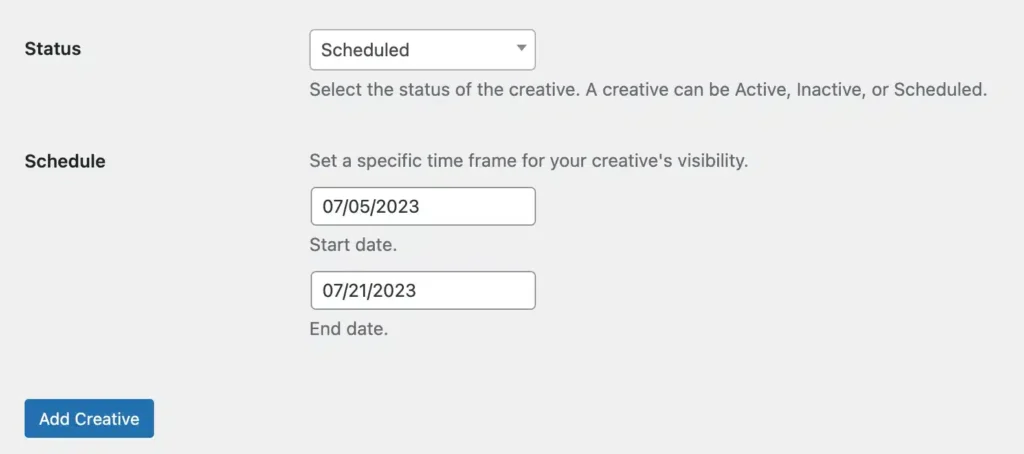
You can choose only to set the start date if you want the creative to automatically go live on that date and stay active until you manually deactivate it.
Or you can set just the end date, allowing the creative to go active immediately and deactivate automatically on the chosen date.
For complete automation, set the start and end dates to have the creative go live and deactivate according to your pre-set timeline.
Step 5: Save Your Creative
After you’ve selected the desired dates, finalize the process by clicking on the Add Creative button (for a new creative) or Update Creative button (for an existing one).
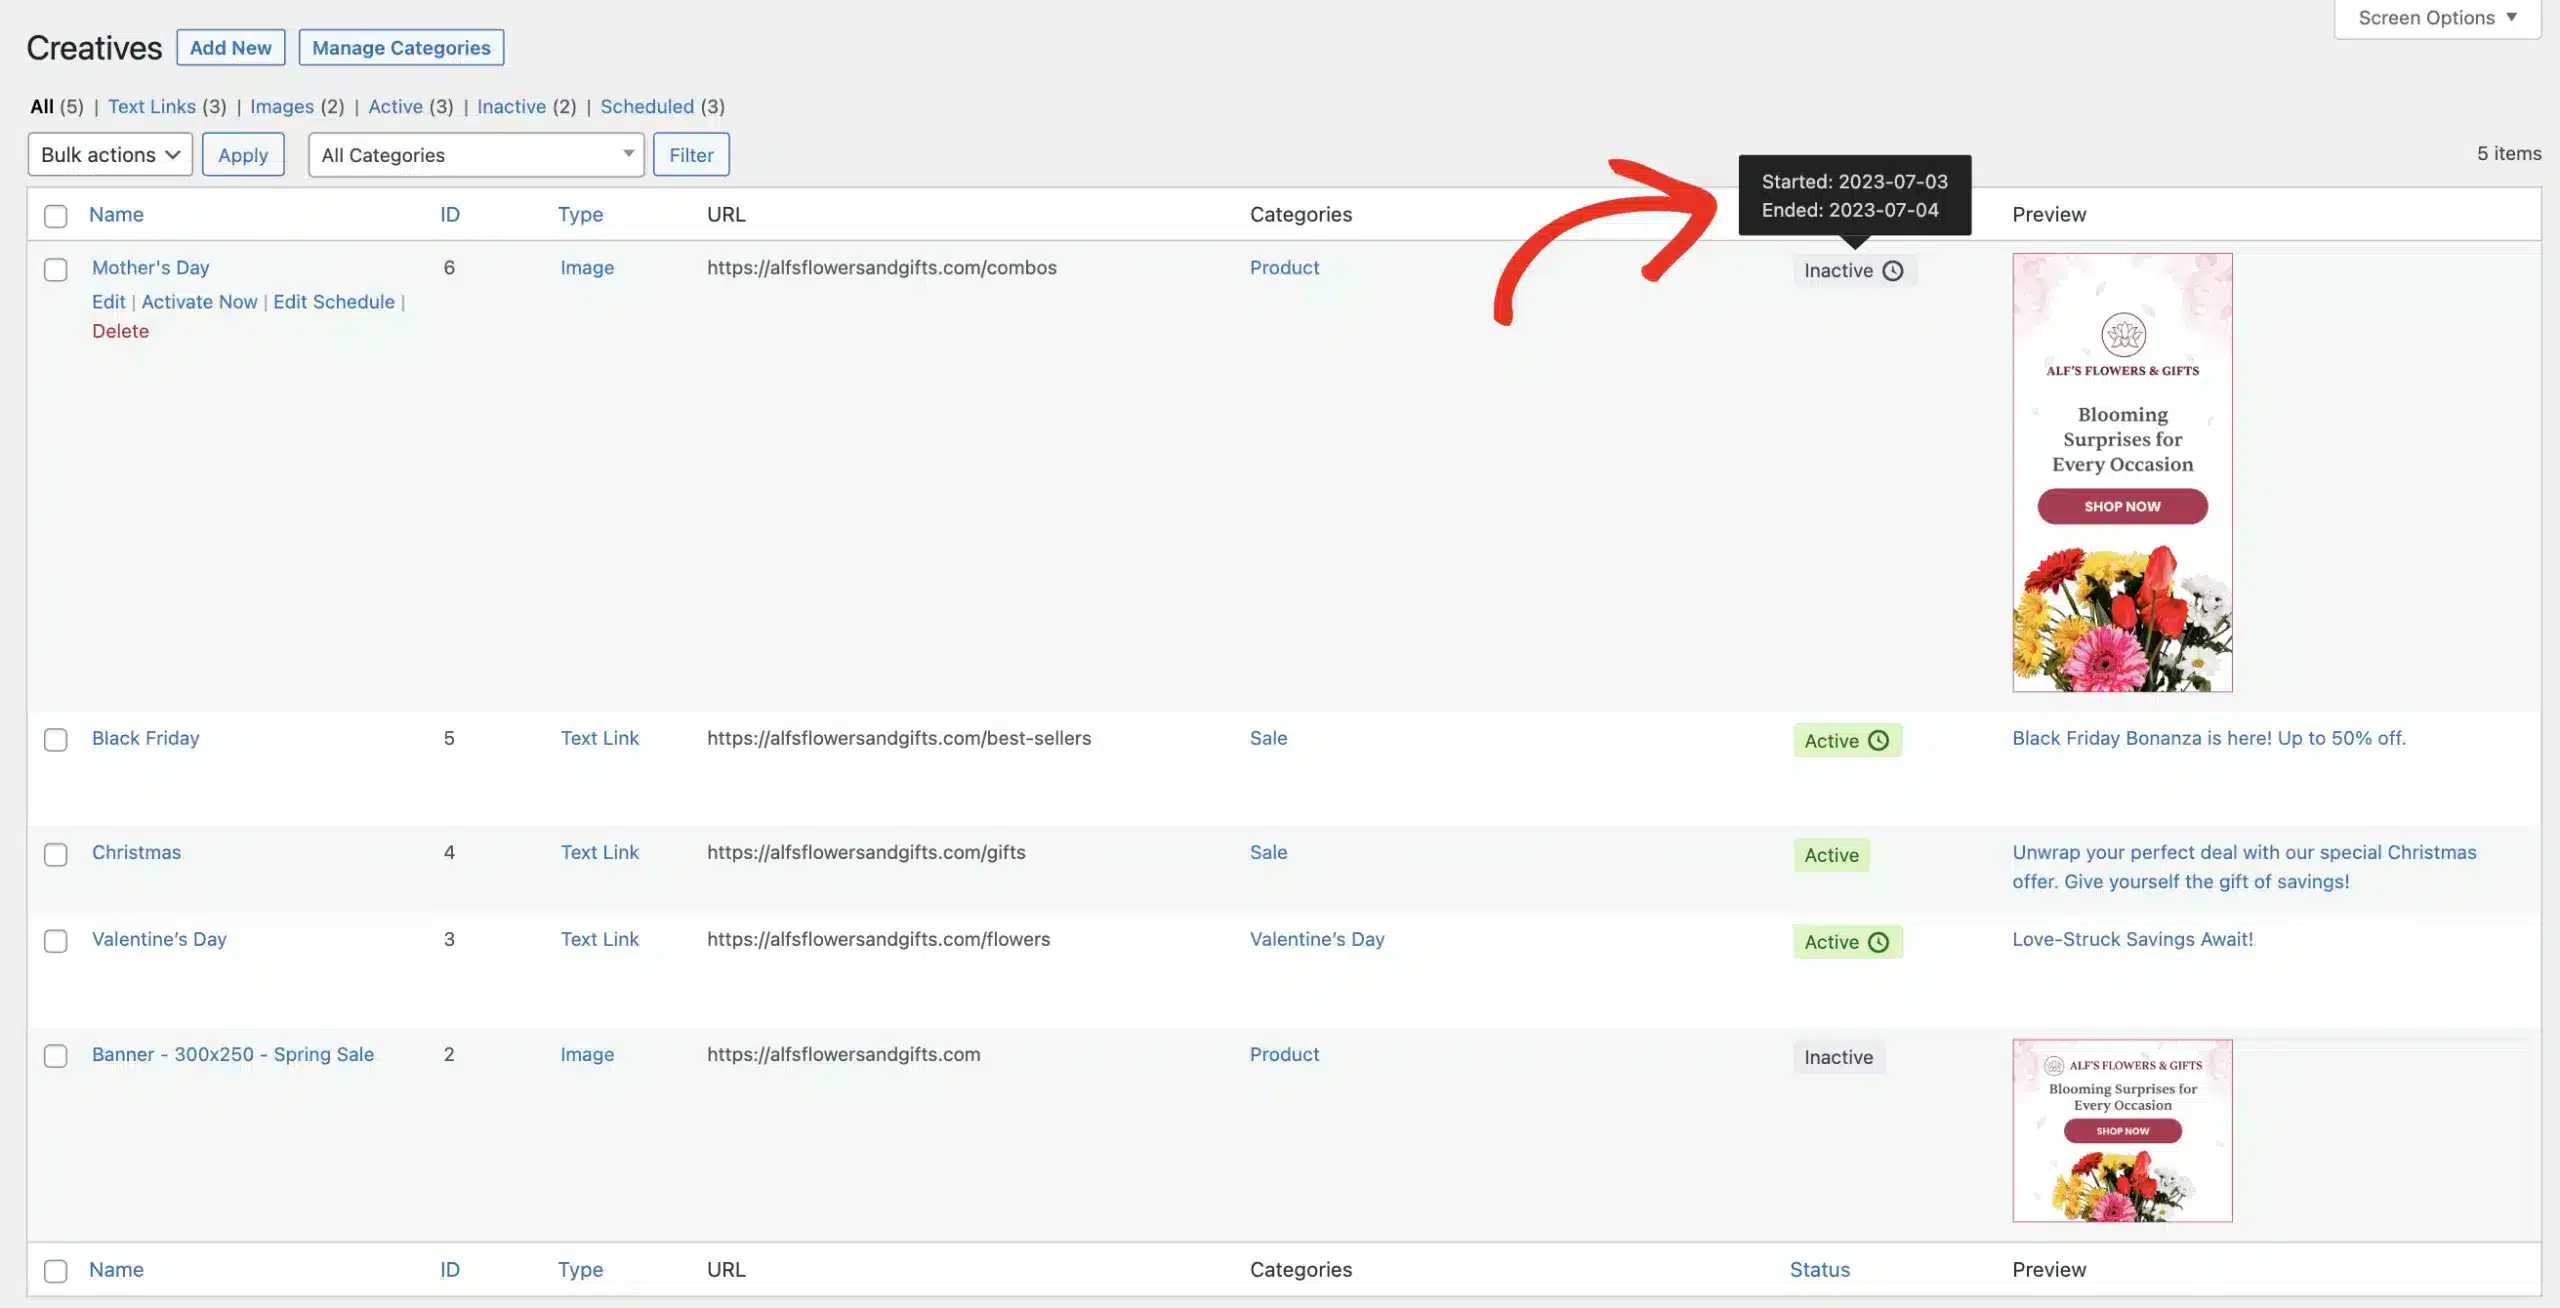
That’s it! Your creative is now scheduled and will automatically become available to your affiliates based on your set timeline.
Ready to Manage Your Affiliate Program Seamlessly
So, you’ve learned about scheduling your creatives in AffiliateWP and how it can make your affiliate management more seamless.
Isn’t it amazing how much time and energy you can save by automating the process of activating and deactivating your creatives?
But there’s more! AffiliateWP offers other valuable features too. From reliable fraud protection and advanced affiliate tracking to one-click layouts, AffiiateWP stands out as WordPress’s best affiliate management software.
Need some help managing your affiliate program? Here are some useful resources:
- How to Embed TikTok Videos on Your WordPress Site (Guide)
- How to Set Up an Affiliate Program for Small Business (WordPress Guide)
- What to Include in Your Affiliate Registration Form (Answered)
- 6 Best Affiliate Software for Small Business 2023
Get AffiliateWP today and manage your affiliate program effortlessly. With its powerful features, you can set your business up for seamless success!