Would you like to build a VIP ladder that gives members something to climb toward? Each tier you create sets what members need to reach it and what they get when they do. RewardsWP keeps your tiers in order automatically.
In this guide, we’ll walk you through adding, editing, enabling, and removing VIP tiers. All you need is a Pro license level and the VIP Program turned on.
Requirements: The VIP Program requires a Pro license level and an active WooCommerce or Easy Digital Downloads store.
Before you get started, make sure RewardsWP is installed and activated on your WordPress site. We also recommend choosing how members qualify first, since it decides what each tier’s threshold measures.
Adding a Tier
To get started, we’ll add the first tier to your VIP ladder.
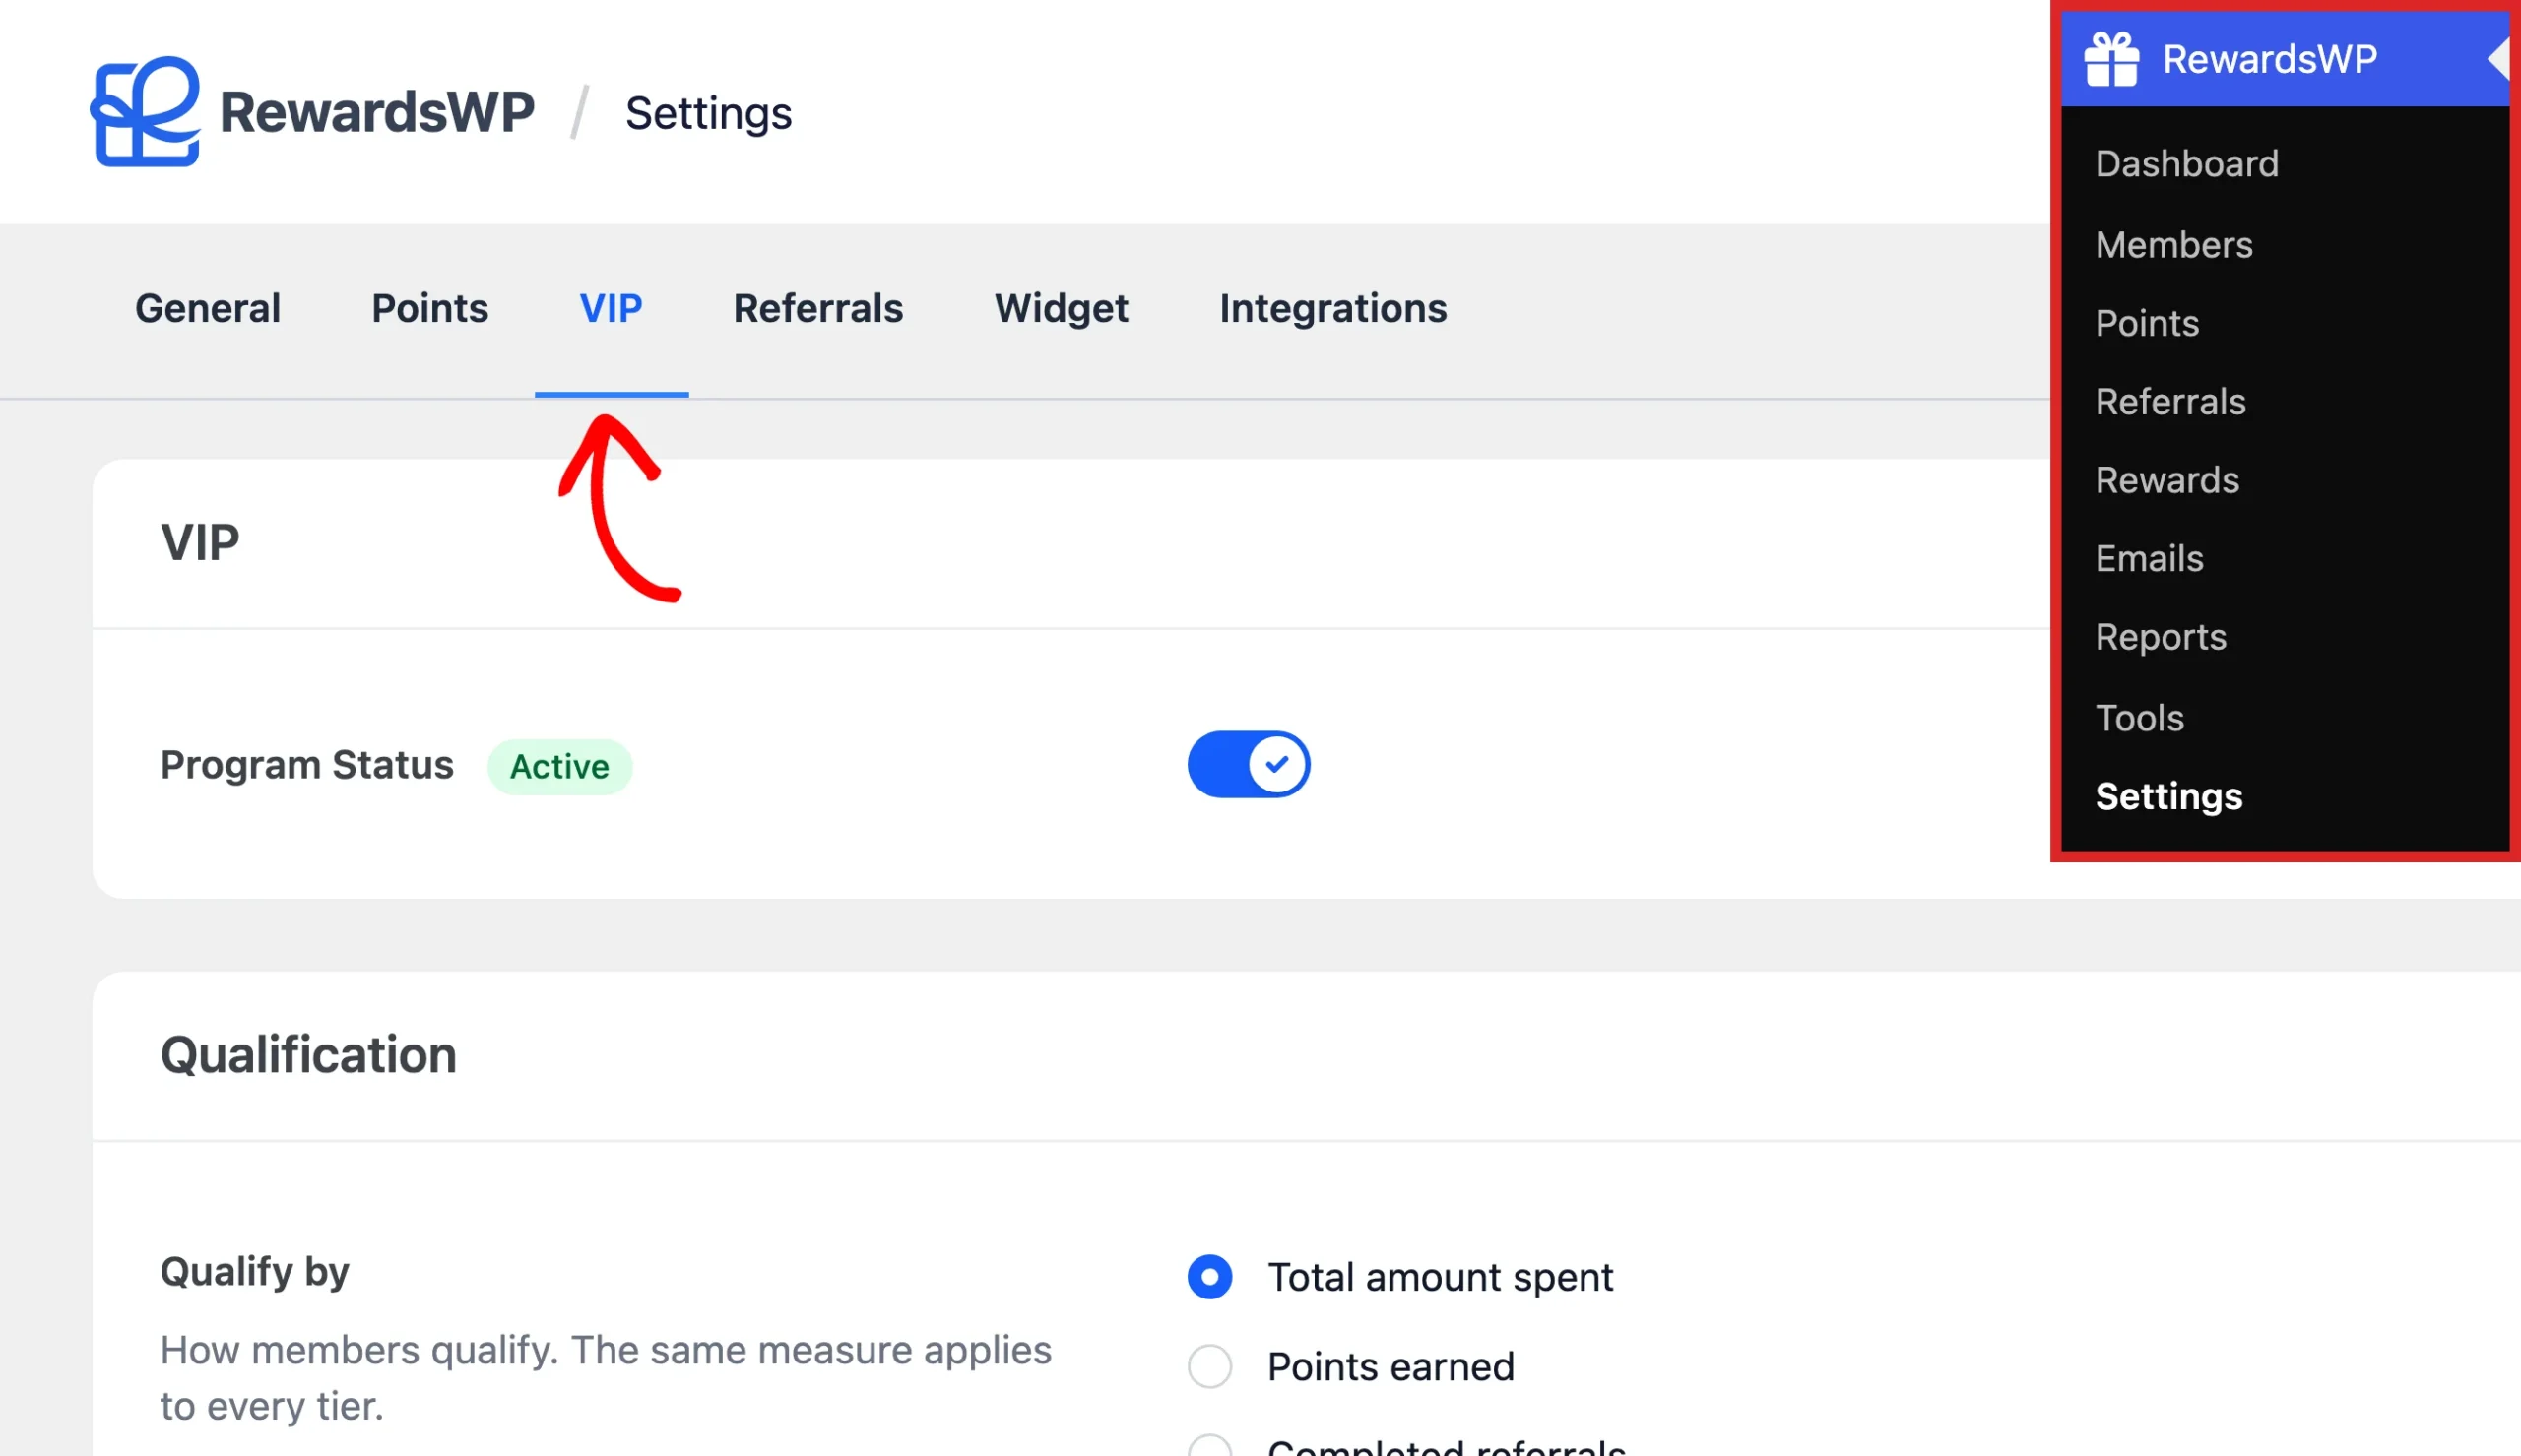
From your WordPress admin sidebar, go to RewardsWP » Settings. Then click the VIP tab and scroll to the Tiers section.
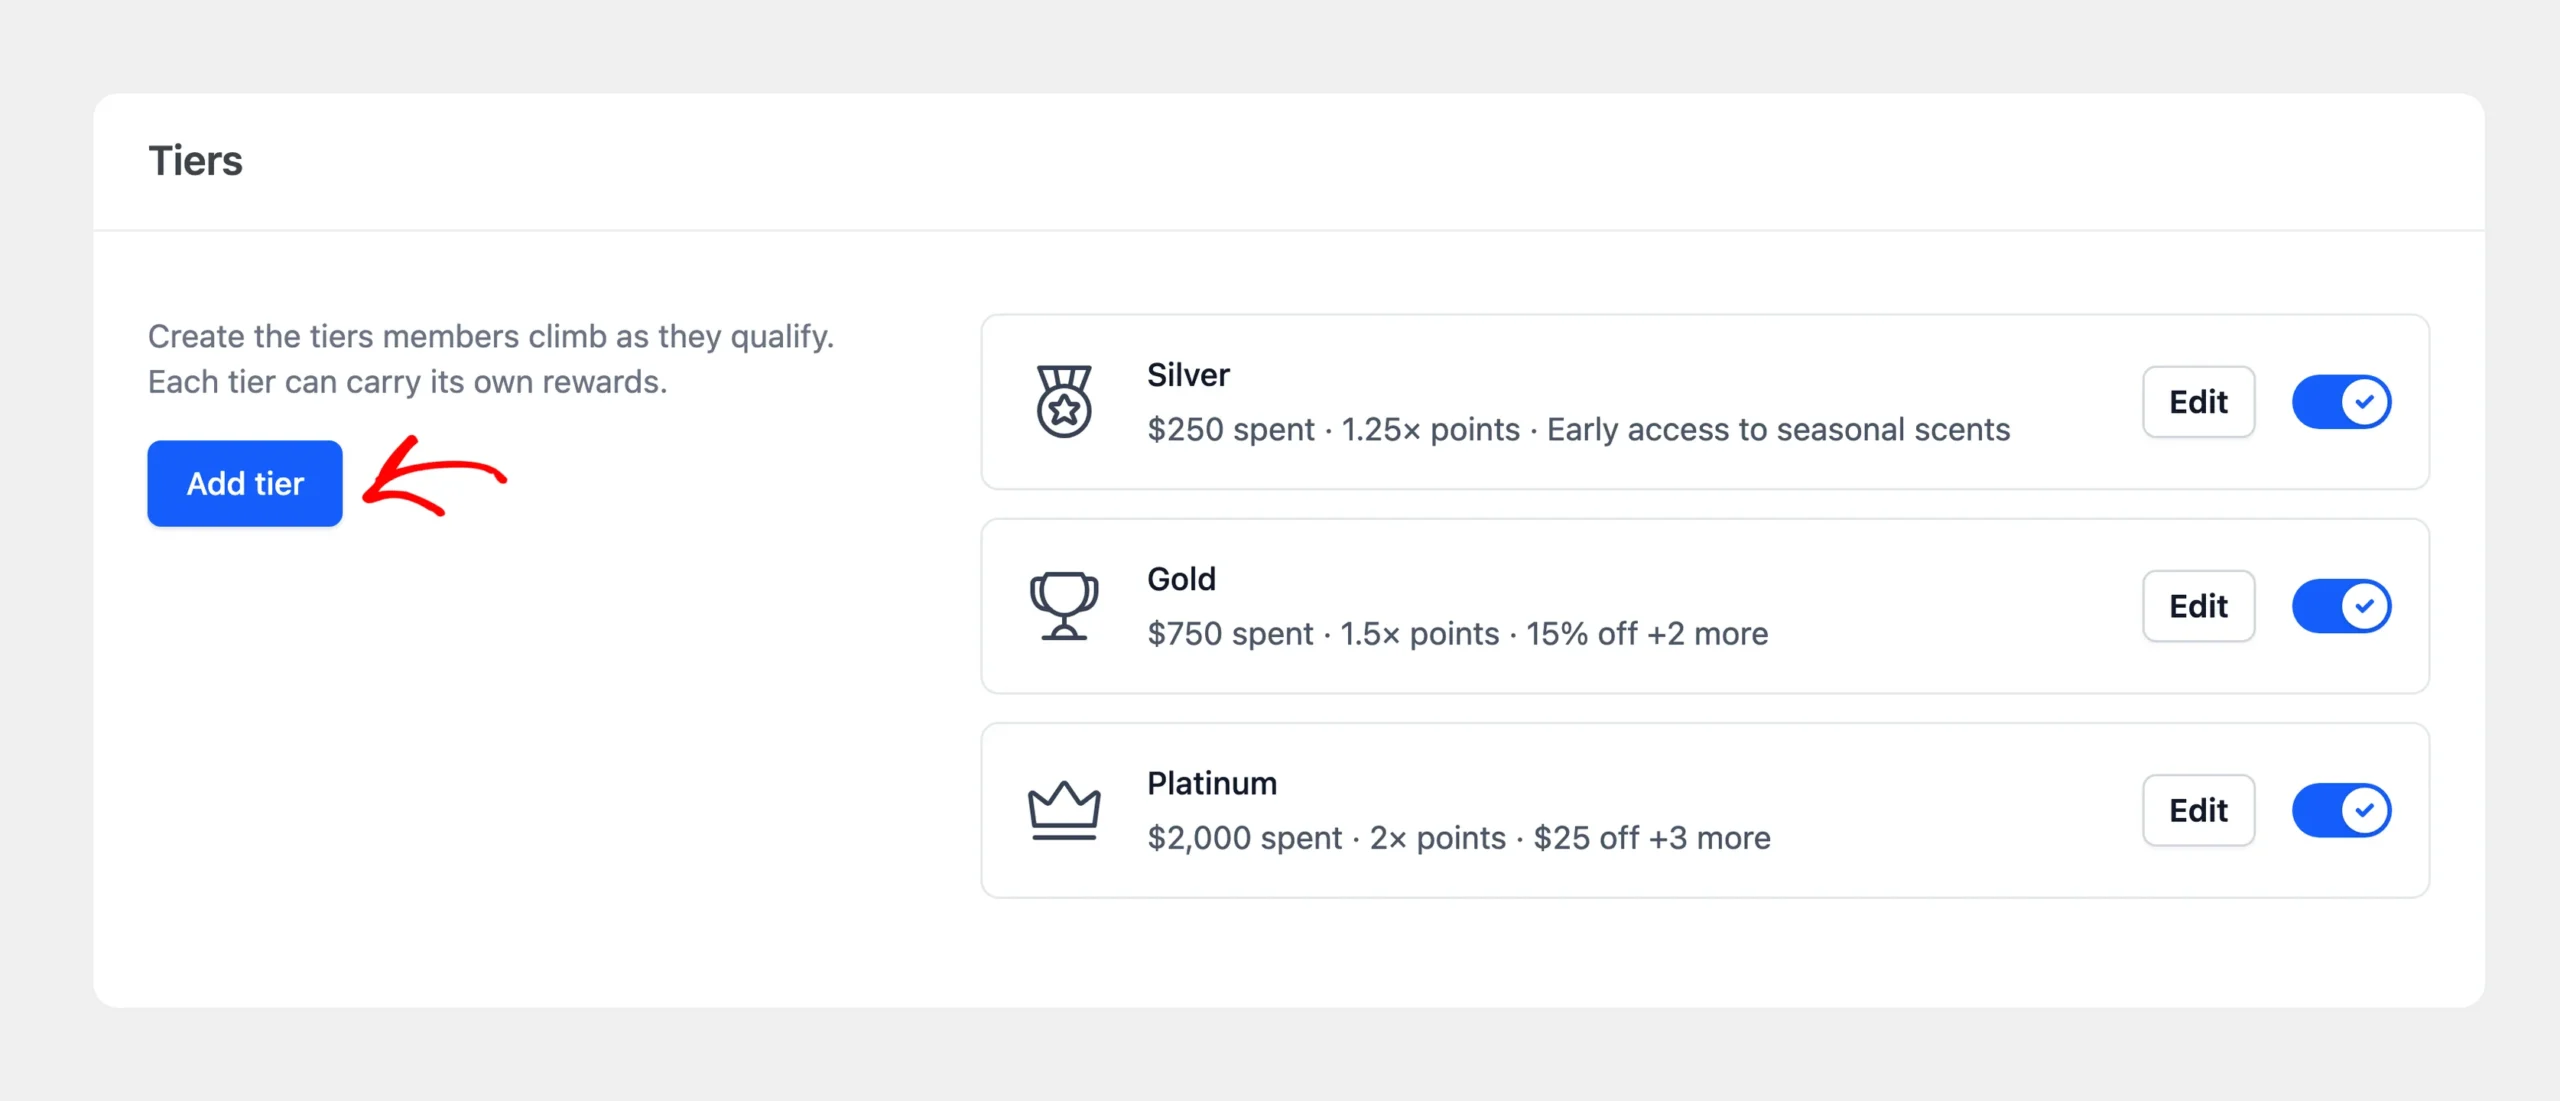
In the Tiers section, click Add tier.
A drawer opens with the tier’s settings.
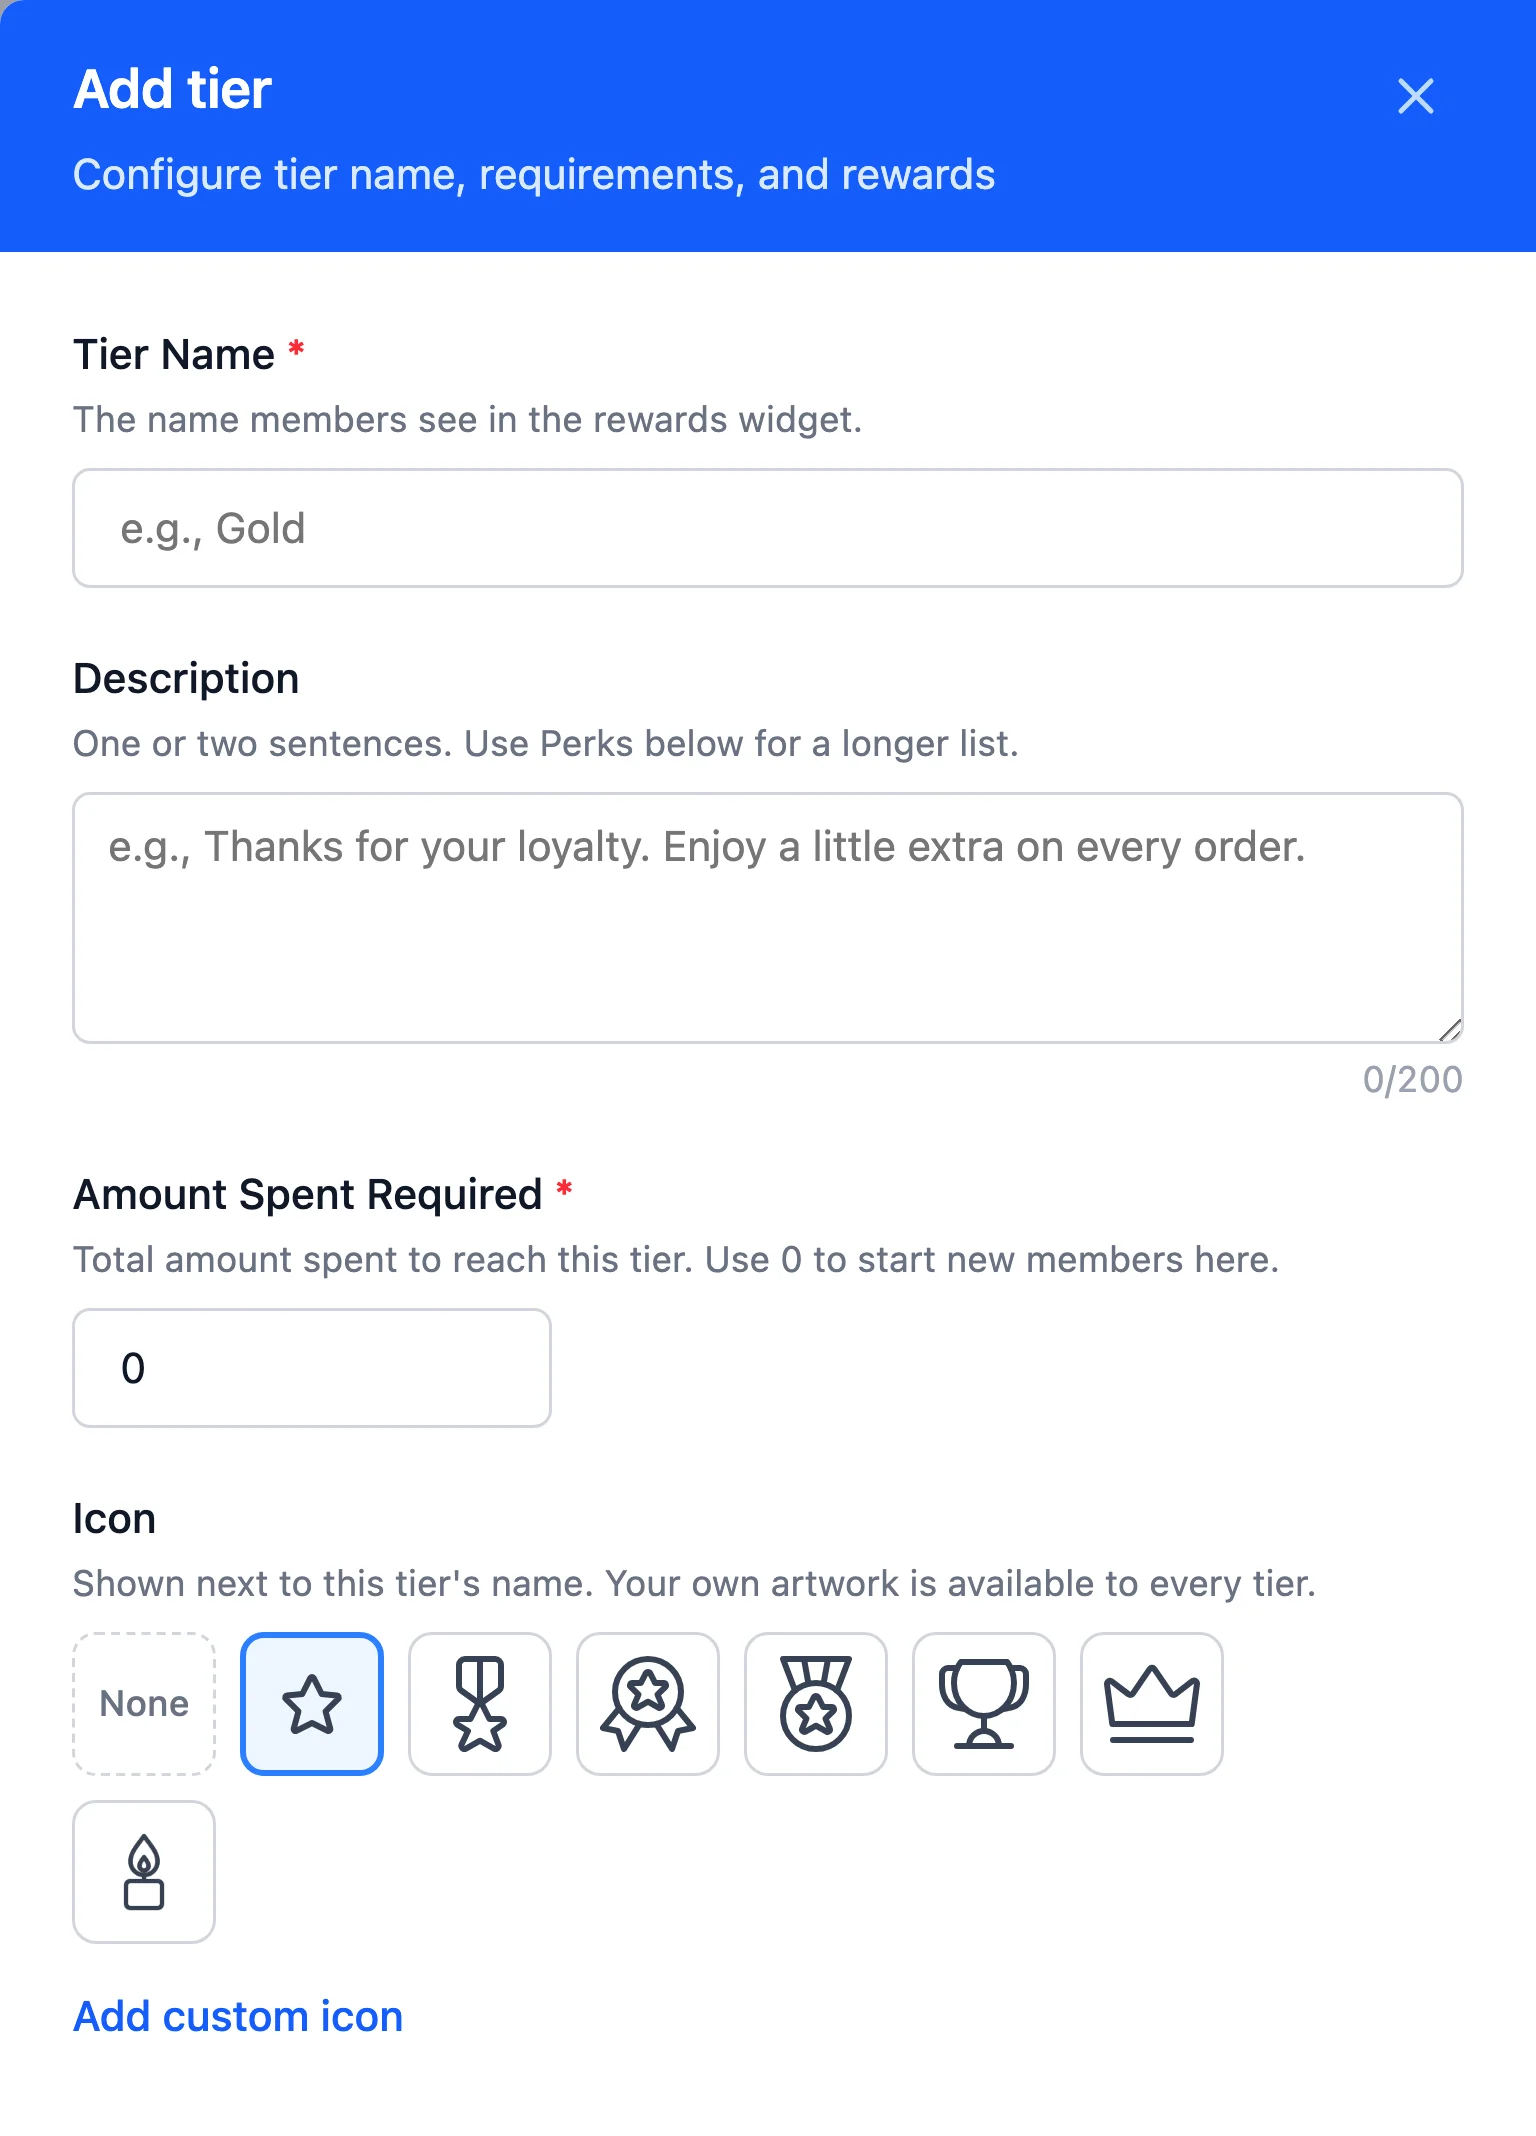
In Tier Name, enter a name for the tier, such as Gold. The name is required.
Members see the tier name in the Rewards Widget and in VIP emails. You also see it on the Members screen.
In Description, add one or two sentences about the tier. This is a good place to thank members or say who the tier is for, such as “Thanks for your loyalty.” Longer lists belong in the Perks field further down the drawer.
The description holds up to 200 characters. A counter below the field shows how many you’ve used.
Next, you’ll set what members need to reach the tier.
Setting a Tier Threshold
The threshold field is named after how members qualify: Amount Spent Required, Points Required, or Referrals Required. In this field, enter the whole number a member needs to reach this tier. The field starts at 0, so a new tier you don’t change here becomes your starting tier.
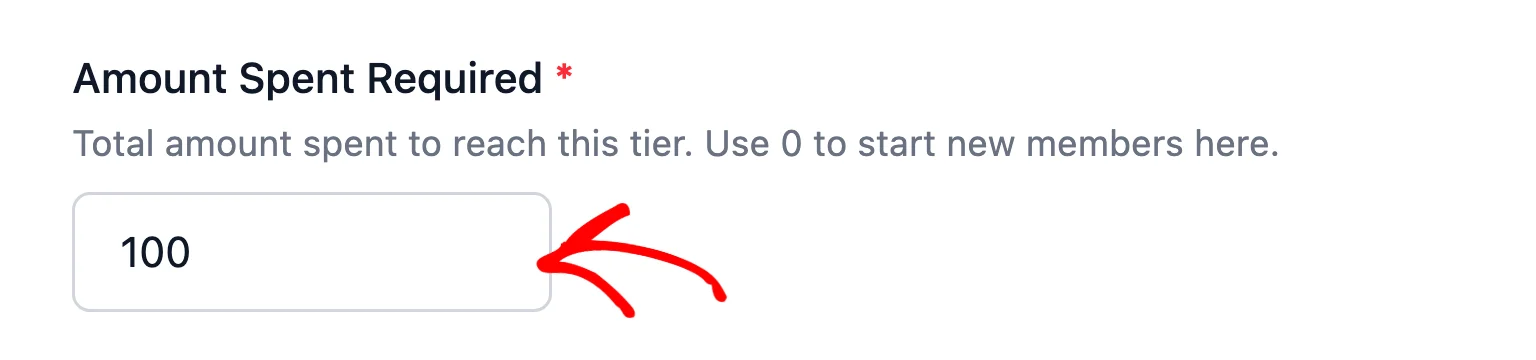
A few rules keep your ladder clear:
- Each tier needs its own threshold. No two tiers can share the same number, so members always know which tier comes next. This includes tiers you’ve disabled, so give a new tier a number no other tier uses.
- A threshold of 0 makes a starting tier. Every member lands there as soon as they join, which gives new customers a status from day one. Only one tier can start at 0.
- Tiers are ordered by threshold. RewardsWP sorts your tiers from the lowest threshold to the highest, both on this screen and in the Rewards Widget. To change a tier’s place on the ladder, change its threshold.
The rest of the drawer sets how the tier looks and what it gives members. Each part has its own guide:
- Icon: see Customizing VIP Tier Icons.
- Points Multiplier: see Setting VIP Points Multipliers.
- Entry Rewards: see Adding VIP Entry Rewards.
- Perks: see Adding VIP Tier Perks.
Saving Your Tiers
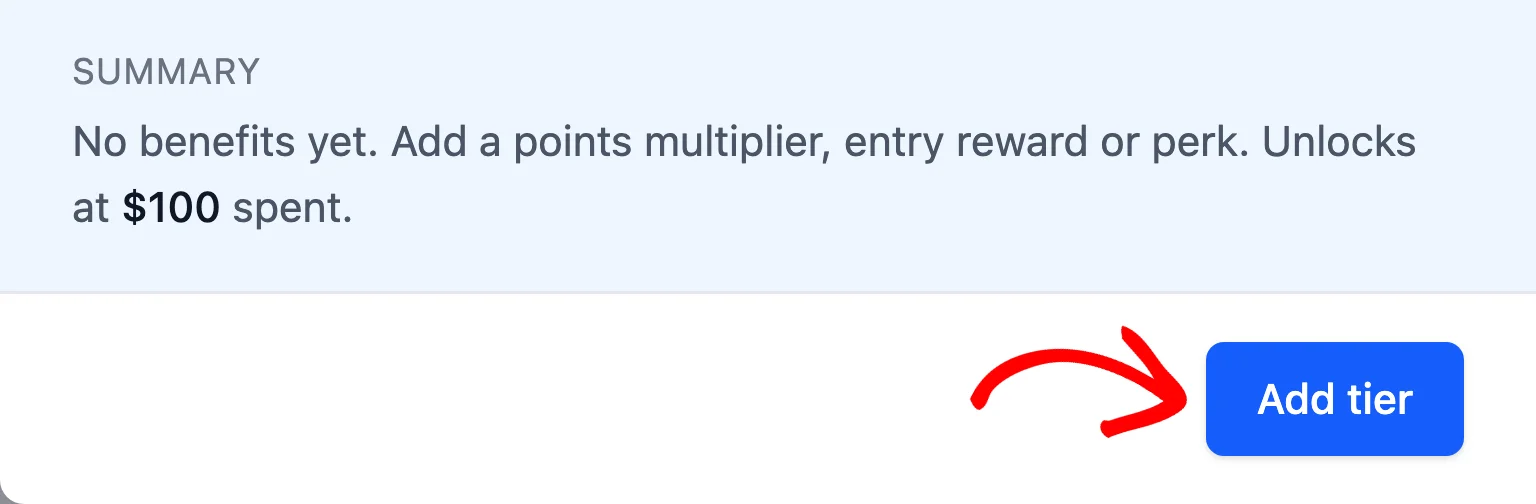
As you fill in the drawer, the Summary at the bottom describes the tier in a sentence. It says what members get and what they need to reach it. It’s a quick way to check the tier reads the way you intend before you add it.
When the tier looks right, click Add tier at the bottom of the drawer.
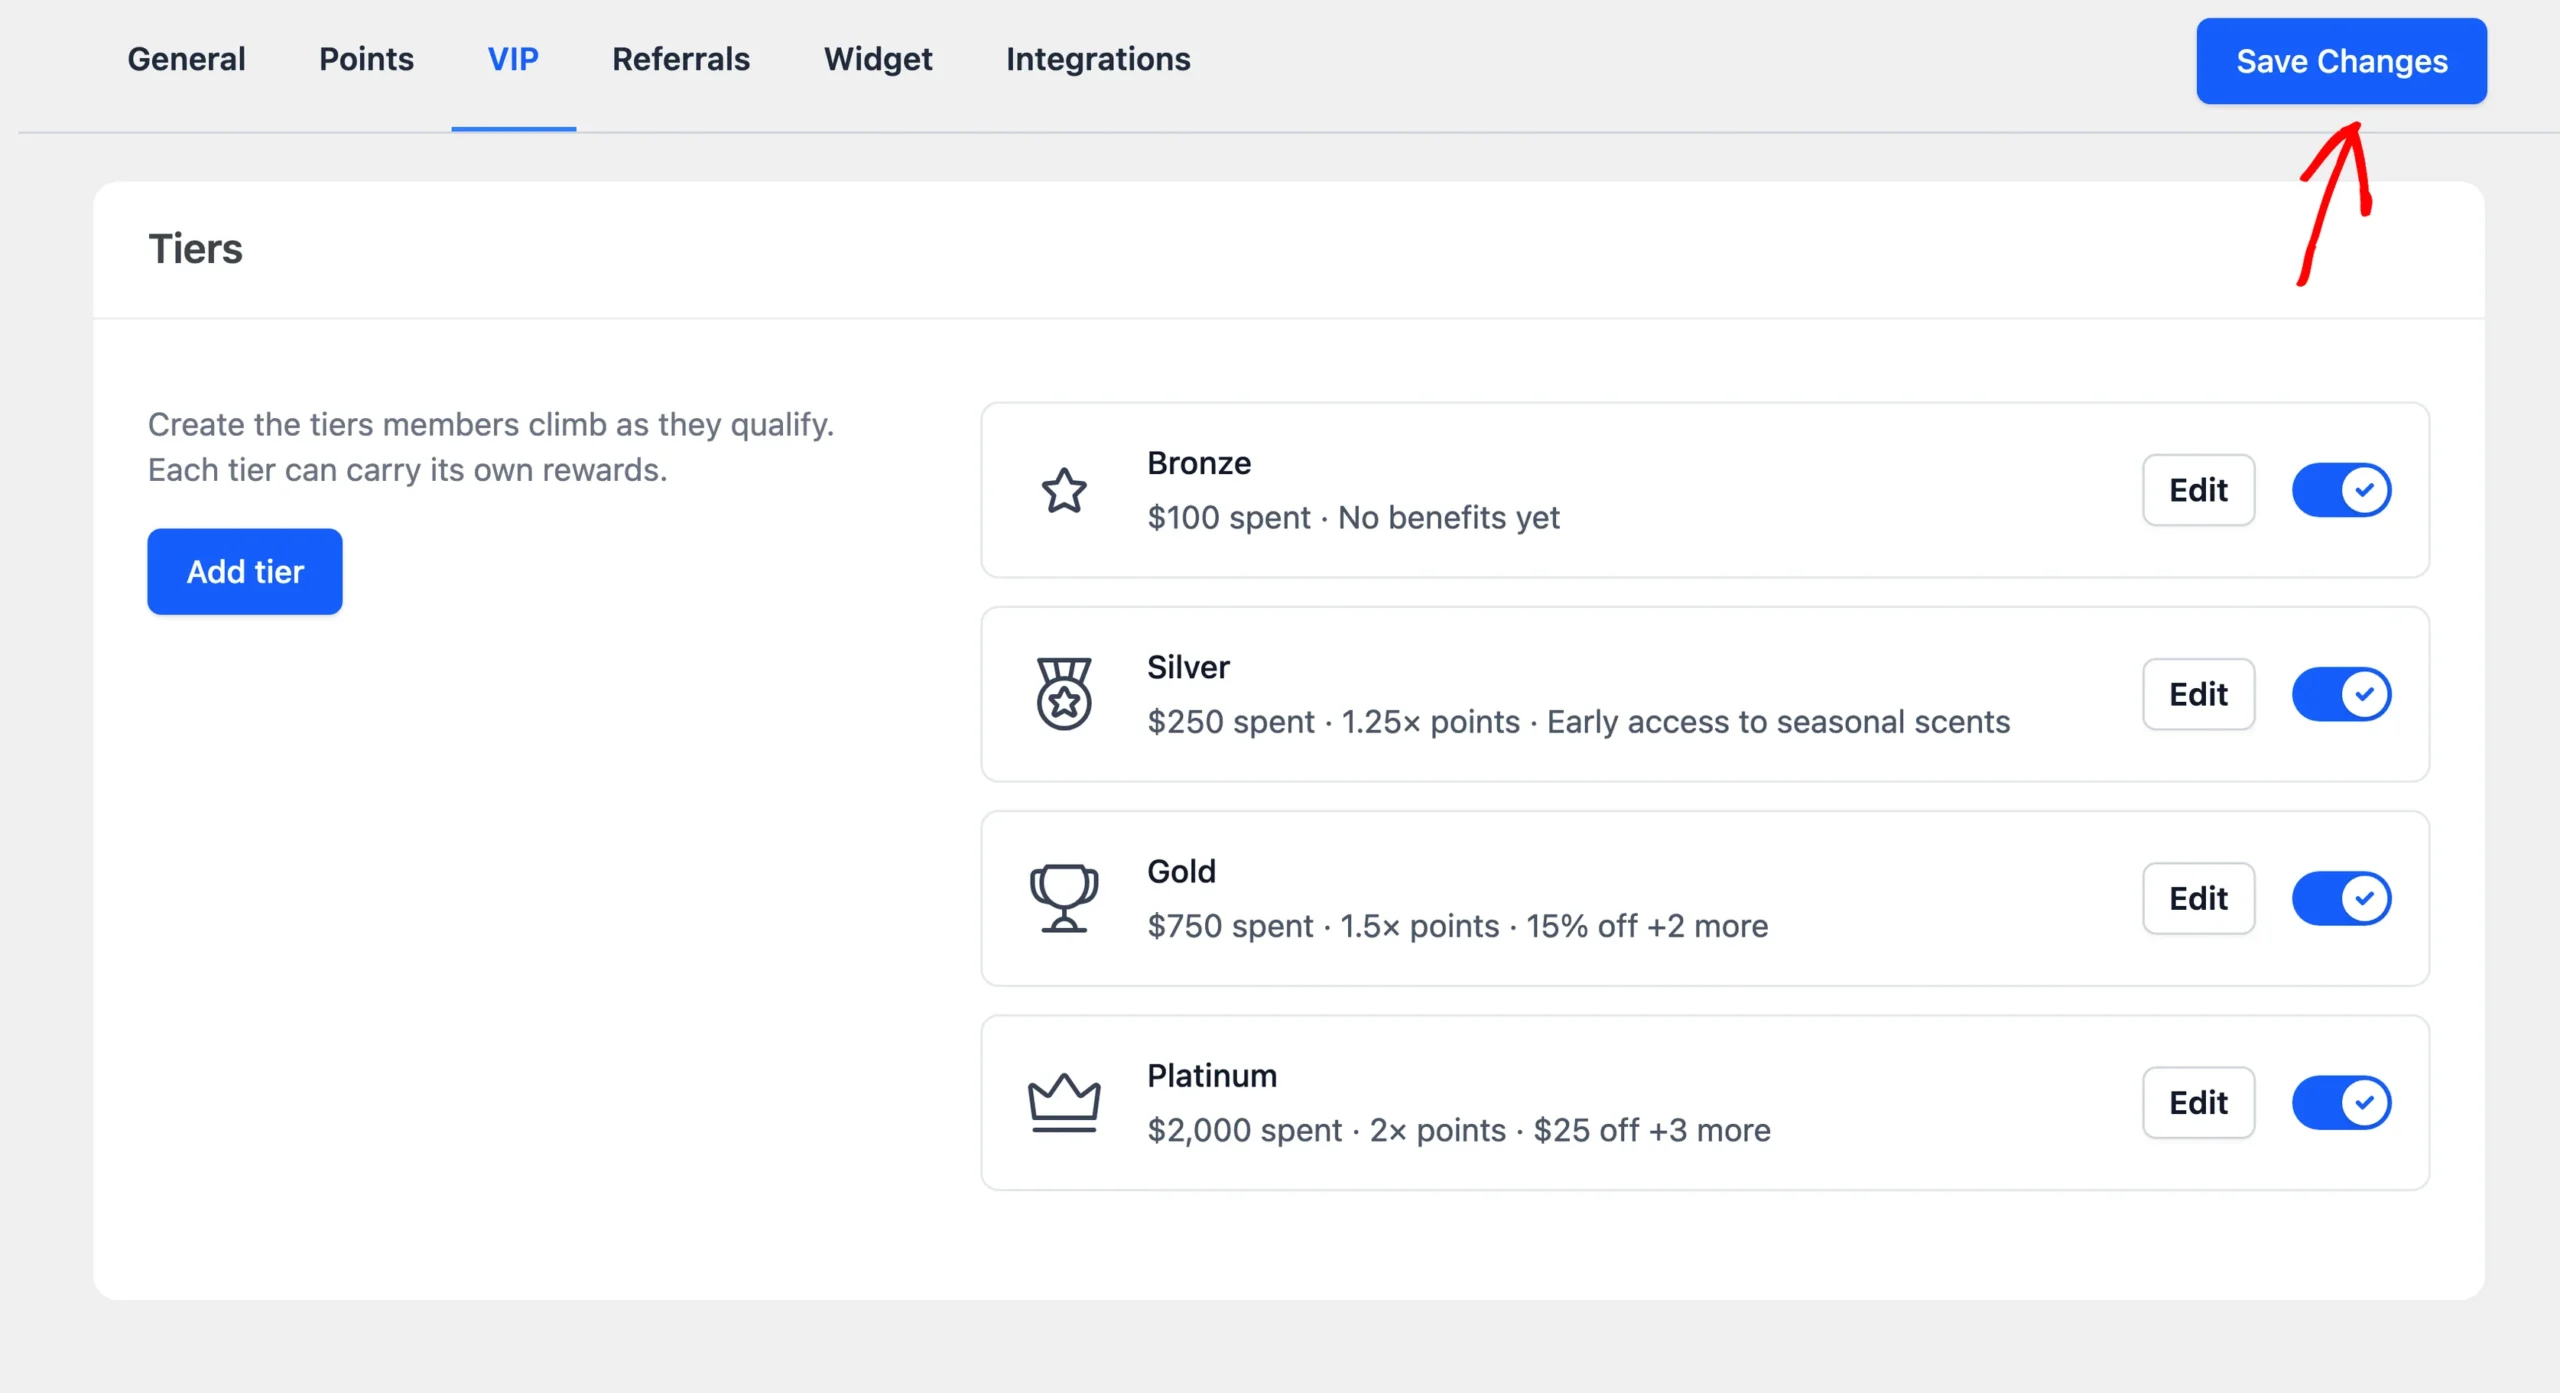
The tier now appears in the Tiers section, but it isn’t live until you save.
Repeat these steps for every tier you want. When you’re done, click Save Changes in the bar with the settings tabs.
After you save, RewardsWP places members who already qualify into your tiers in the background. This placement is silent. It sends no tier emails and issues no entry rewards.
From then on, members who reach a tier through their own activity get the Tier Reached email and the tier’s entry rewards.
Editing a Tier
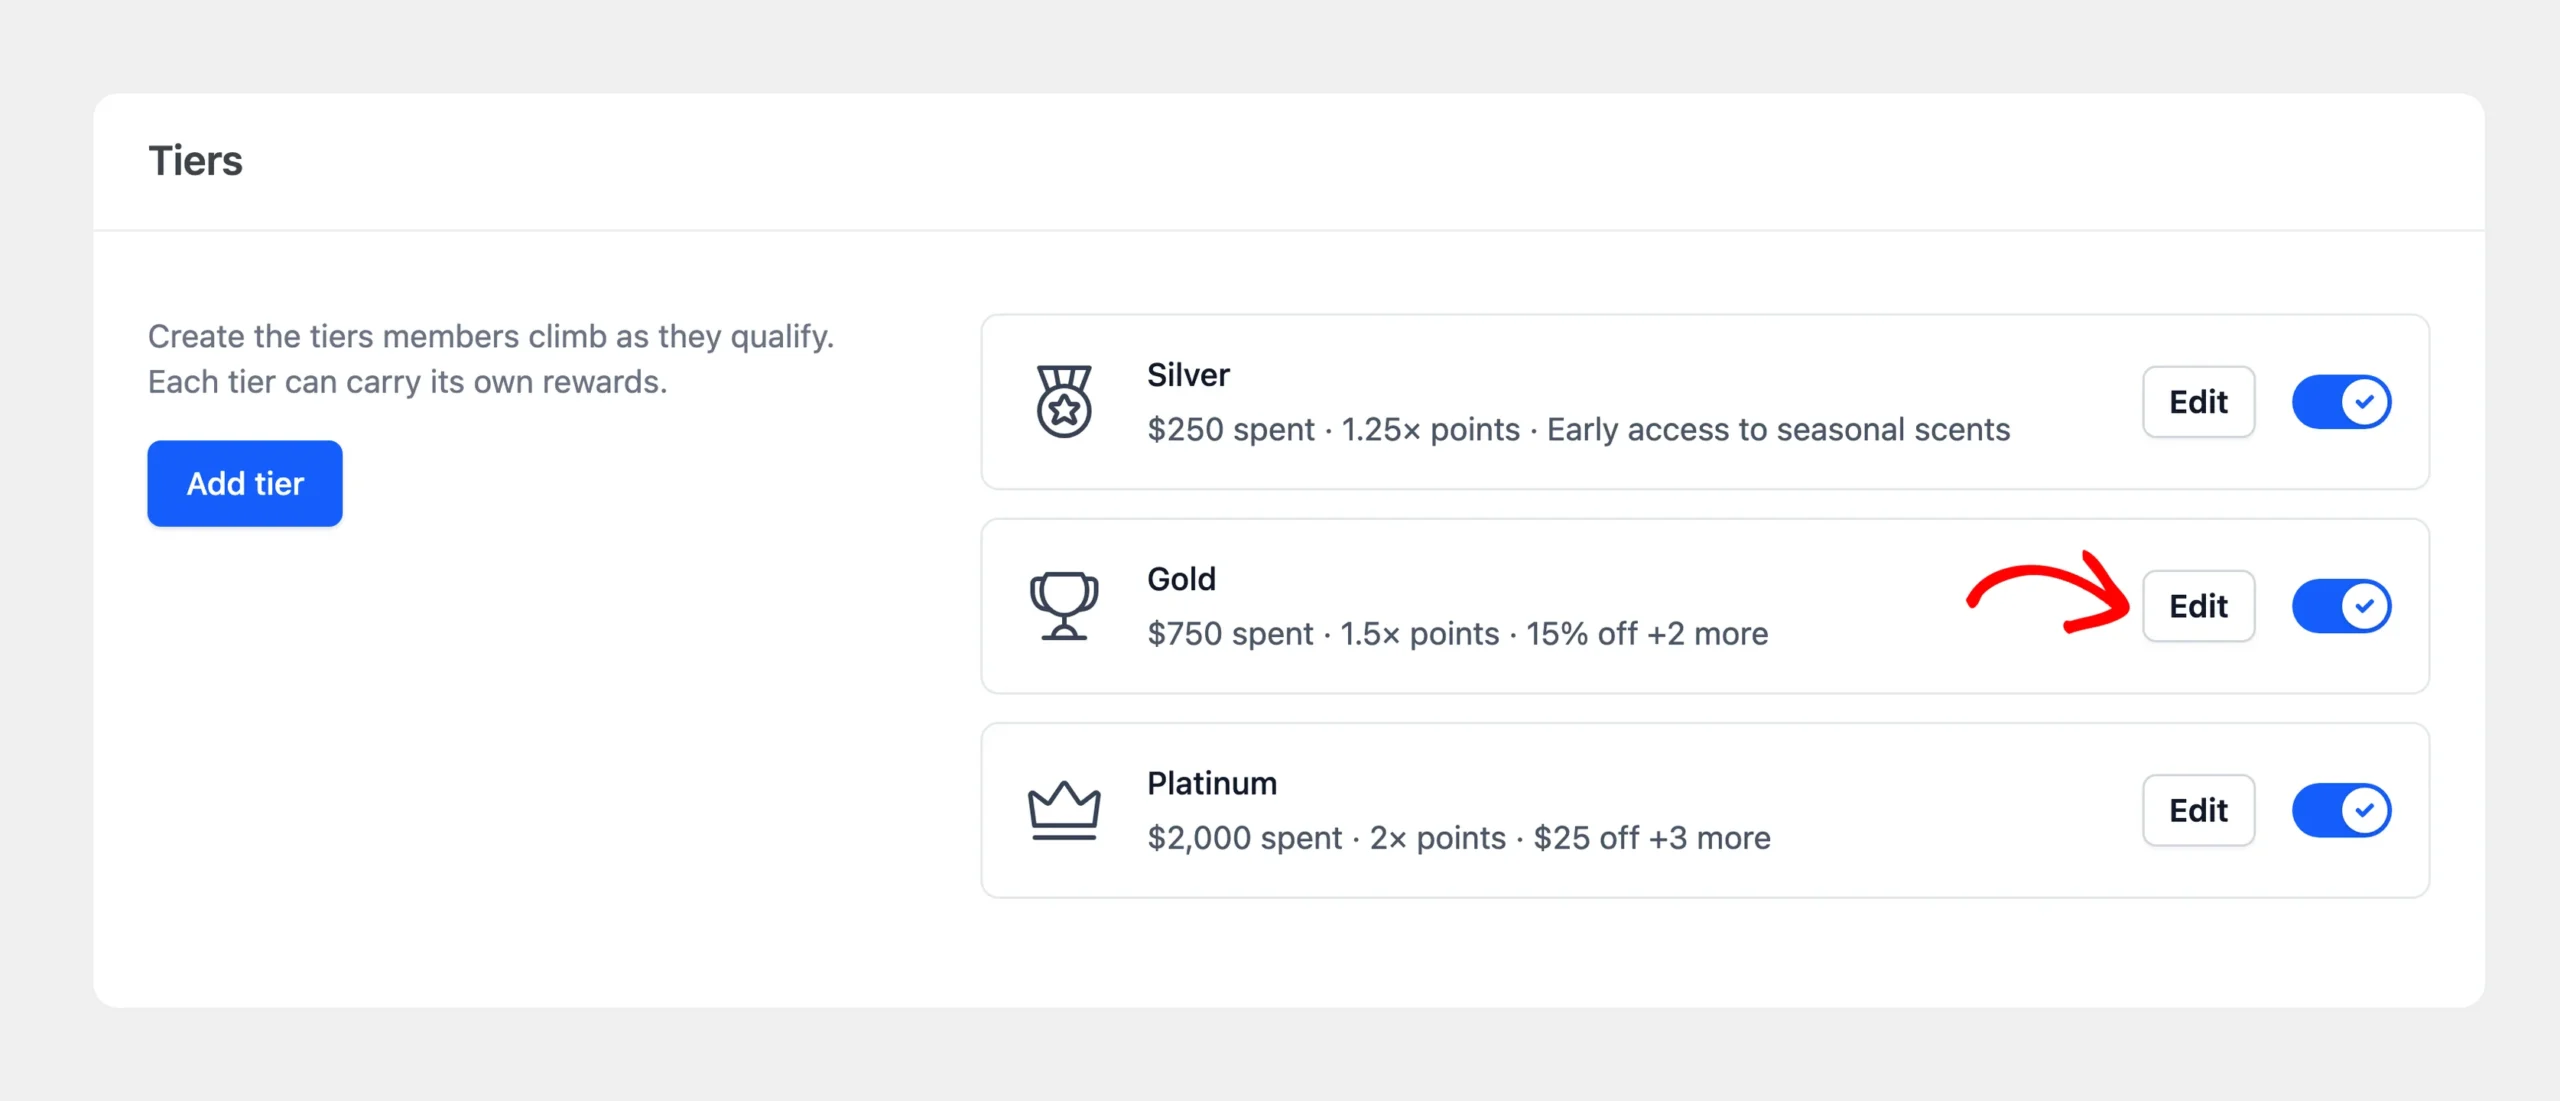
Each tier card shows its icon, name, and a summary of its threshold and rewards. To change a tier, click Edit on its card.
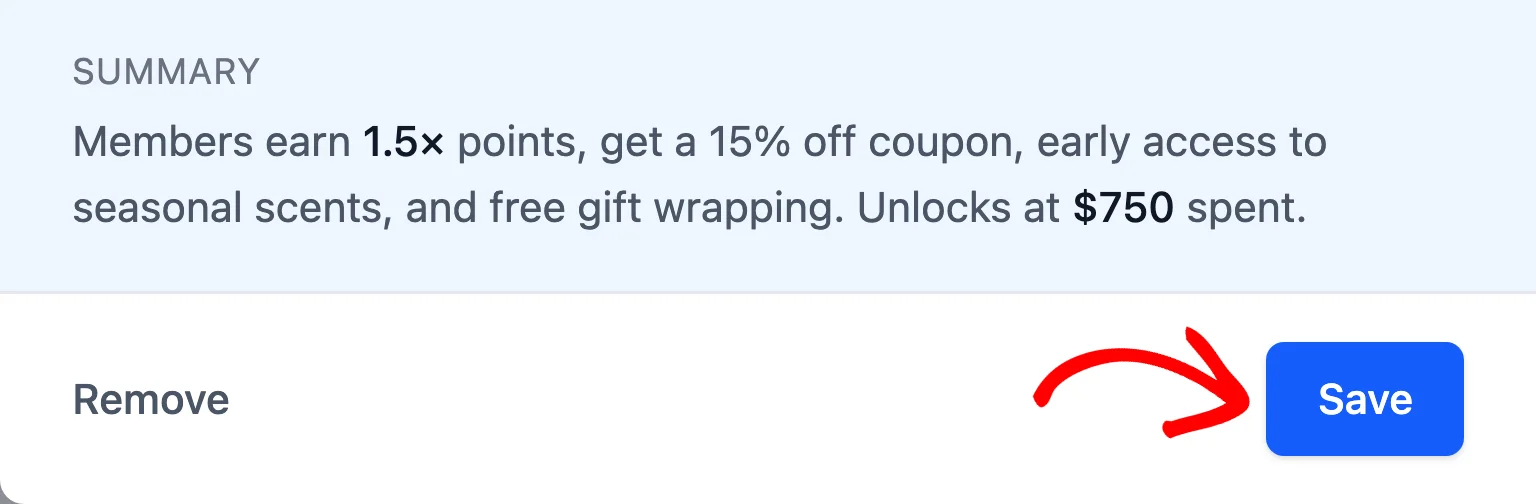
After you make your changes, click Save at the bottom of the drawer. Then click Save Changes.
Changing a tier’s name, description, icon, multiplier, rewards, or perks takes effect for members right away. Changing a threshold can move members, so RewardsWP checks every member again in the background after you save.
Enabling or Disabling a Tier
Each tier card has a toggle to the right of its Edit button. It lets you take a tier out of your ladder without deleting it, for example while you rework its rewards.
To disable a tier, turn off its toggle. Then click Save Changes.
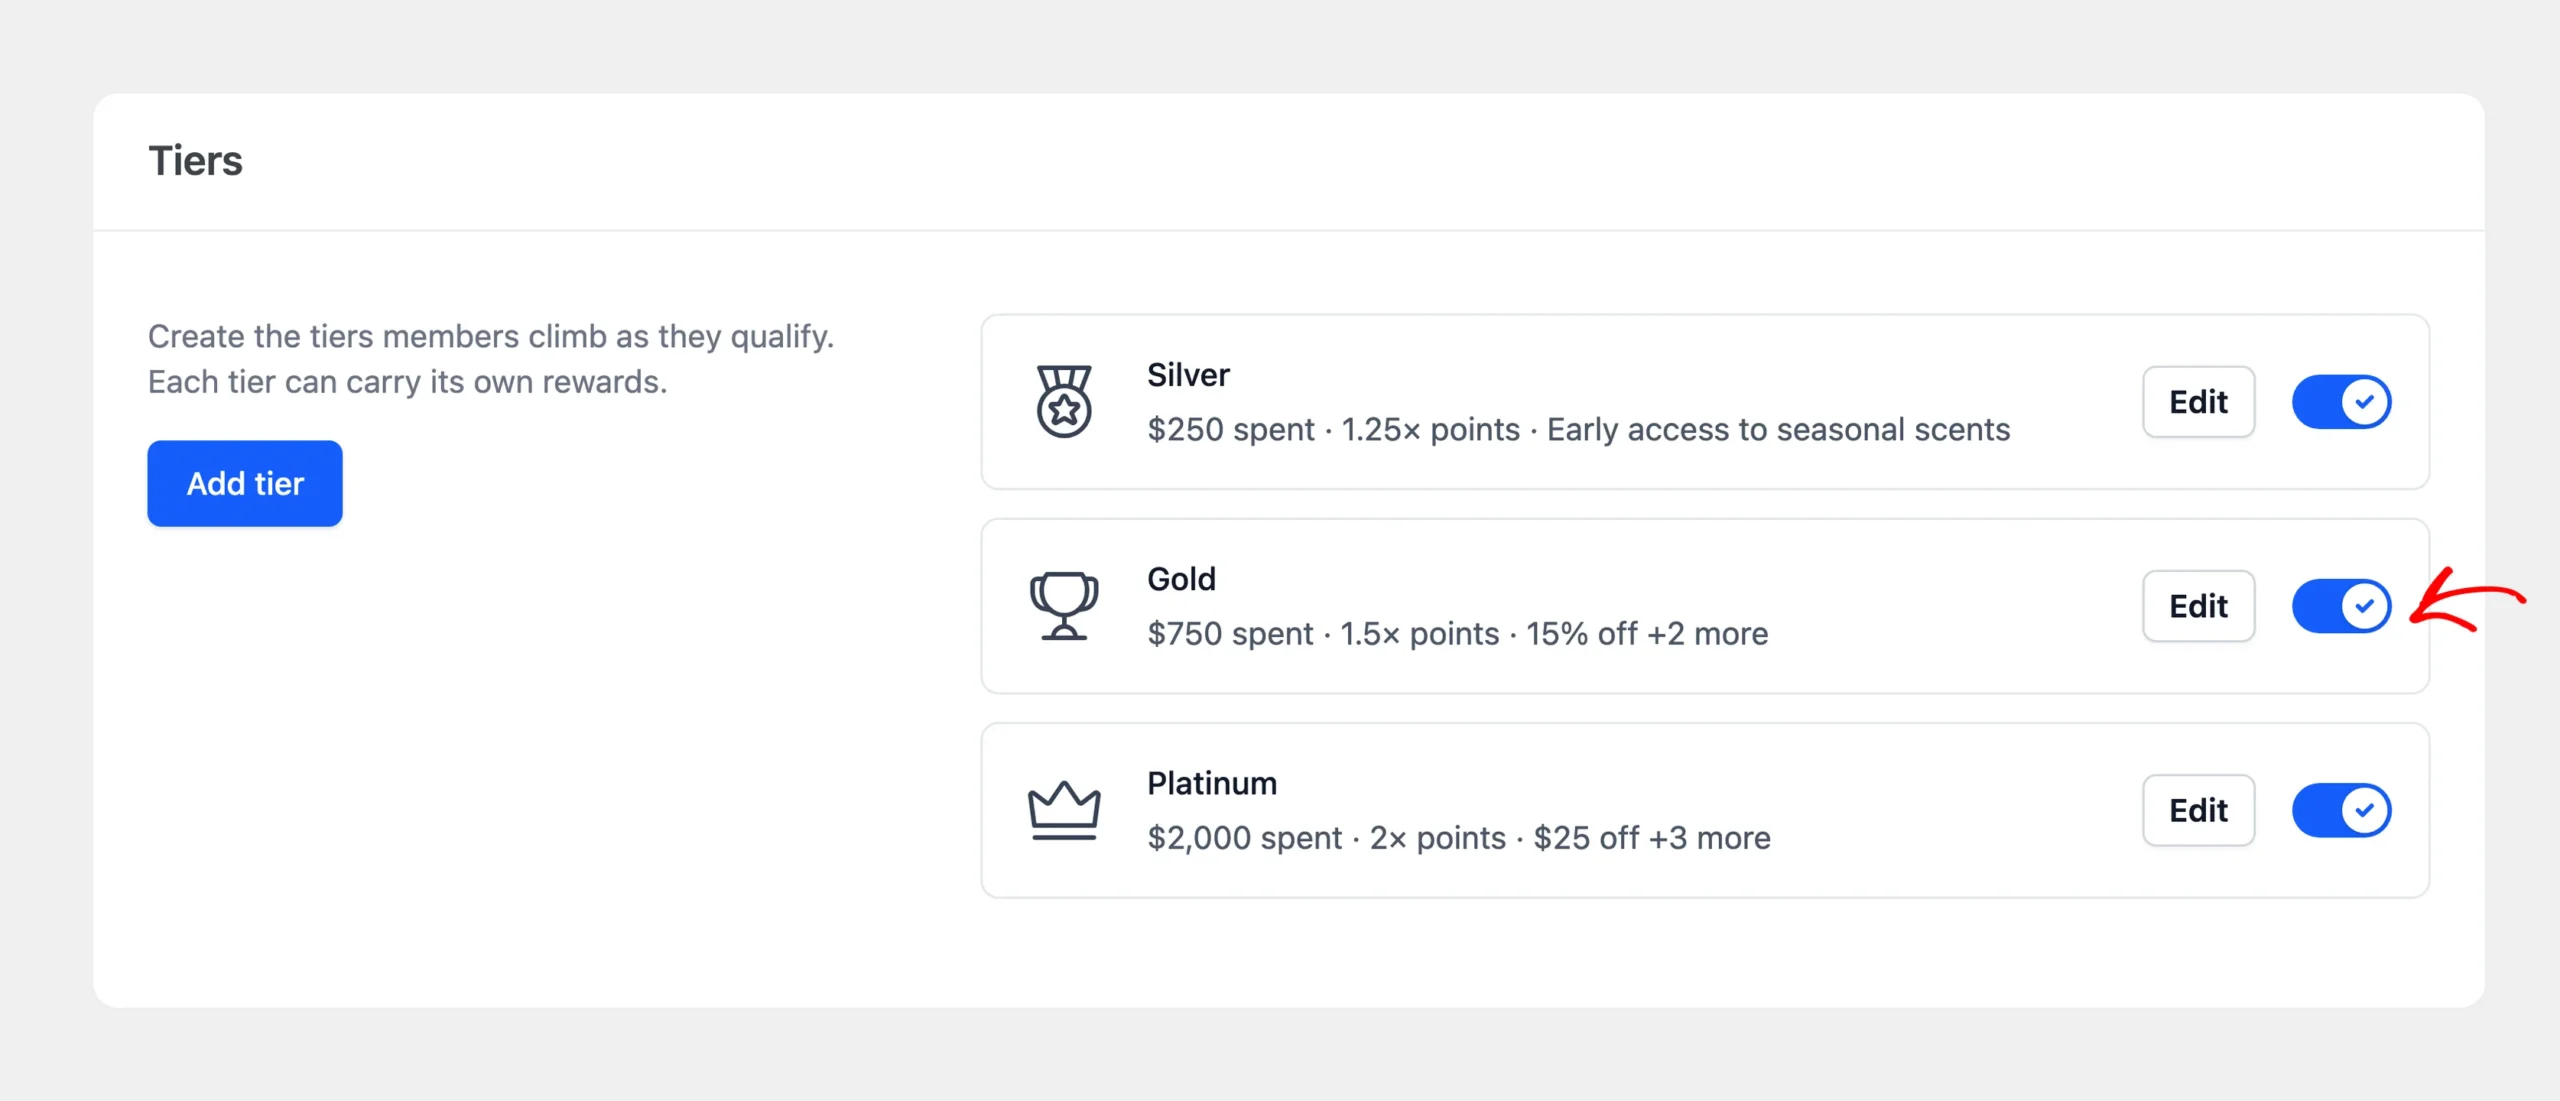
While a tier is disabled, nobody can reach it. Members who held it move to the tier they qualify for among your enabled tiers.
New tiers are enabled when you add them. A disabled tier keeps its place on the list, faded, until you turn it back on.
Removing a Tier
To remove a tier for good, click Edit on its card. Then click Remove at the bottom of the drawer.
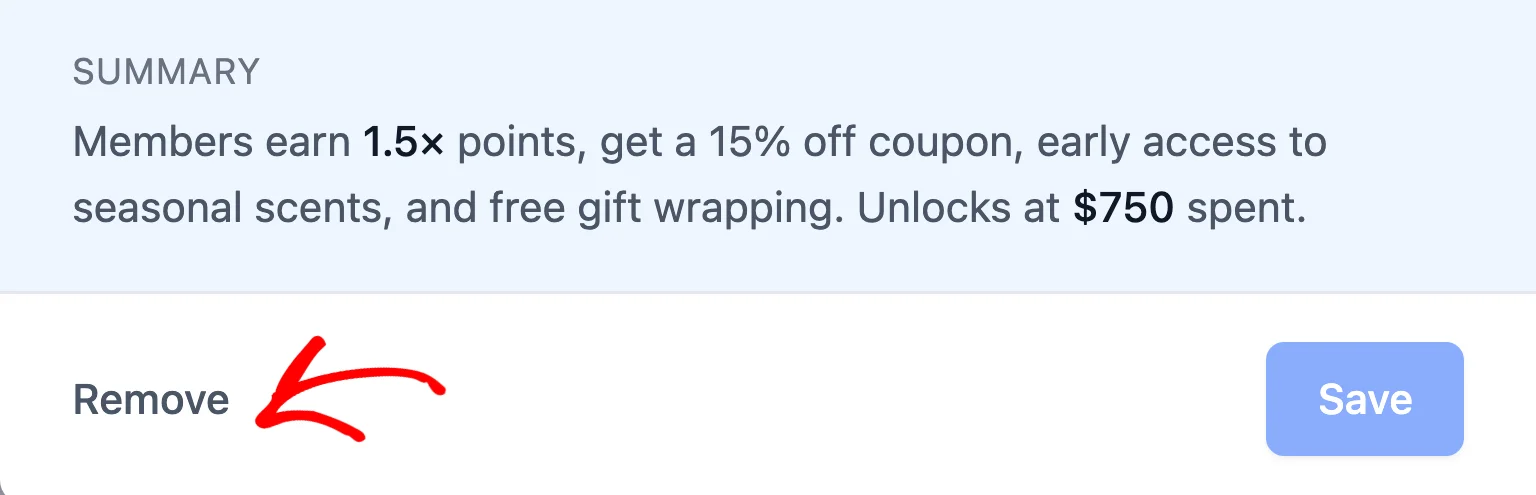
RewardsWP asks you to confirm and names the tier you’re removing. The removal isn’t final until you save your settings.
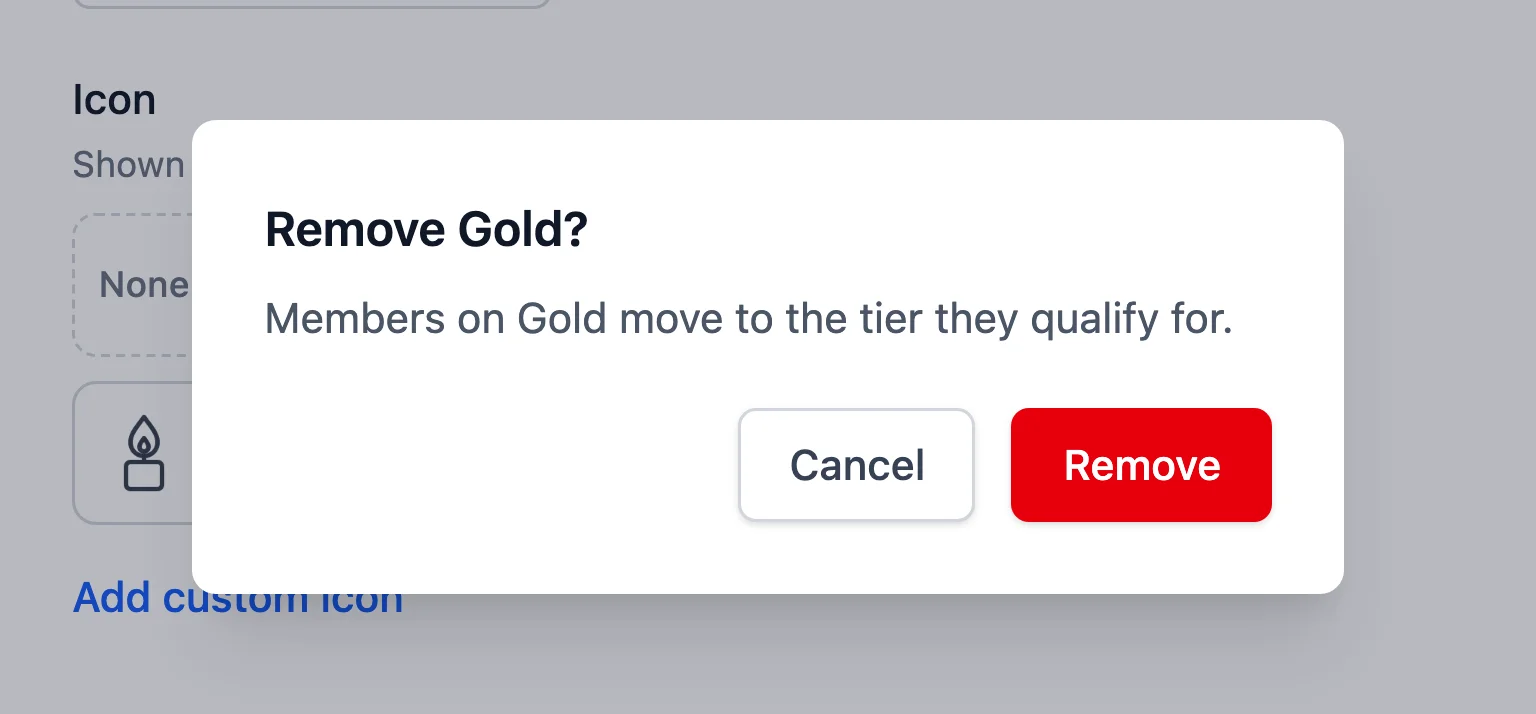
After you confirm, click Save Changes. Members who held the removed tier move to the tier they qualify for among your remaining tiers.
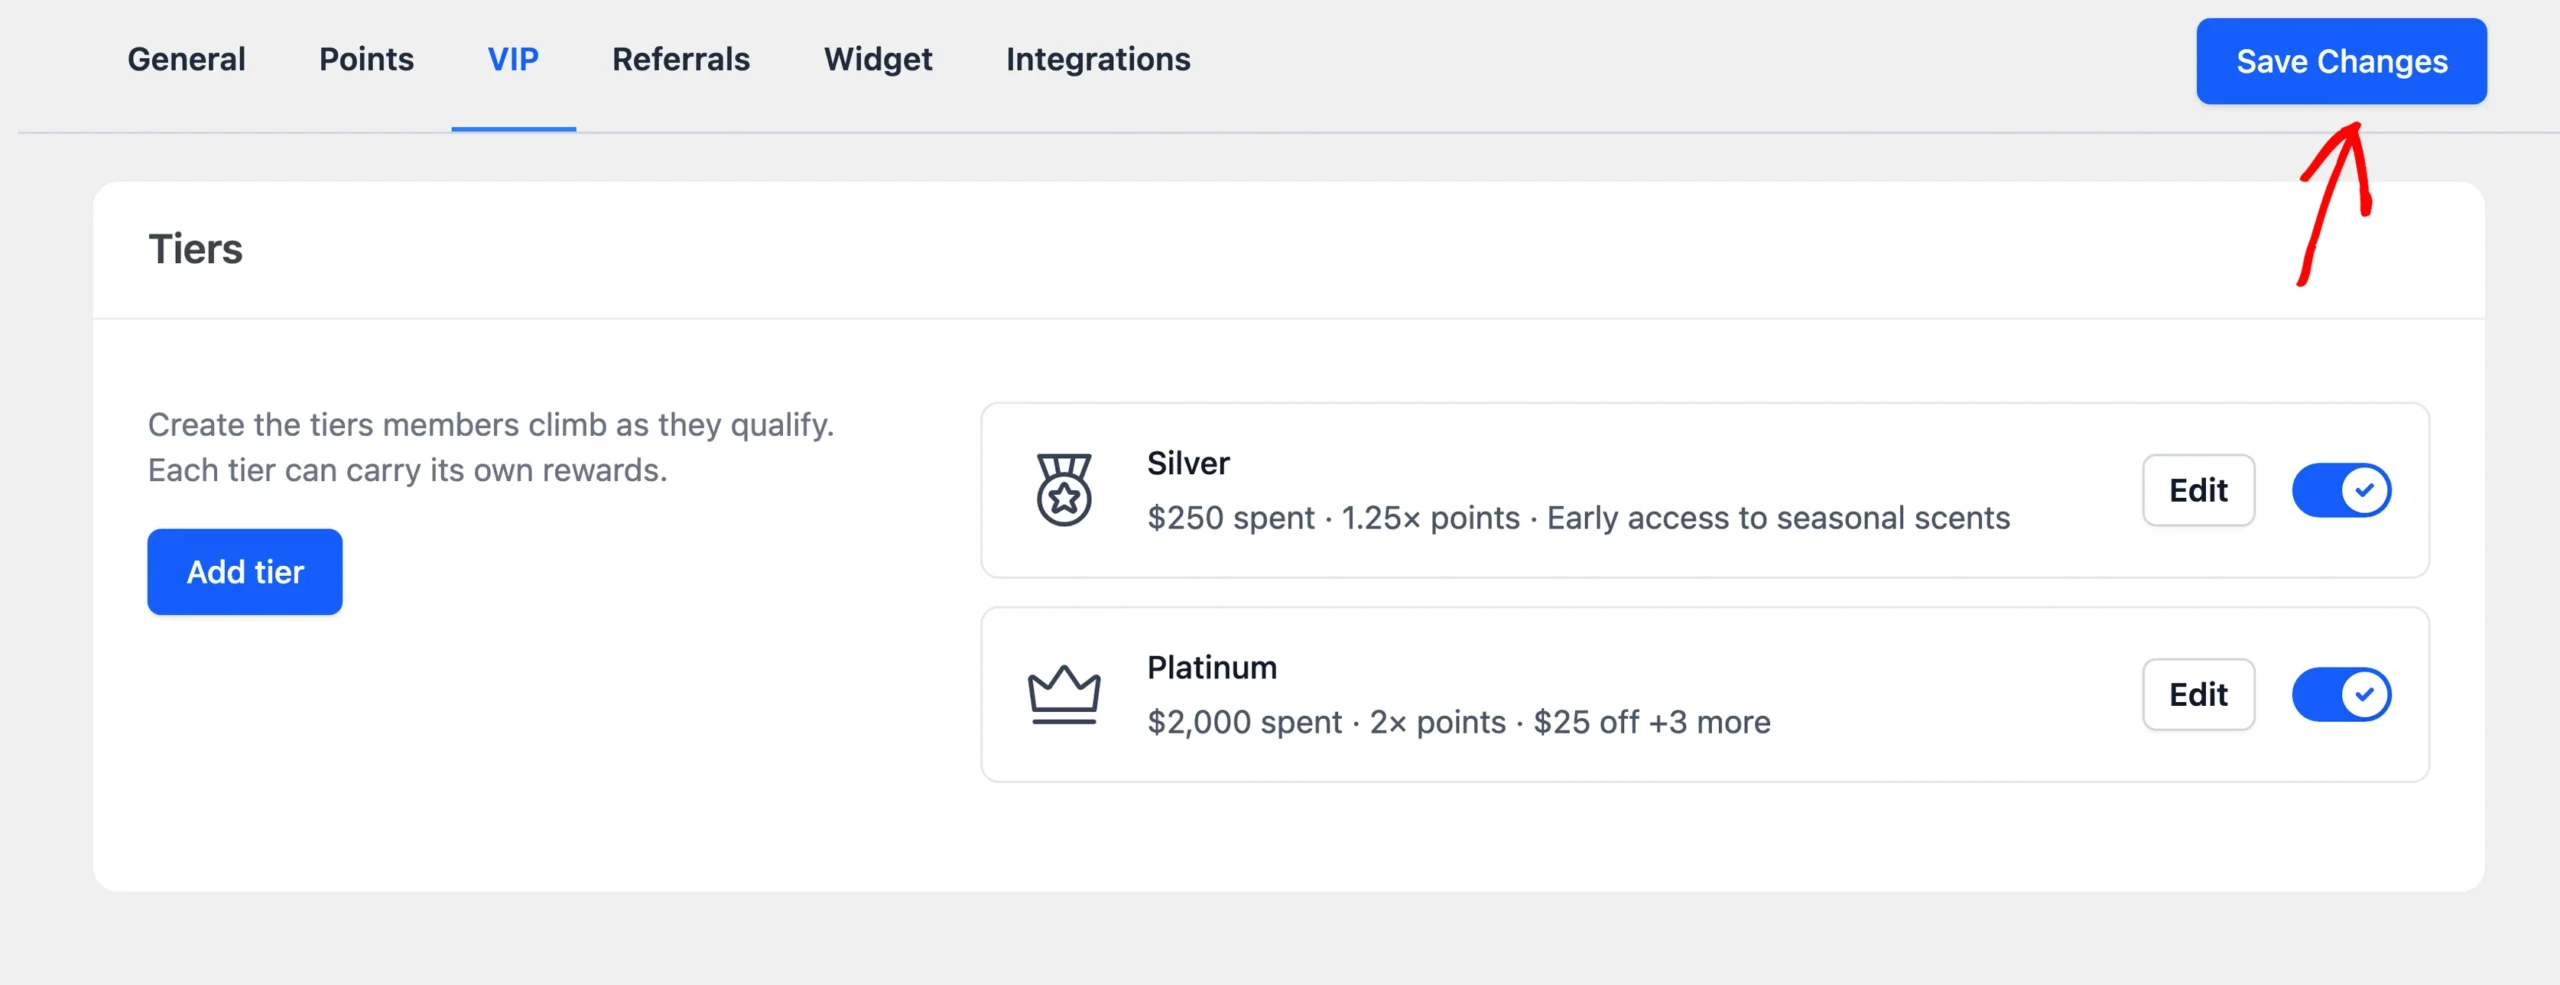
That’s it! You’ve built your VIP ladder. Next, to give each tier an icon members recognize, read Customizing VIP Tier Icons.
FAQ
Below, we’ve answered some of the most common questions about creating and managing VIP tiers.
How many tiers can I create?
There’s no set limit. A short ladder is easier for members to follow, since each one always sees how far they are from the next tier.
Can I drag tiers into a different order?
No. Tiers always sort by their threshold, lowest first. To move a tier up or down the ladder, change its threshold.
Why can’t I save a tier with this threshold?
Another tier already uses that number, or another tier is already your starting tier at 0. This check includes tiers you’ve disabled. To save the tier, give it a different threshold.
Do members get an email when I add a tier?
Not for the members RewardsWP places when you save. Tier emails and entry rewards go to members who reach a tier through their own activity after that.