





Would you like each VIP tier to have a mark members recognize at a glance? Every tier can show an icon next to its name, either a built-in icon or your own artwork. Members then see their status the moment they open the Rewards Widget.
In this guide, we’ll walk you through choosing a built-in icon, uploading your own, and removing a custom icon. All you need is a Pro license level and at least one VIP tier.
Requirements: The VIP Program requires a Pro license level and an active WooCommerce or Easy Digital Downloads store.
Before you get started, make sure RewardsWP is installed and activated on your WordPress site, and that you’ve created a VIP tier.
Choosing a Built-In Icon
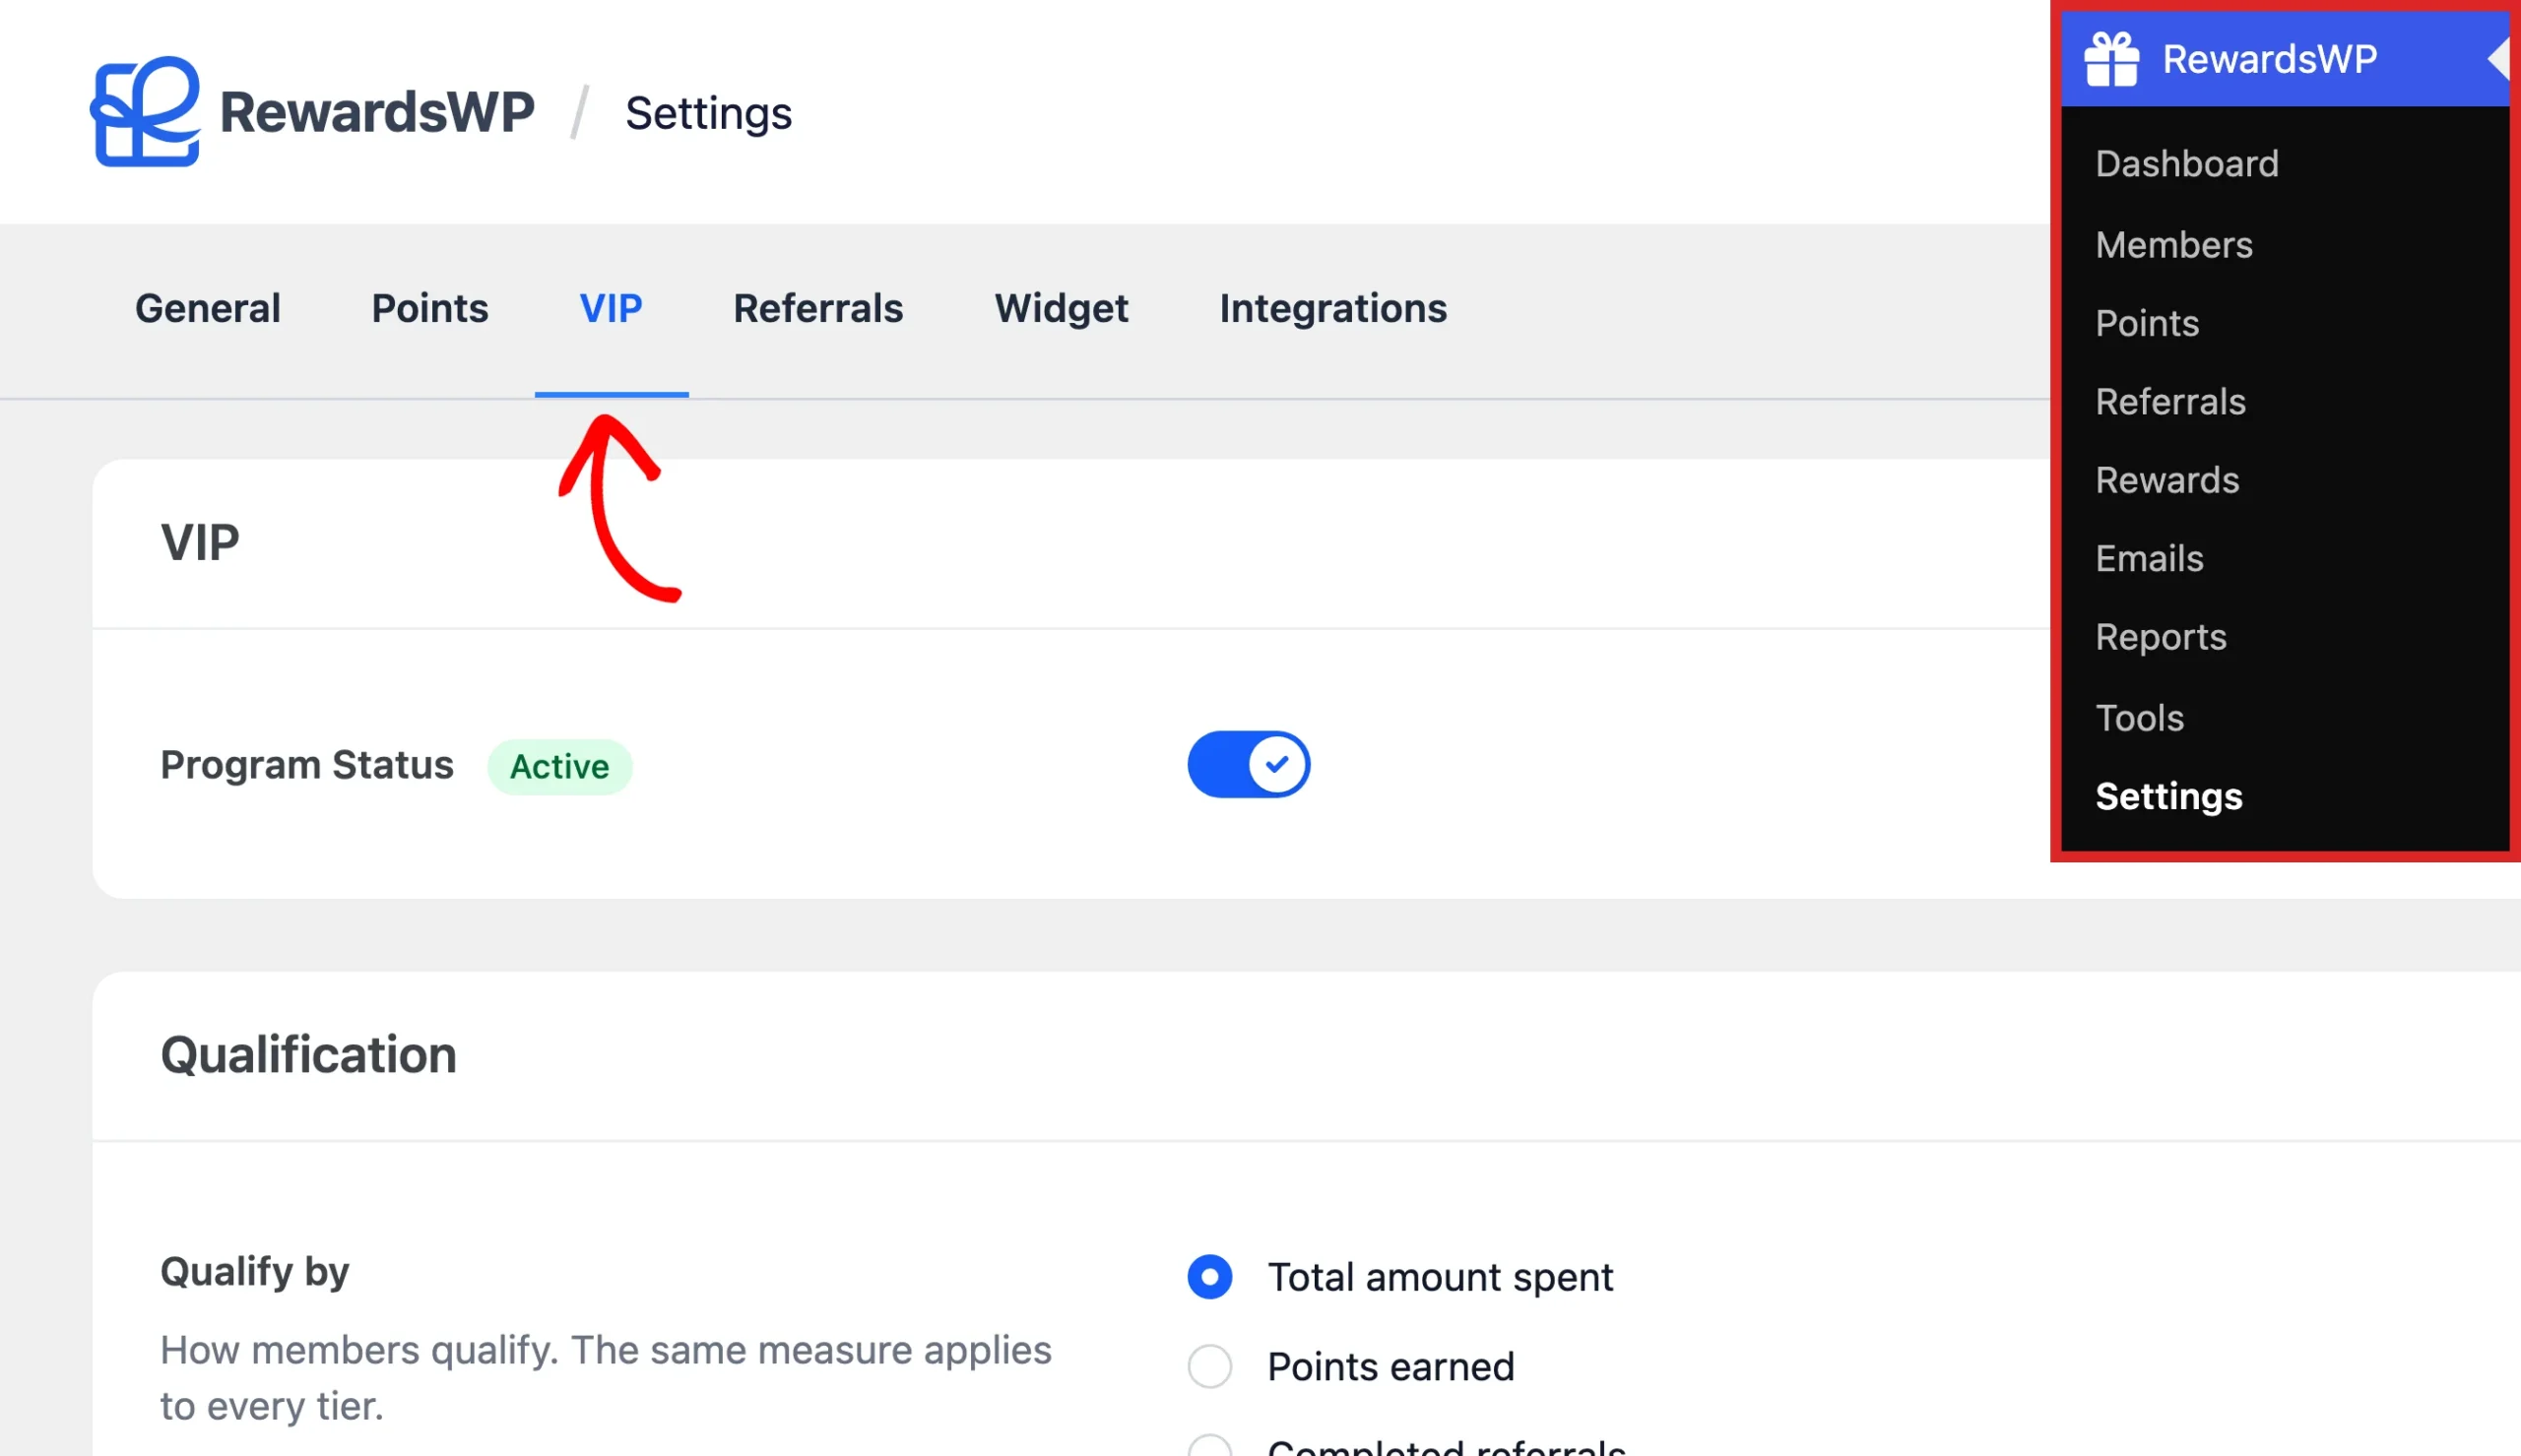
To get started, go to RewardsWP » Settings from your WordPress admin sidebar. Then click the VIP tab.
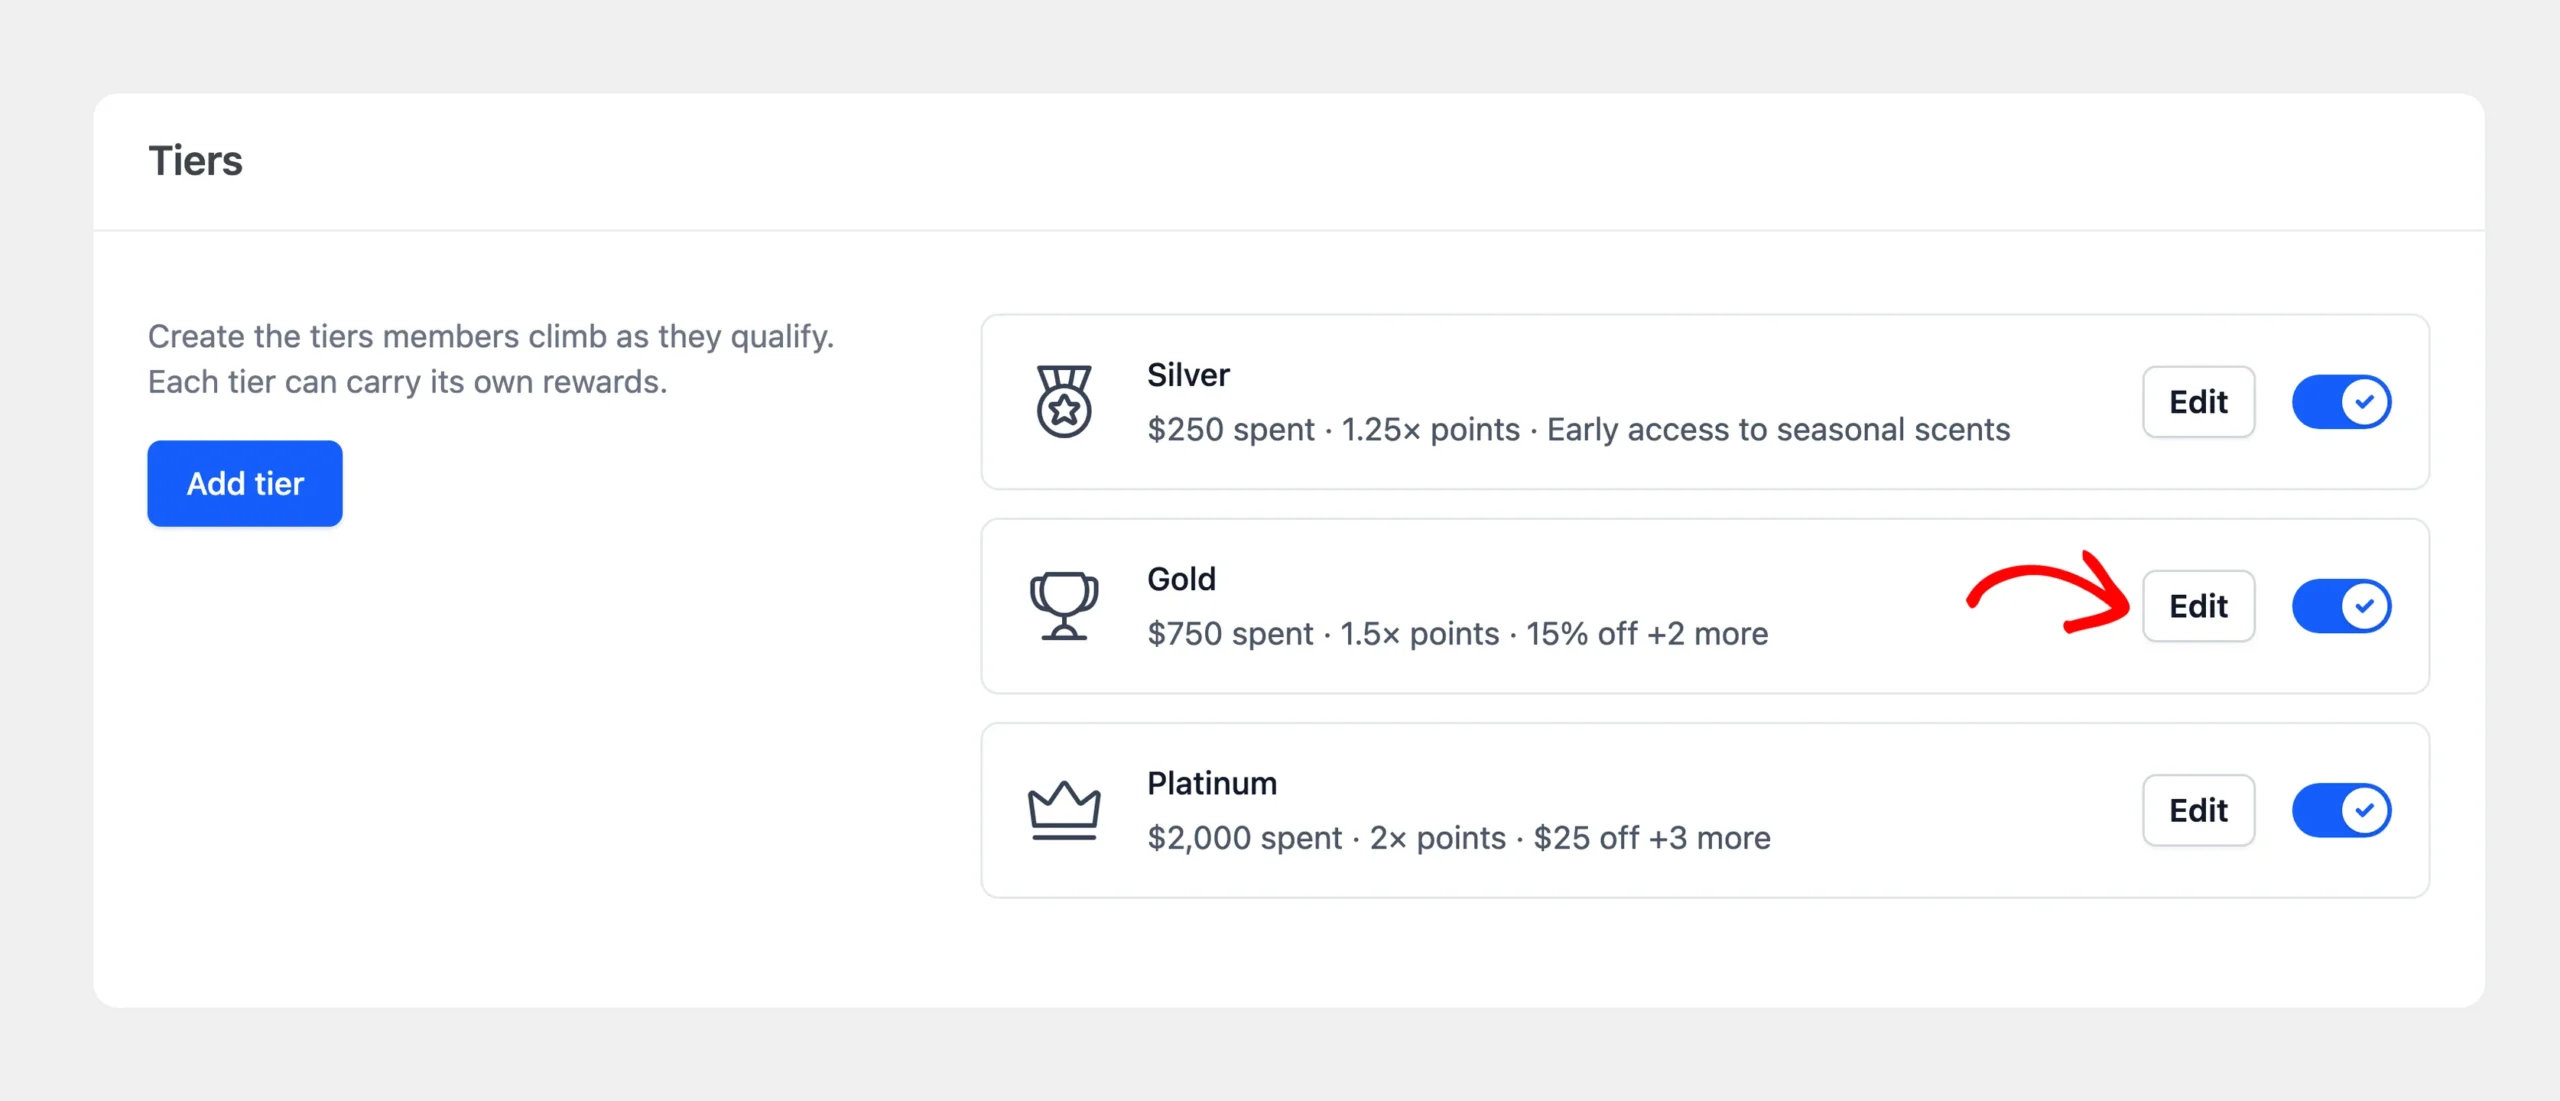
In the Tiers section, click Edit on the tier you want to change.
In the drawer that opens, find the Icon field.
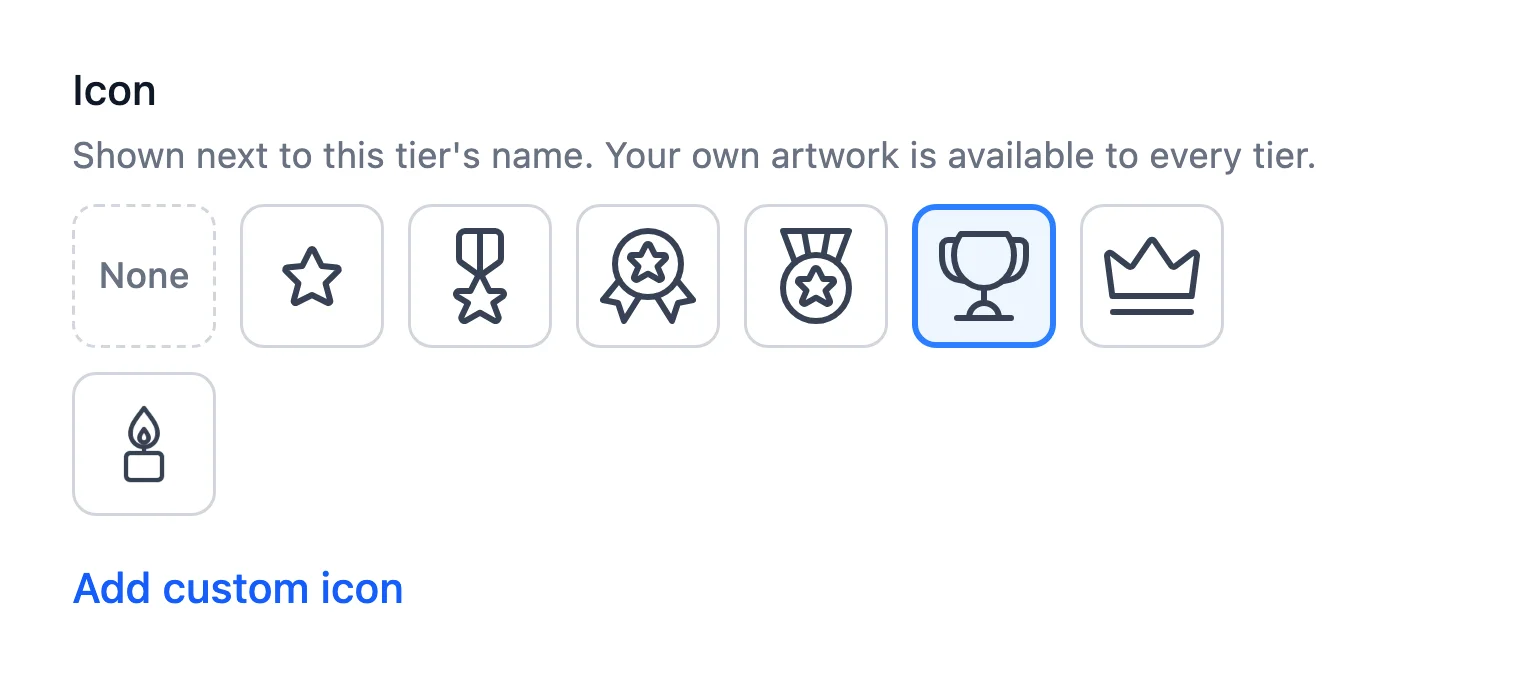
The built-in icons form a ladder of their own. They rise in prestige from a star, through a ribbon badge, a rosette, a medal, and a trophy, to a crown. Picking them in that order for your tiers gives members a visual sense of how far they’ve climbed. New tiers start with the star.
In the picker, click the icon you want. To show no icon at all, click None.
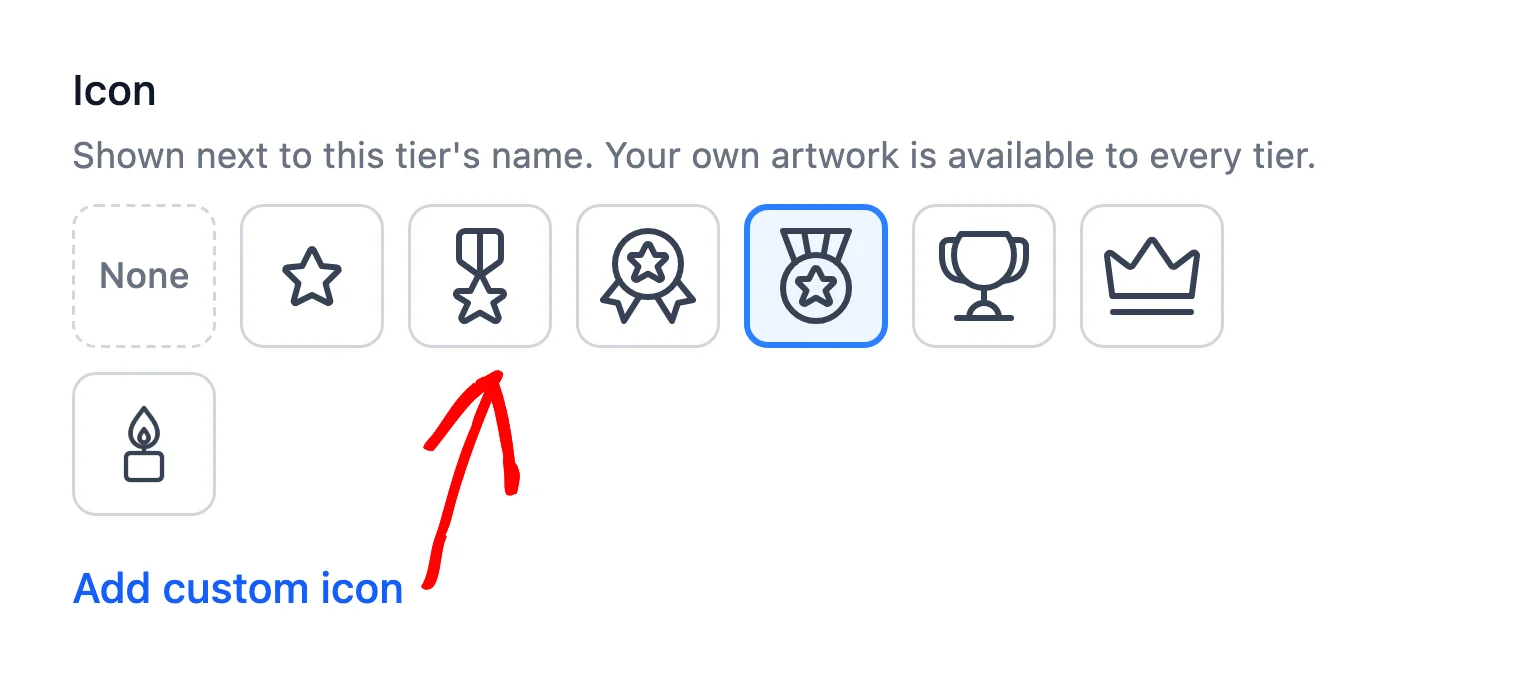
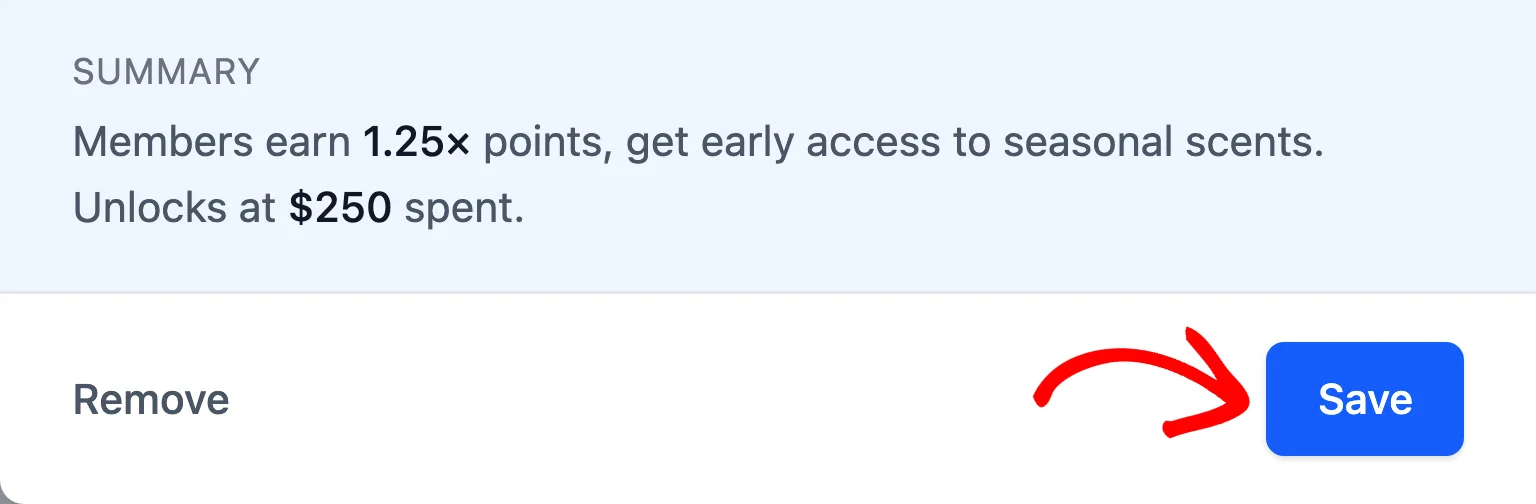
When you’re done, click Save at the bottom of the drawer.
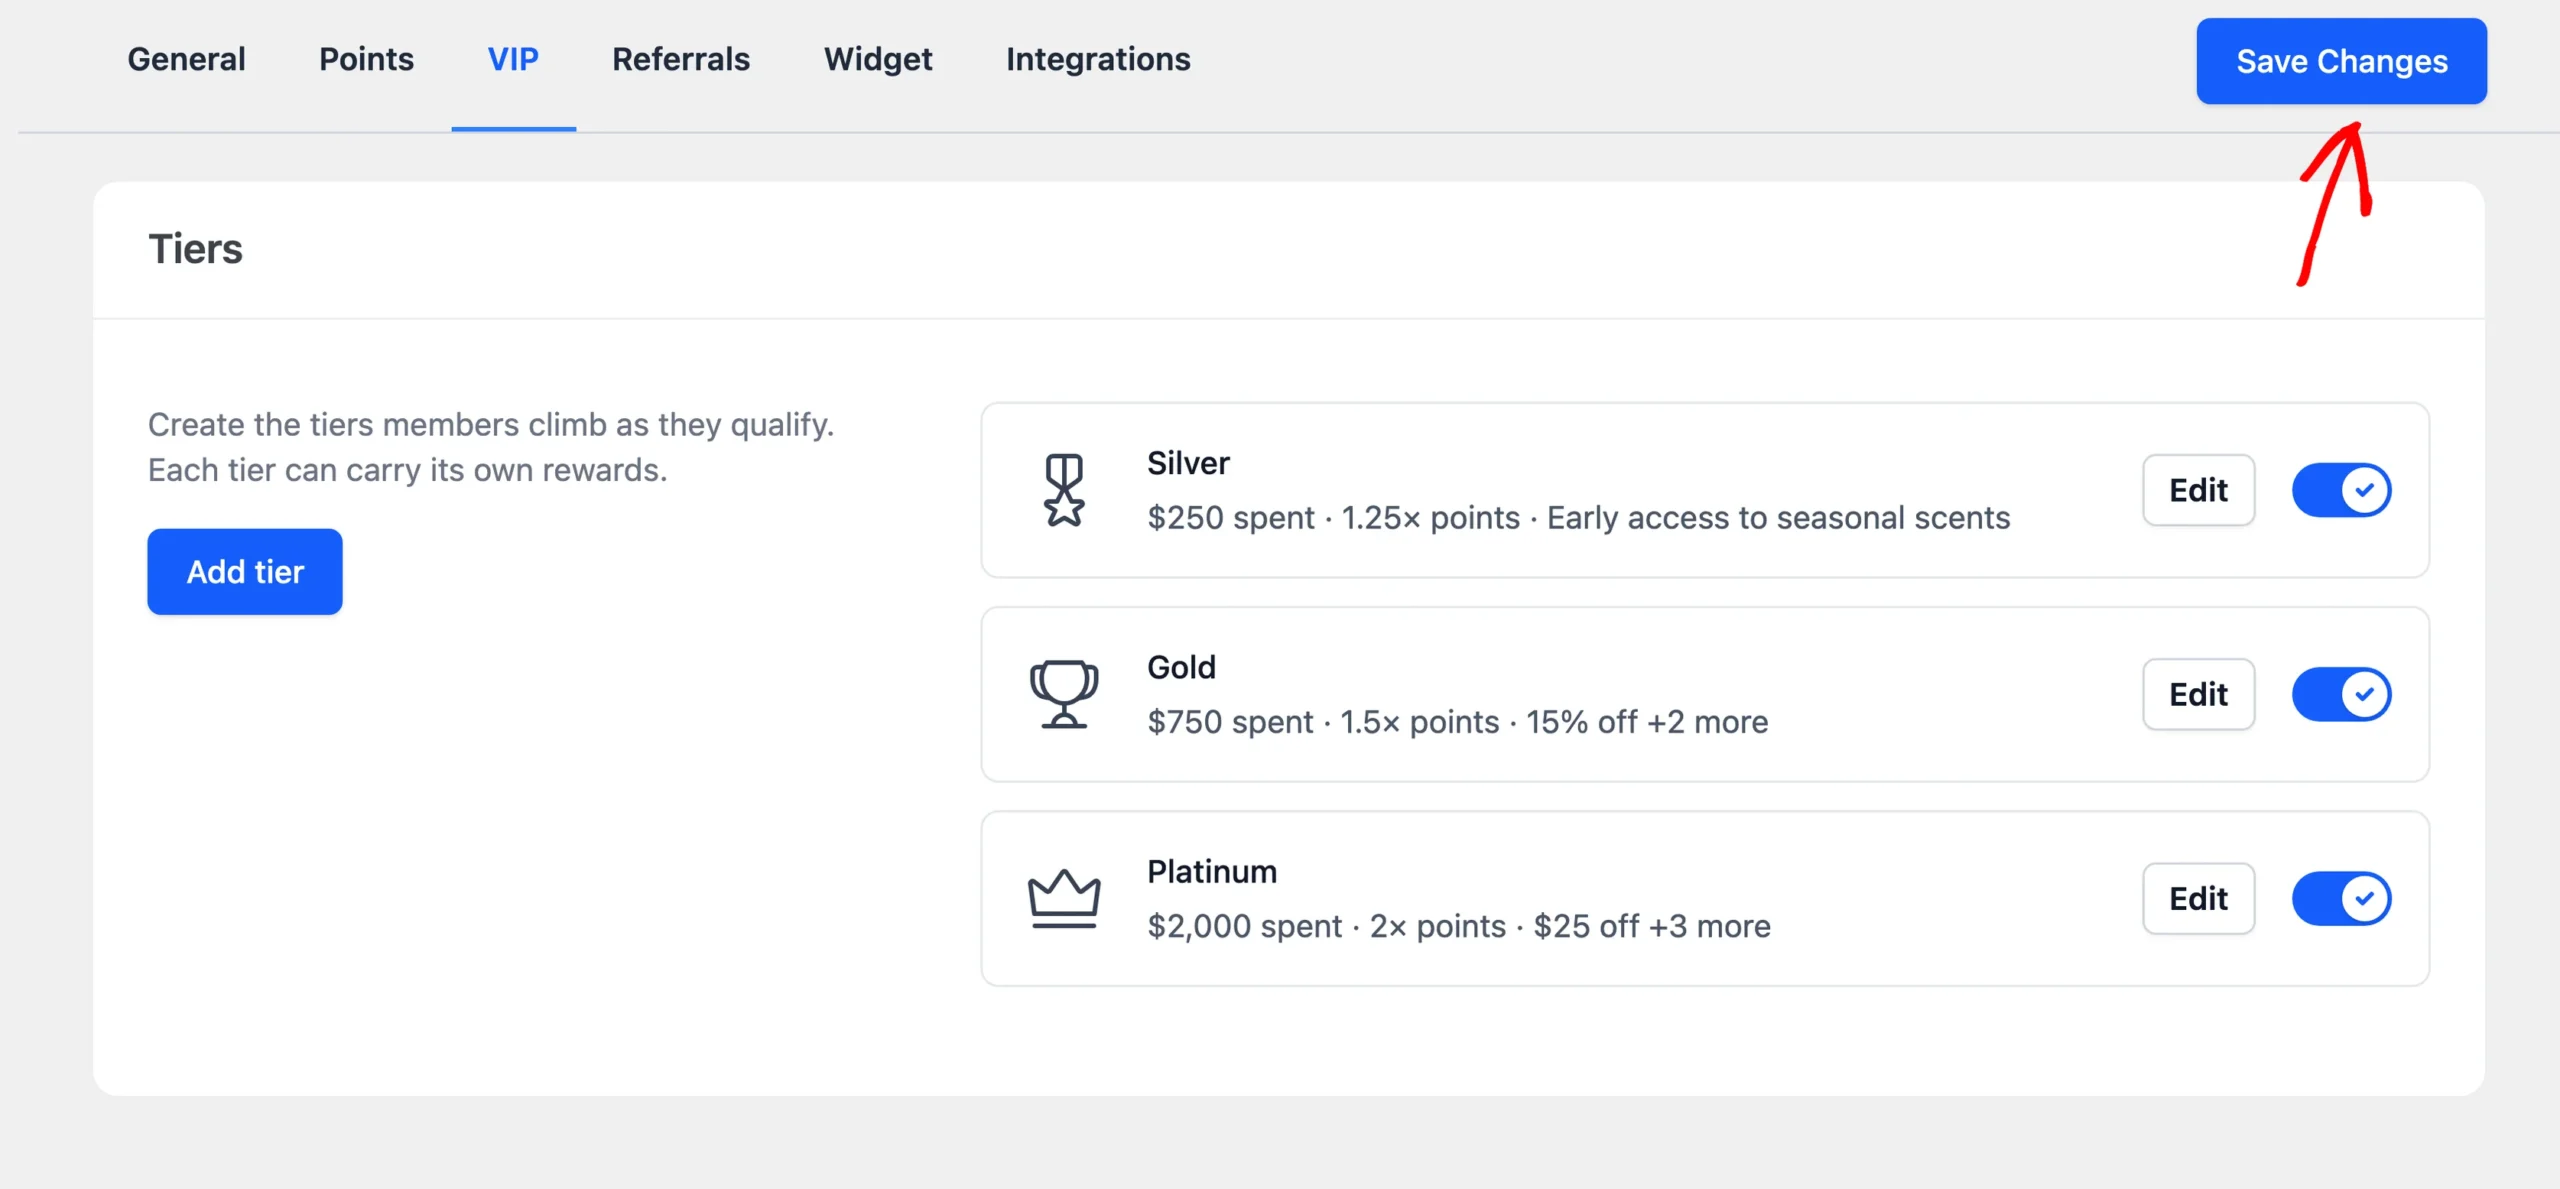
Then click Save Changes in the bar with the settings tabs.
The tier card in the Tiers section now shows its new icon.
Uploading Your Own Icon
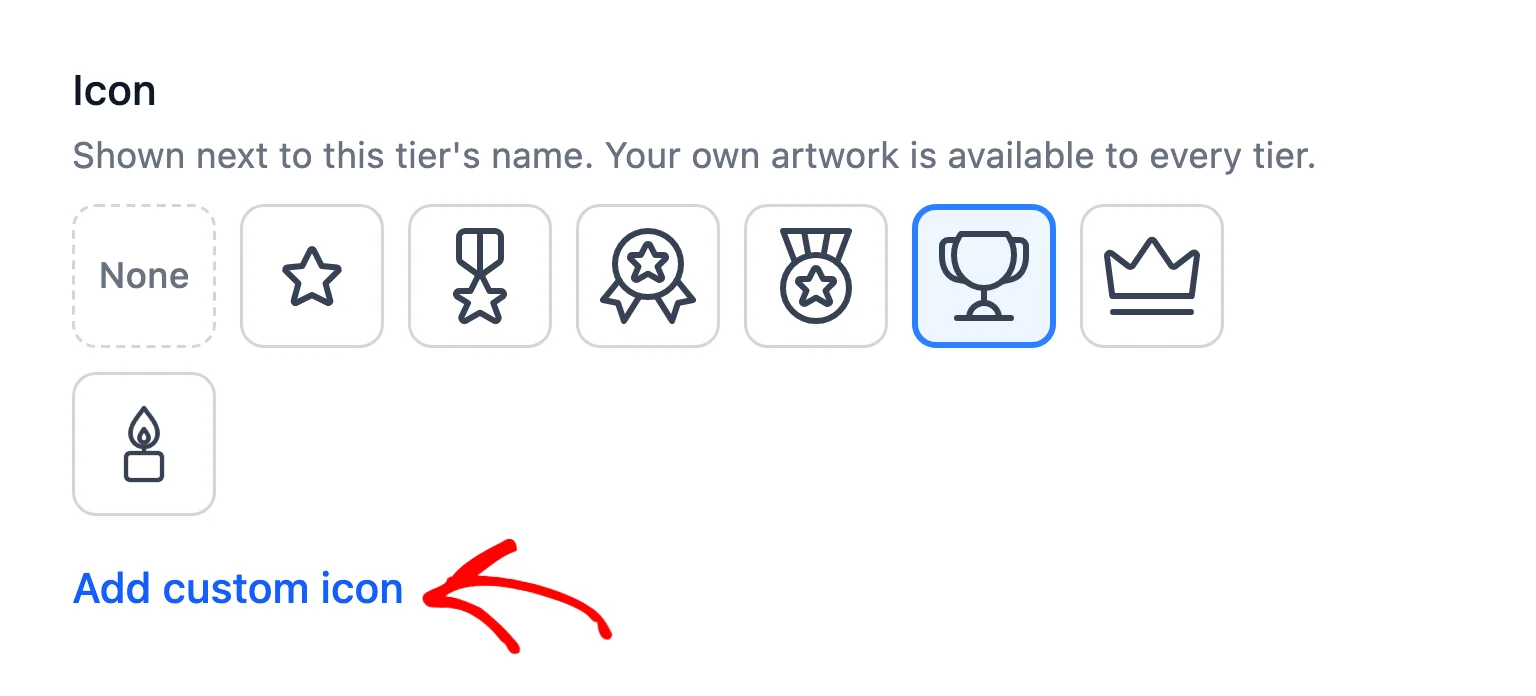
If you have tier artwork that matches your brand, you can use it instead of a built-in icon. In the Icon field of the tier’s Edit drawer, click Add custom icon.
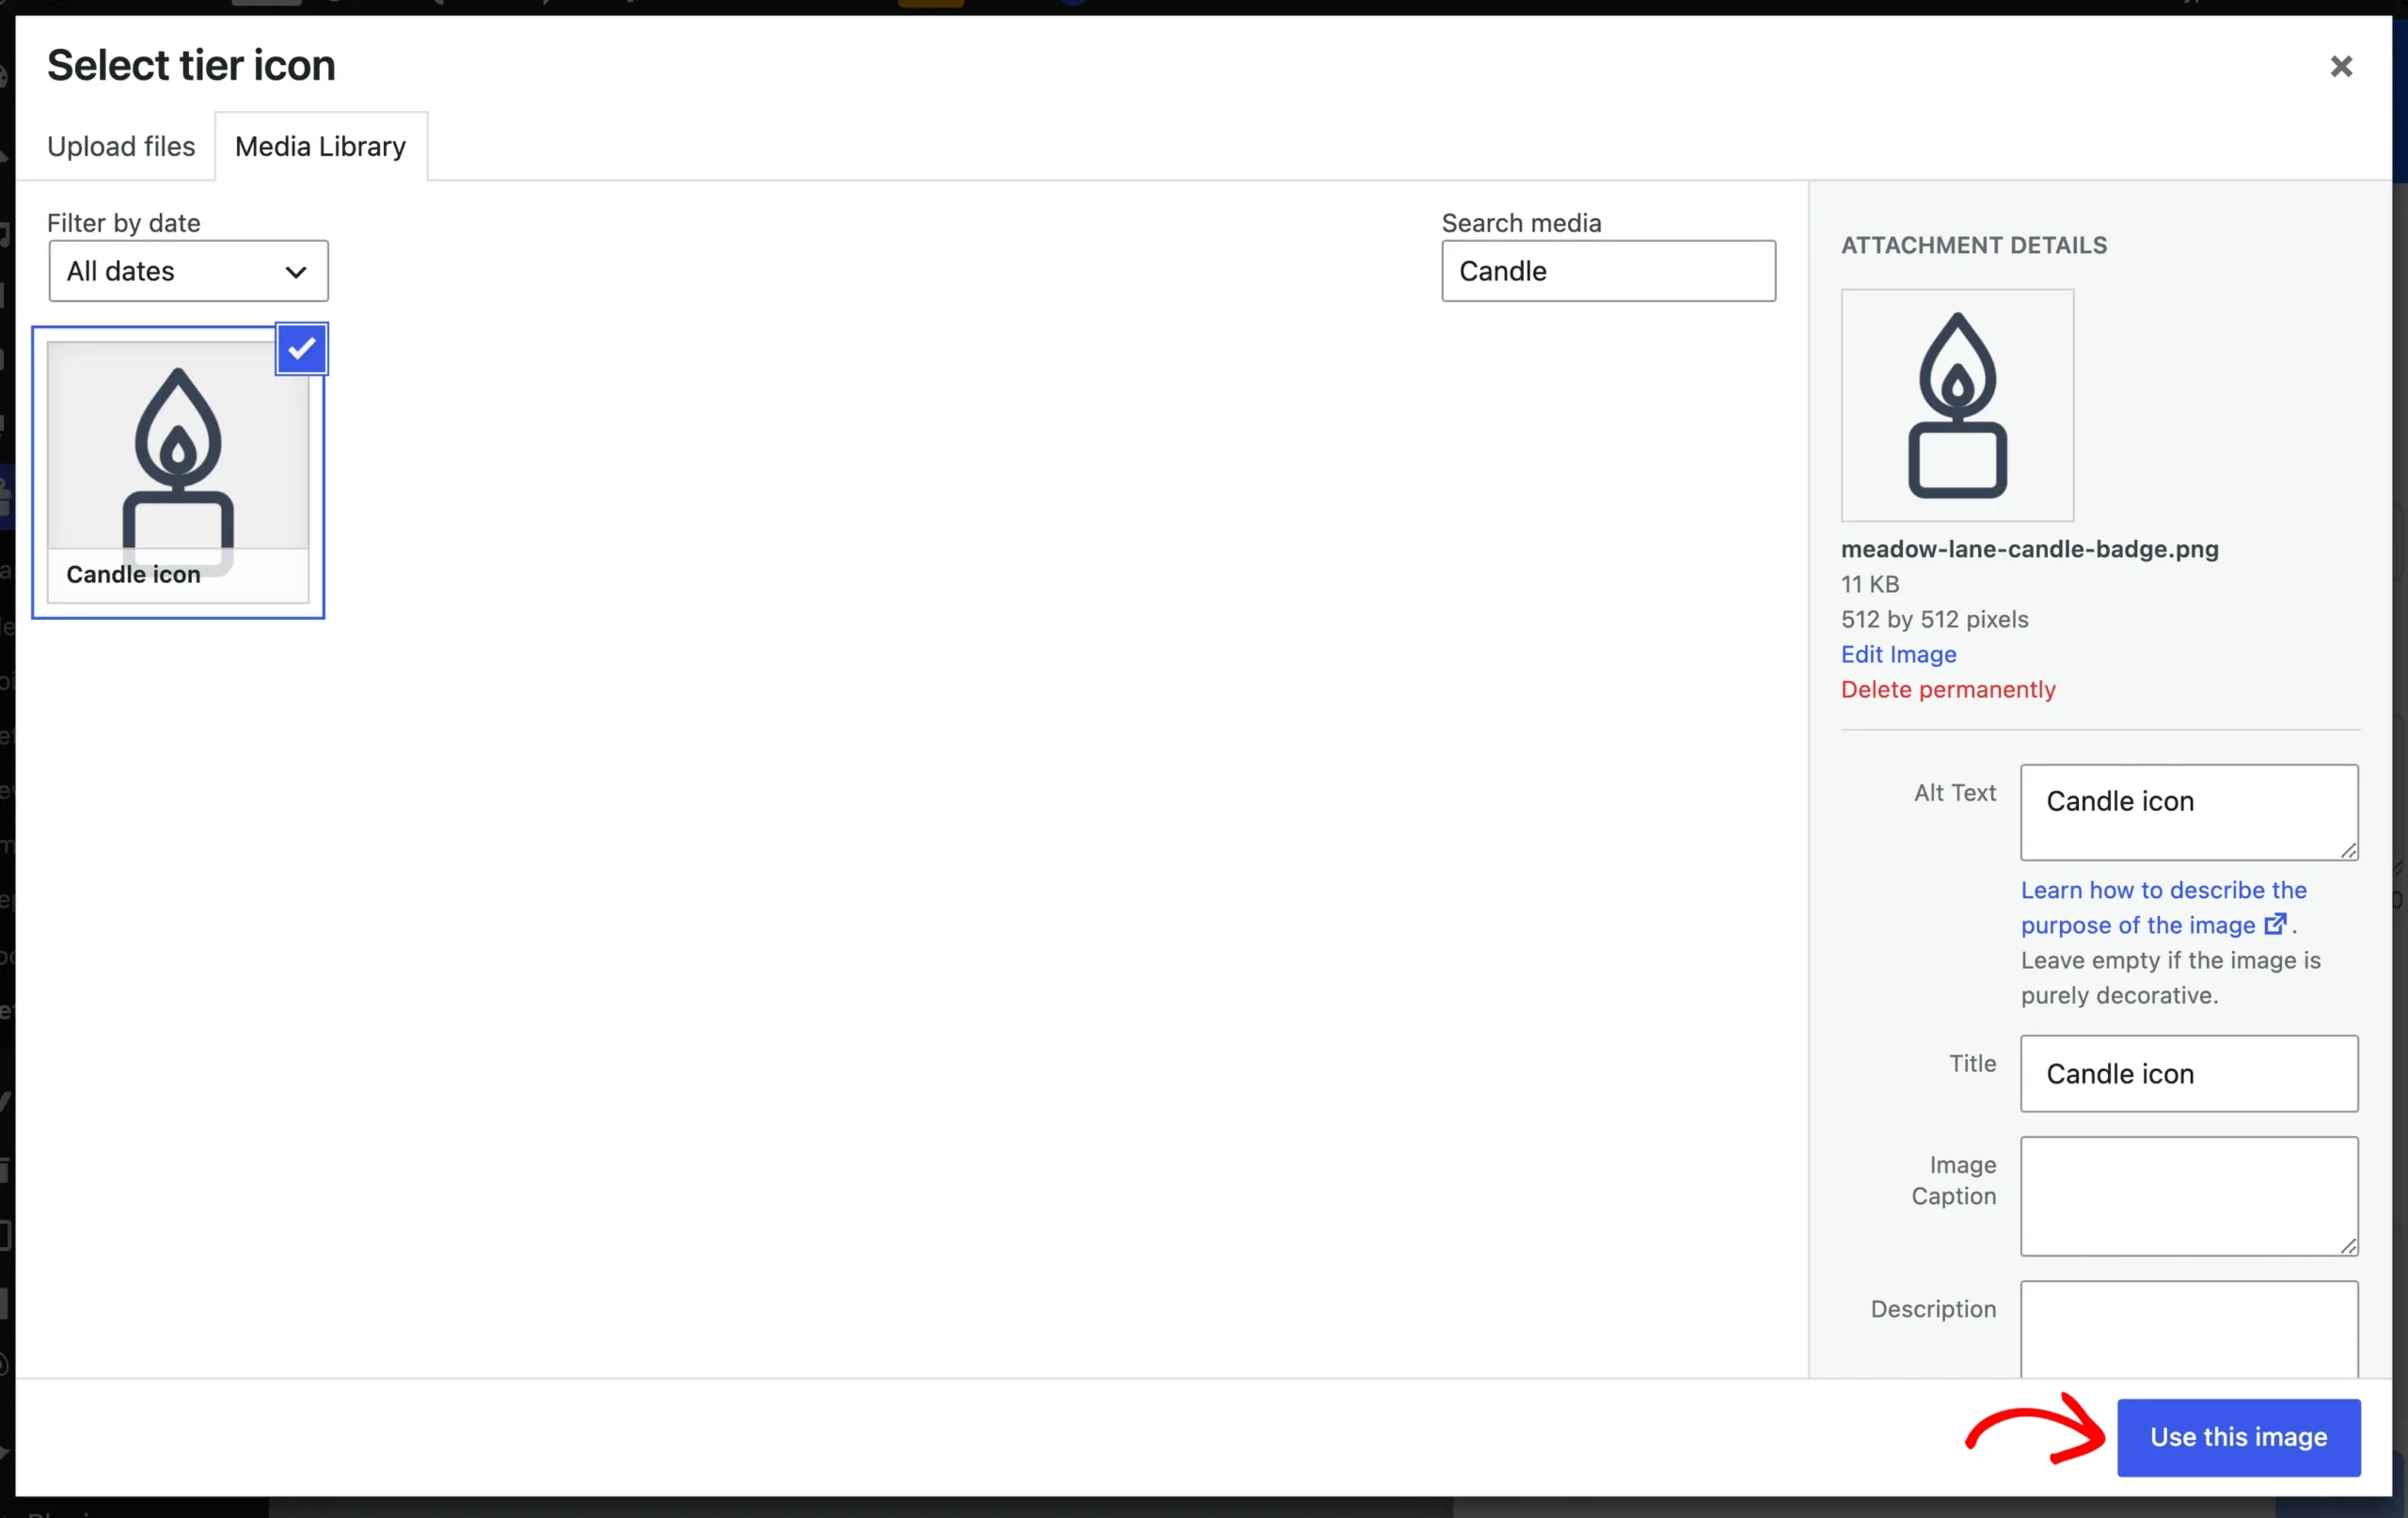
The WordPress media library opens. From there, upload a new image or pick one you’ve already uploaded. Then click Use this image.
The image is selected for this tier straight away.
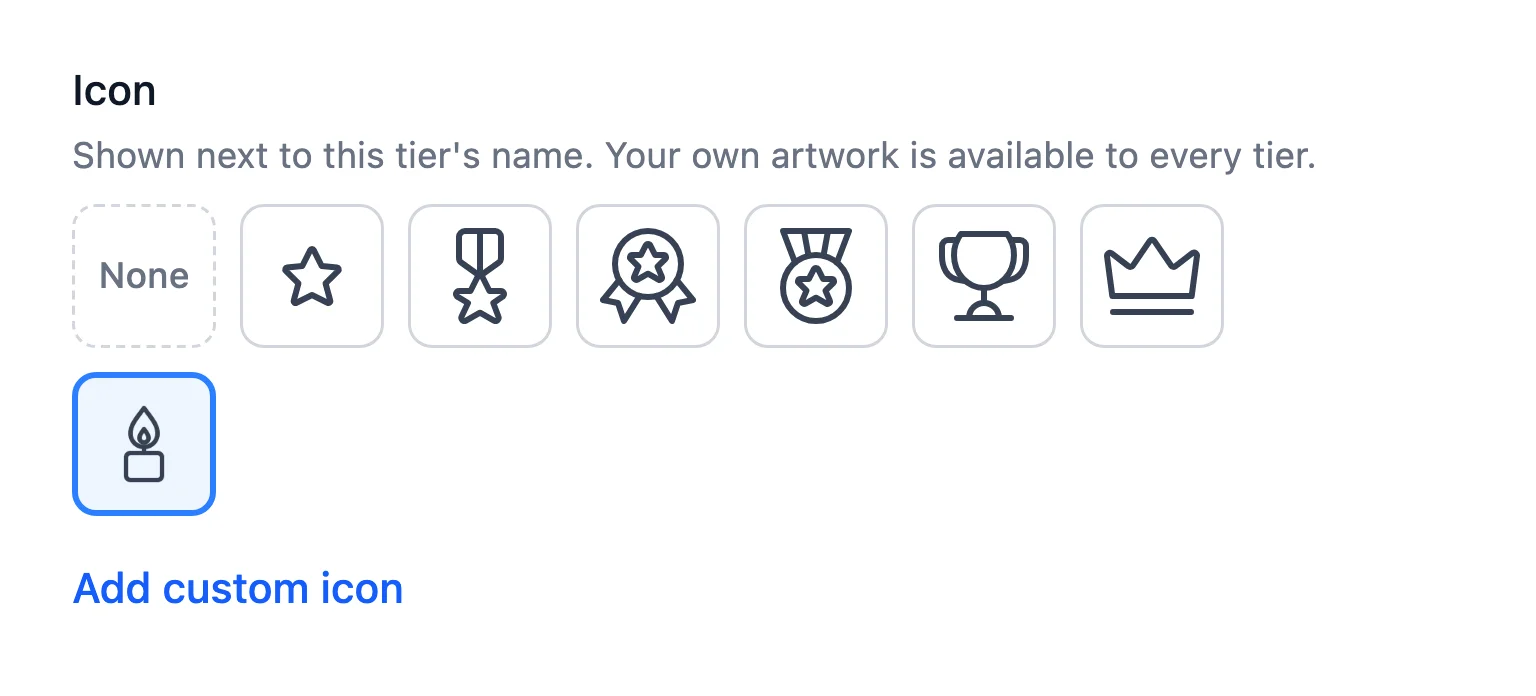
Your custom icons are shared across the whole program. Once you’ve added one, it appears in the Icon field of every tier.
To build a matching set, add each image one at a time. Then open each tier and pick its image.
Note: Icons appear small next to the tier name. Simple, square artwork with a transparent background reads best at that size.
Your custom icon is only kept once you save. When you’re done, click Save at the bottom of the drawer.
Then click Save Changes in the bar with the settings tabs.
Removing a Custom Icon
To take a custom icon out of your library, hover over its thumbnail in the Icon field. Then click the remove button that appears in its corner.
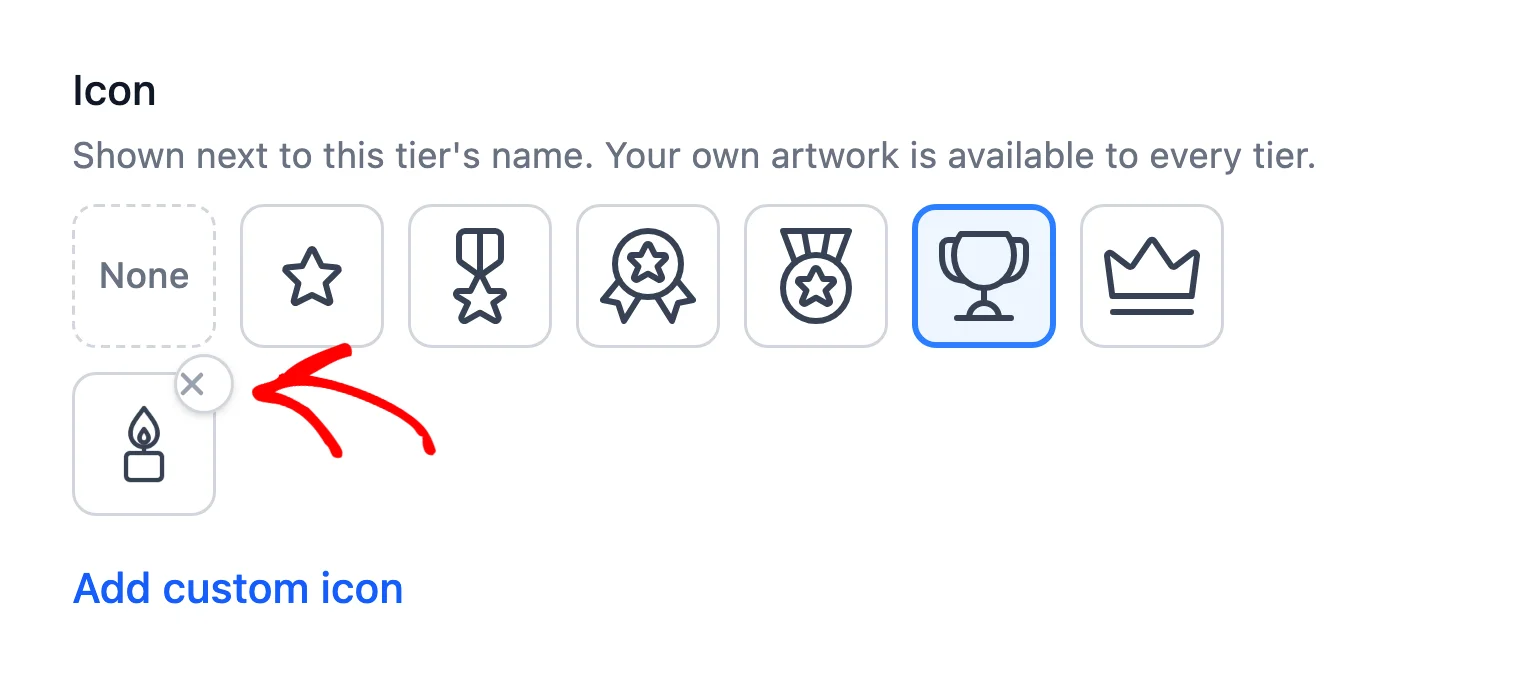
Because custom icons are shared, RewardsWP asks you to confirm and names any tiers that use the icon. Those tiers switch to no icon, so you can pick a new one for each.
To go ahead, click Remove. If you change your mind, click Keep it instead.
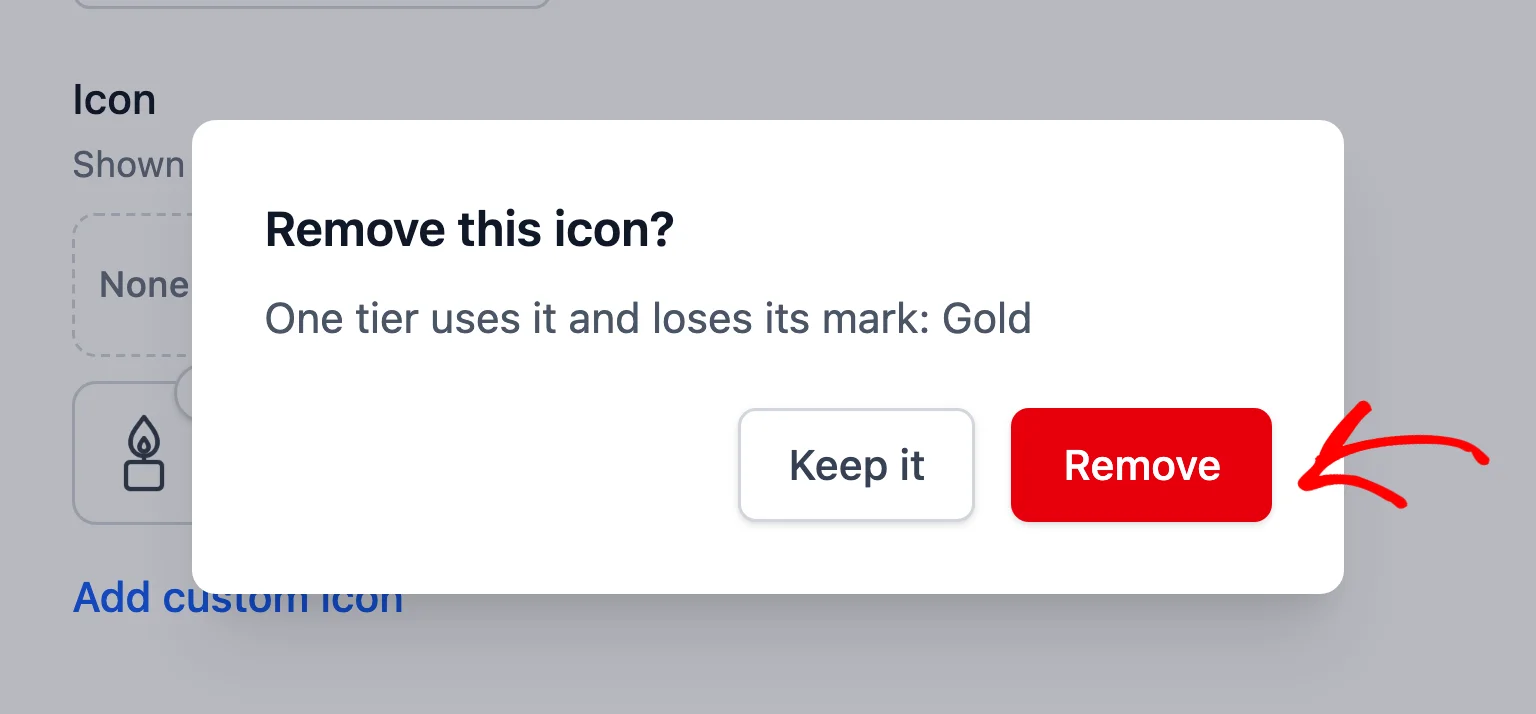
The removal is only saved once you click Save Changes.
That’s it! Your tiers now have icons members will recognize. Next, give members a reason to reach each tier with points multipliers.
FAQ
Below, we’ve answered some of the most common questions about VIP tier icons.
Does removing a custom icon delete the image from my media library?
No. It only removes the image from your RewardsWP icon choices. The file stays in your WordPress media library.
Where will my members see tier icons?
Members see the icon next to the tier name in the Rewards Widget, including the VIP Status card, the VIP Status panel, and the tier ladder. See Showing VIP Status in the Rewards Widget.