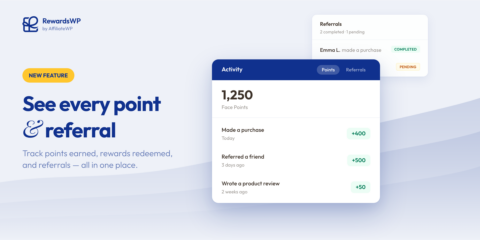
Your Customers Have Points. Now They Have Proof.
Rewards Activity gives your customers a full points history and real-time referral tracking, right inside the rewards widget. Available on all RewardsWP plans.
Continue Reading →
Rewards Activity gives your customers a full points history and real-time referral tracking, right inside the rewards widget. Available on all RewardsWP plans.
Continue Reading →
Do you want to add a buy now, pay later option to your product pages?
It’s a great idea, and if your store runs on WordPress, then it’s incredibly easy to implement.
Here’s how you can add a buy now, payer later option to your WordPress website.
Customers’ purchasing decisions are complicated.
Tiny details can swing the decision one way or another, and of course, payment options play a huge role in this. Nobody enjoys parting with their hard-earned money, but the right payment options make it a lot more bearable.
One popular option we’re seeing more and more is buy now, pay later (BNPL), and it has a lot of benefits.
The most obvious benefit is that it delays the pain of spending money.
Many buy now, pay later options allow customers to pay for their product in 3 monthly installments, giving them time to enjoy their purchase before they even think about spending money.
This is hugely attractive for many people as it allows them to try out products “risk-free”, and if they find they like them, spread payments out over a longer period.
Depending on the type of repayment plan the customer chooses, they won’t have to undergo a hard credit check, and repayments are likely to be interest-free, but there may be late fees if payments are missed
When it comes to your conversion rates, a buy now, pay later option can’t hurt, but it can offer a big boost. Even better, you get from the sale upfront, and you don’t assume any of the risk.
The first thing you need to know from a business standpoint is that you receive payment on purchase. You’re not waiting around for the customer to pay their installments.
So what about the costs?
It’s reported that for most businesses, Klarna charges a $0.30 transaction fee and a variable fee up to 4.99%. This isn’t too much more than the average processing fee and it’s not out of the ordinary.
But what about for your customers?
Well, there are different options they can choose from.
The most common Klarna (one of the leading buy now, pay later providers) payment options are:
So, you might pay a little bit more to offer a buy now, pay later option, but it does give your customers a lot more ways to buy.
If your e-commerce store runs on WordPress then it’s incredibly easy to add a buy now, pay later option.
We’re going to walk you through every step and allow you to quickly start making buy now, pay later sales.
Here’s what we’re going to cover:
It’s as simple as that, so let’s take a look.
WP Simple Pay is the best Stripe payments plugin for WordPress.
It takes your Stripe account and adds a host of powerful extras to it so you can boost conversion rates and grow your business.
One of these powerful features is buy now, pay later which runs through the Klarna platform.
To make use of buy now, pay later, you’ll need a Professional or Elite plan, but it’s well worth it. These plans unlock WP Simple Pay’s top conversion-boosting features and quickly earn a return on your investment.
Just head to the pricing page, and follow this simple guide to install the plugin.
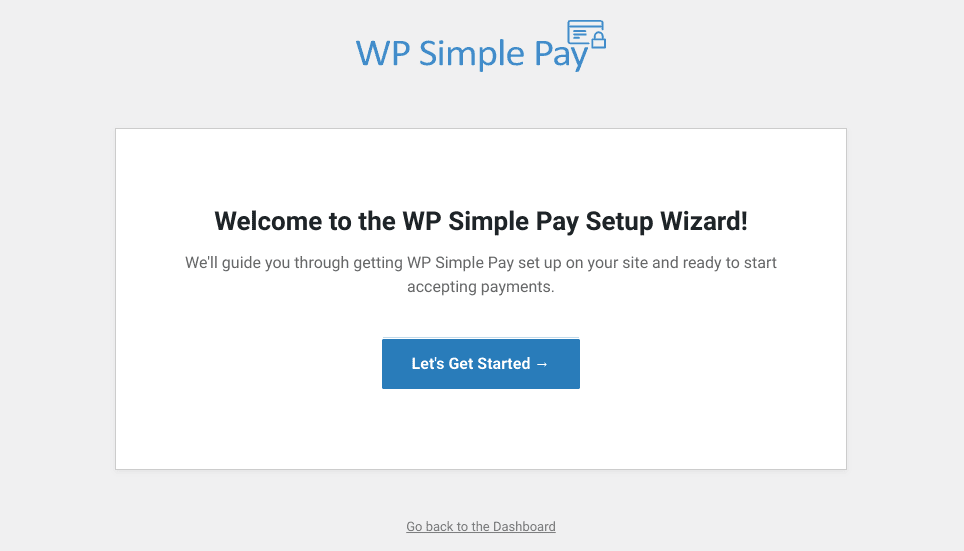
Once you’ve activated the plugin, you’ll be prompted to start the setup wizard. To connect WP Simple Pay with your Stripe account, just follow the simple steps, and you’ll be ready to add a buy now, pay later option to your site in no time at all.
WP Simple Pay might offer some awesome features, but it’s also incredibly easy to use.
To add a buy now, pay later option to your site, simply click Add New from the side menu, and choose the Klarna (Buy Now, Pay Later) Form option.

On the next page, you’ll be able to edit all the details about your buy now, pay later form.
Start with the General settings tab and enter the form name, description, and type. You can also choose the success page you would like to send customers to once they complete their purchase, and enable reCAPTCHA.
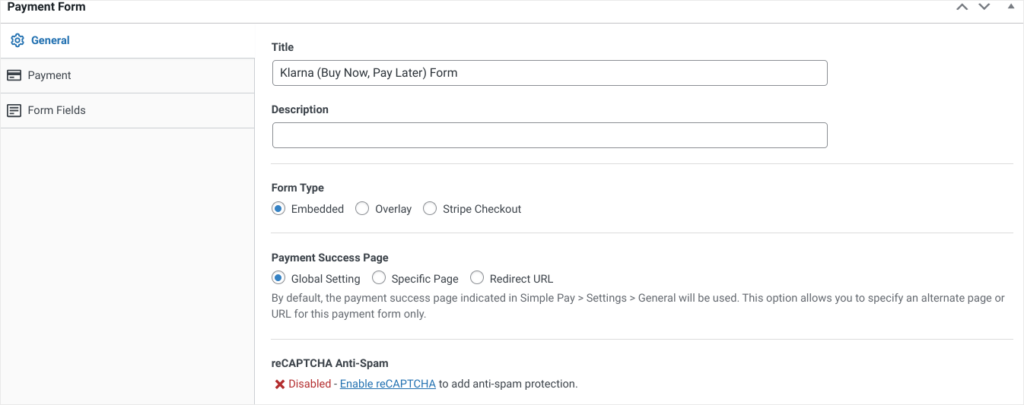
Once you’ve taken care of the administrative bits, it’s time to select the Payment tab and edit your pricing.
Here you can quickly choose whether you want to create a one-time or subscription payment and set the price for your product (click the Add Price button to introduce different pricing options).
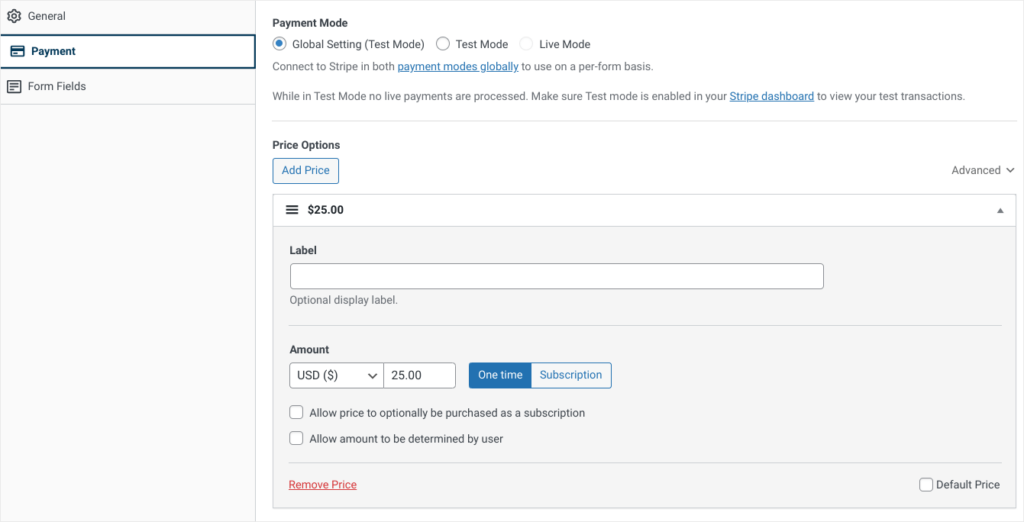
You’ll also see some additional options to include tax rates, and enable Stripe Instant Payouts.
Lastly, you’ll want to go to the Form Fields tab and change the design of your form. How you do this will depend on the information you need to collect, but pay particular attention to the Payment Methods dropdown.
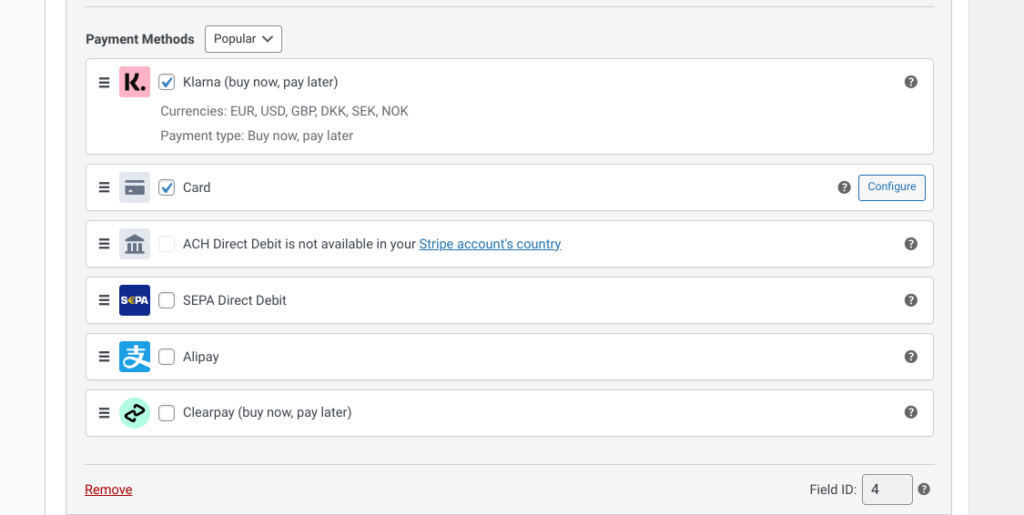
This is where you choose the payment options your customers will see at checkout, and you’ll notice there are plenty to choose from:
Lastly, we’d recommend adding an Ammount Breakdown field, just so your customers know how much they’re going to be charged.
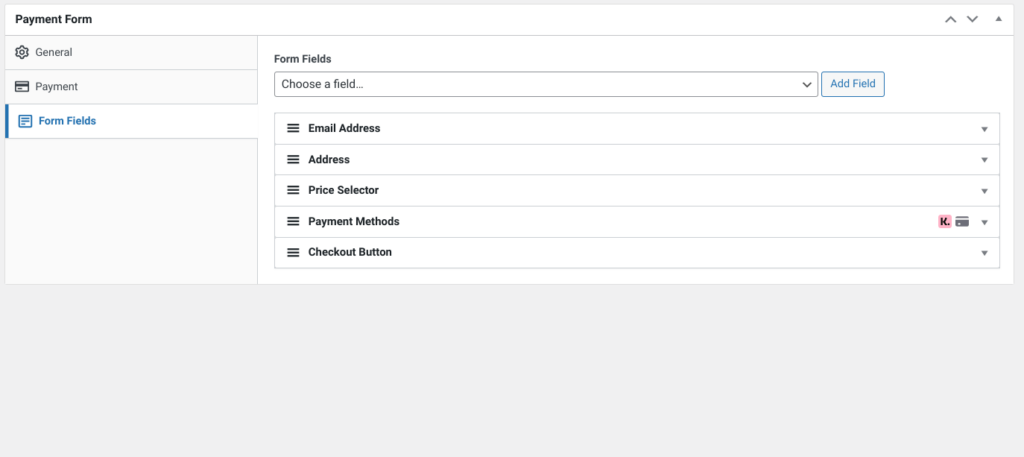
Double check you’ve selected the options that are relevant to your customers and click Preview.
If you’re happy with what you see, then hit publish.
Now that you’ve created your buy now, pay later form, all that’s left to do is add it to your product pages (or wherever you want it to display).
To do this, simply copy your form’s shortcode from your Payment Forms page, and add it to the correct WordPress page.

Navigate to your page, and look for the Shortcode block. Drag the block into the right position on your page and past the shortcode you copied a minute ago.

When you preview the page, your form should now be in position, ready to take payments.
You’ll see the buy now, pay later options you chose in the last step, and your customers will now be able to use these to spread their payments out.
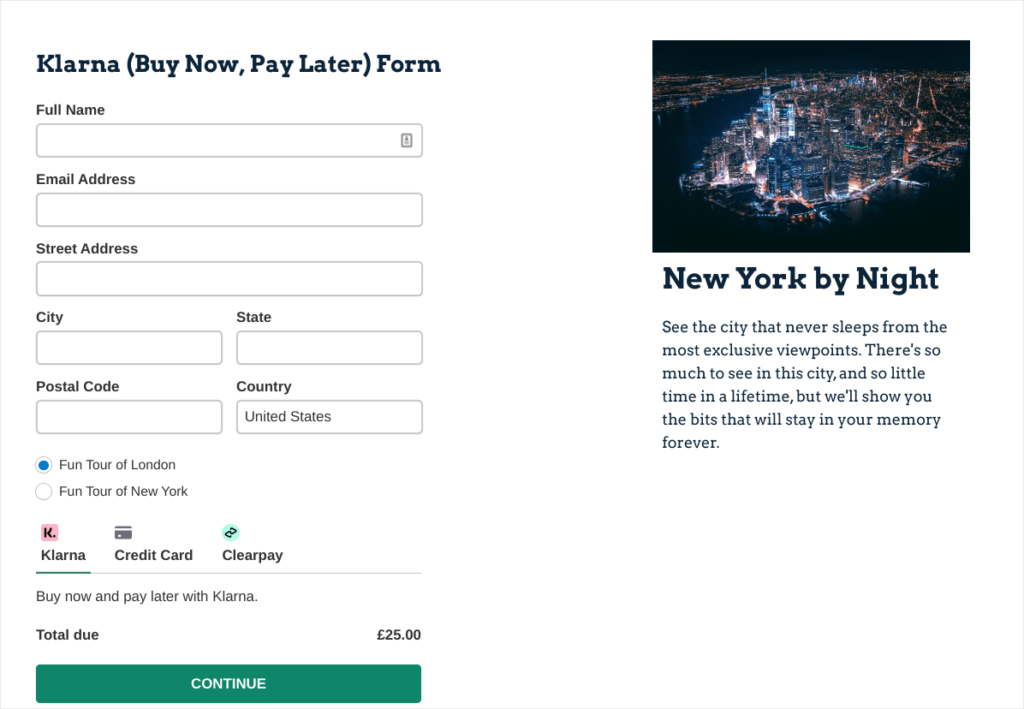
Note: It’s best to build your Buy now, pay later option in test mode, so you can test it before you push it live. Once you’re happy everything is working, you can then return to the form in your WP Simple Pay account and change your payment mode to Live Mode.
Now you’ve got a buy now, pay later option set up on your store it’s time to explore all the powerful payment features Simple Pay gives you.
Making it easy for your customers to pay you is one of the best ways to increase conversion rates, and that’s exactly what WP Simple Pay allows you to do. It’s got everything you need to make tax easy, set up recurring subscriptions, charge set up fees, offer discount codes, and much, much more.
It’s all about making things easy for you and your customers, and WP Simple Pay can do this in many different ways.
Over 55% of consumers used a buy now, pay later service in 2021, and this figure is only expected to grow.
Now you’ve added a buy now, pay later option to your store, the question remains, what more can you do to increase sales?
Luckily, we’ve got some great resources to help you achieve this:
So, now you know how to do it, it’s time to set up your buy now, pay later option.
Disclosure: Our content is reader-supported. This means if you click on some of our links, then we may earn a commission. We only recommend products that we believe will add value to our readers.
Launch your affiliate program today and unlock a new revenue channel to grow your business faster.
We use cookies to improve your experience on our site. By using our site, you consent to cookies.
Manage your cookie preferences below:
Essential cookies enable basic functions and are necessary for the proper function of the website.
Statistics cookies collect information anonymously. This information helps us understand how visitors use our website.
Marketing cookies are used to follow visitors to websites. The intention is to show ads that are relevant and engaging to the individual user.