The Affiliate Forms for Gravity Forms addon makes it exceptionally easy to create a custom registration form for your affiliates using the popular WordPress form plugin, Gravity Forms.
In this article, we’ll show you how to install and set up the Affiliate Forms for Gravity Forms addon for AffiliateWP.
Requirements: You will need a Plus plan or higher to access the Affiliate Forms for Gravity Forms addon as well having the 3rd party Gravity Forms plugin installed on your WordPress site.
Creating an affiliate registration form
- With both Affiliate Forms For Gravity Forms and the Gravity Forms plugin installed, go to Forms » New Form
- Give your form a title and click Create Form
- Go to Form Settings, and in the Form Options section enable the AffiliateWP registration checkbox

- Click Update Form Settings
- Go back to the Form Editor, add the fields you need and click Update Form

Note: Do not use the Gravity Forms User Registration addon along with Affiliate Forms For Gravity Forms. The addon is not required, and will cause a conflict during the registration process if installed.
Import a prebuilt form
If you don’t want to build the form from scratch, here’s a form (unzip this first) that you can import which will create the affiliate registration form for you. To import this form:
- Download this file to your computer
- Go to Forms » Import/Export
- From the Import form tab, click the browse button, locate the file you downloaded from step one above and click Import
- After you’ve successfully imported the form, go to Forms » Forms, and you’ll see the new Affiliate Registration Form
Note: You can only have one affiliate registration form.
Displaying the affiliate registration form
There are 3 ways you can display the affiliate registration form:
- Use the [ affiliate_area ] shortcode. AffiliateWP’s standard affiliate registration form will be replaced with the new form.
- Use the [ affiliate_registration ] shortcode. AffiliateWP’s standard affiliate registration form will be replaced with the new form.
- Use the Add Form button above the WordPress editor to insert the Gravity form. This will insert the form using the [gravity_form] shortcode. Alternatively you can also use a Gravity Forms block with the Gravity form selected.
- Confirmation Notifications: If you plan to display a text Confirmation Notification when the form is submitted, you’ll need to use one of these methods vs the affiliate shortcodes mentioned above, otherwise the confirmation text will not display.
Note: Be sure to enable the Allow affiliate registration option located under AffiliateWP » Settings » Affiliates settings otherwise your registration form will not display.
Form fields
Available fields
There are 3 new field types available which you can use in your affiliate registration form:

Username
The affiliate will enter their desired WordPress username. The WordPress username is used in Affiliate URLs.
Although the username field isn’t required, if your affiliates intend on using the “username” variation of their referral URL, it would be a good idea to include it, and make it a required field. If the username field isn’t added, an affiliate’s WordPress username is created from their email address (which is required). Because of this, an affiliate will share their referral URL with their email address included.
Note: If you do not see the AffiliateWP Fields section shown above when editing your form, check to make sure the Affiliate Forms for Gravity Forms addon plugin is installed and activated.
Promo Method
The affiliate will tell you how they will be promoting your website.
Payment Email
If the affiliate has a different email address that they use for payments they can enter it into this field.
In addition to the above, you can add any field you’d like!
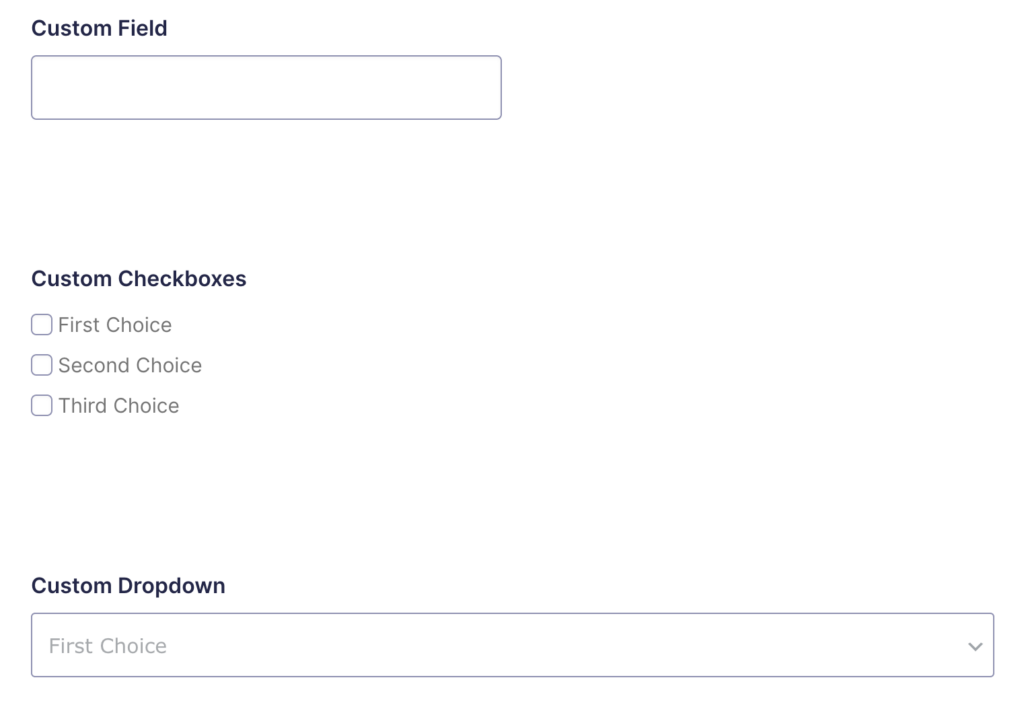
Note: If affiliate approval is enabled the custom fields will be shown on the affiliate review screen as well as in the Gravity Forms entry.
Required fields
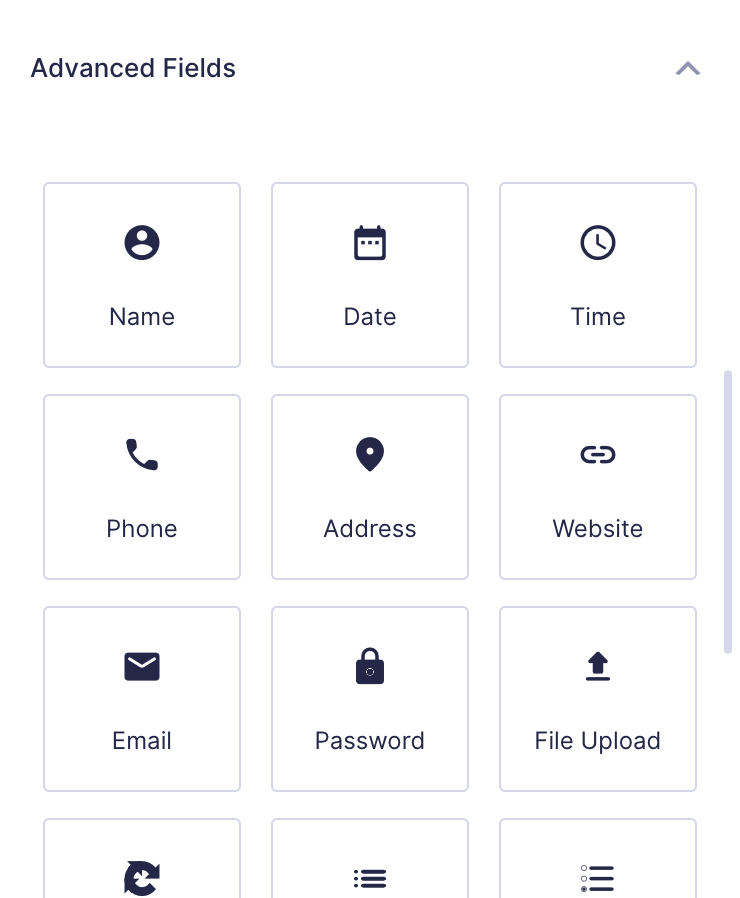
At the very minimum, your affiliate registration form must have an Email field. This is a standard Gravity Forms field. You can find it in the Advanced Fields section of the form editor:
If no email field is added, an error message will be shown at the top of the form.
Optional fields
Username
If no username field is shown, the username for the affiliate is created from their email address, and is included in an email to them after registration.
Password
This is a standard Gravity Forms field found in the Advanced Fields section of the form editor. If no password field is shown, a random password will be generated and the affiliates will need to use the default Lost Password? reset link to setup their own password. Given this rather disjointed workflow, it is recommended to include the Password fields for a better on-boarding experience overall.
Note: If you do not see the Password field in the Advanced Fields section when editing your form, check to make sure the Affiliate Forms for Gravity Forms addon plugin is installed and activated.
Additional Note: When viewing the completed form on a page in the browser, if you do not see the username, password or email fields this means you are logged in. Log out or view the form page in a different browser.
Promotion Method
The affiliate will tell you how they will be promoting your website.
Note: Just like the standard behavior of AffiliateWP, when a user is logged in but not yet an affiliate, some fields such as email and username will already be populated and will display as read-only (non-editable), and the password field will not display.
Email Tags
When Affiliate Forms For Gravity Forms is active a new checkbox option called Create AffiliateWP email tag will be shown when you expand a single field in the form editor.
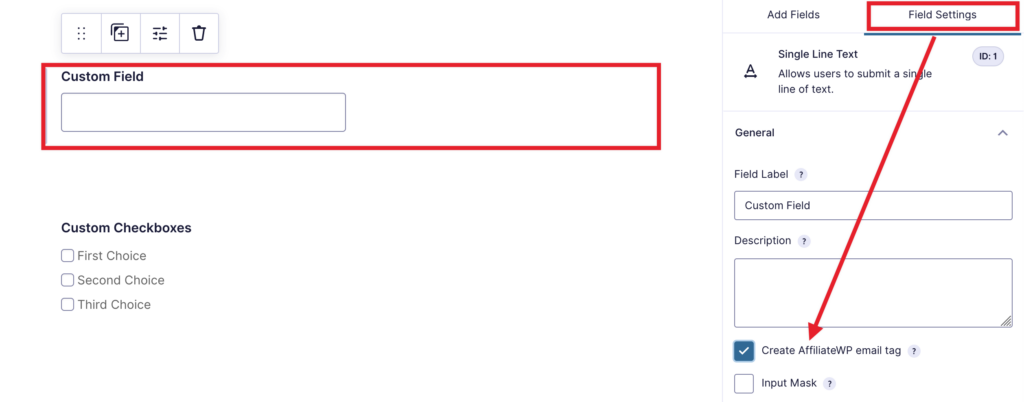
When you enable this option and save, a new email tag will be available on the AffiliateWP » Settings » Emails tab.
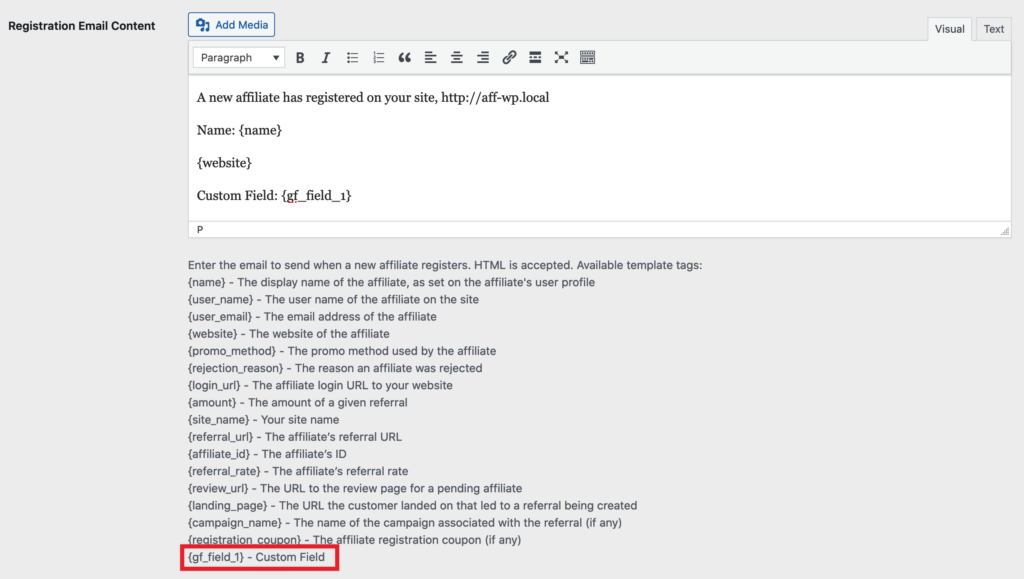
You can use these email tags in any of the emails.
Some fields in the form editor do not have this checkbox option. This is because they are already mapped to the default email tags in AffiliateWP:
Username
Use the standard {user_name} email tag
Website URL
Use the standard {website} tag
Promotion Method
Use the standard {promo_method} tag
Email
Use the standard {user_email} tag
Add affiliates to a mailing list
If you’d like to add your affiliates to your email mailing list when they register, Gravity Forms provides several addons for popular email marketing systems. You can verify what is available with your current Gravity Forms license by visiting their addon page here: https://www.gravityforms.com/add-ons/