Want to create an affiliate registration form with content specific to your website? You can do this using the WordPress block editor (formerly known as Gutenberg) along with the Affiliate Registration block to create and customize the affiliate registration form to your liking. If you are not familiar with using the block editor, you can view this tutorial on how to use blocks in WordPress.
In this tutorial we’ll show you how to add, remove, or rearrange fields, change field labels, make specific fields required, or not required, change the Register Button text, and more. Let’s get started!
- Add the affiliate registration block to your page
- AffiliateWP block vs Affiliate Registration block vs [affiliate_area] shortcode
- Customize default fields
- Remove default fields
- Add new fields
- Change Register button text
- FAQs
1. Add the affiliate registration block to your page
Once you’ve opened the page editor, you can add a new block by clicking the plus (+) icon in the upper left corner.

This will open a menu of block options. You can add a new affiliate registration form by typing “Affiliate” in your blocks search bar.
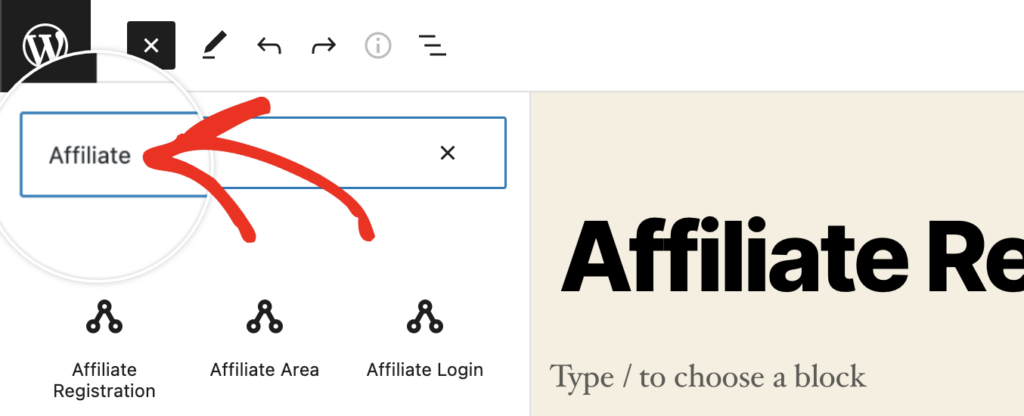
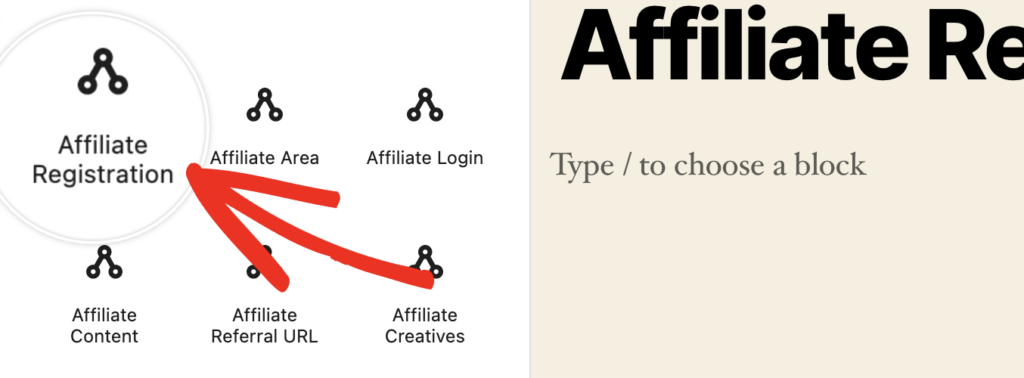
Then select Affiliate Registration. This will add the default AffiliateWP registration form to your page, and you can begin to customize it if desired.
2. Affiliate Area block vs Affiliate Registration block vs [affiliate_area] shortcode
Until version Version 2.9.4 of AffiliateWP released on May 13, 2022, when you first installed and activated AffiliateWP, an affiliate-area page was created with a single [affiliate_area] shortcode on the page.
By default, the shortcode will display both the Affiliate Registration and Affiliate Login forms. This of course can be changed based on your Affiliate Form Shortcode Settings found in AffiliateWP » Settings » General

If your affiliate-area page still contains the shortcode and you’d like to switch to blocks, you can remove the [affiliate_area] shortcode from the page, and add the Affiliate Area block. You would follow the same steps as you did to add the affiliate registration in the previous section, except this time choose the Affiliate Area block.
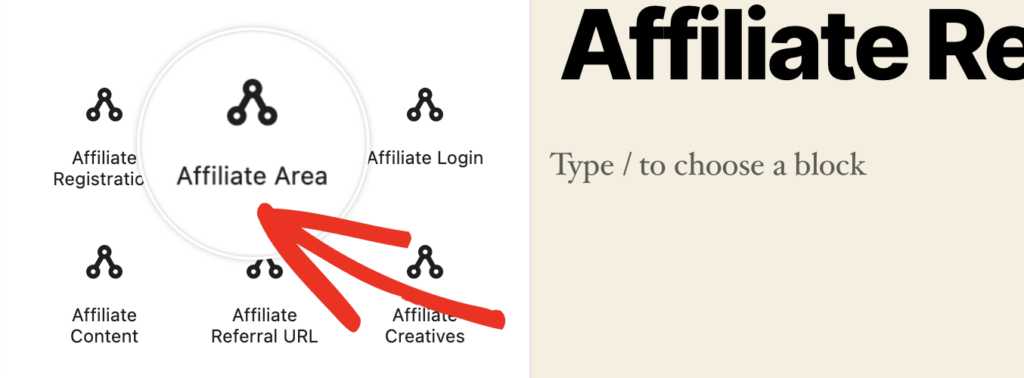
The Affiliate Area block is a group block that contains both the Affiliate Registration and Affiliate Login blocks.
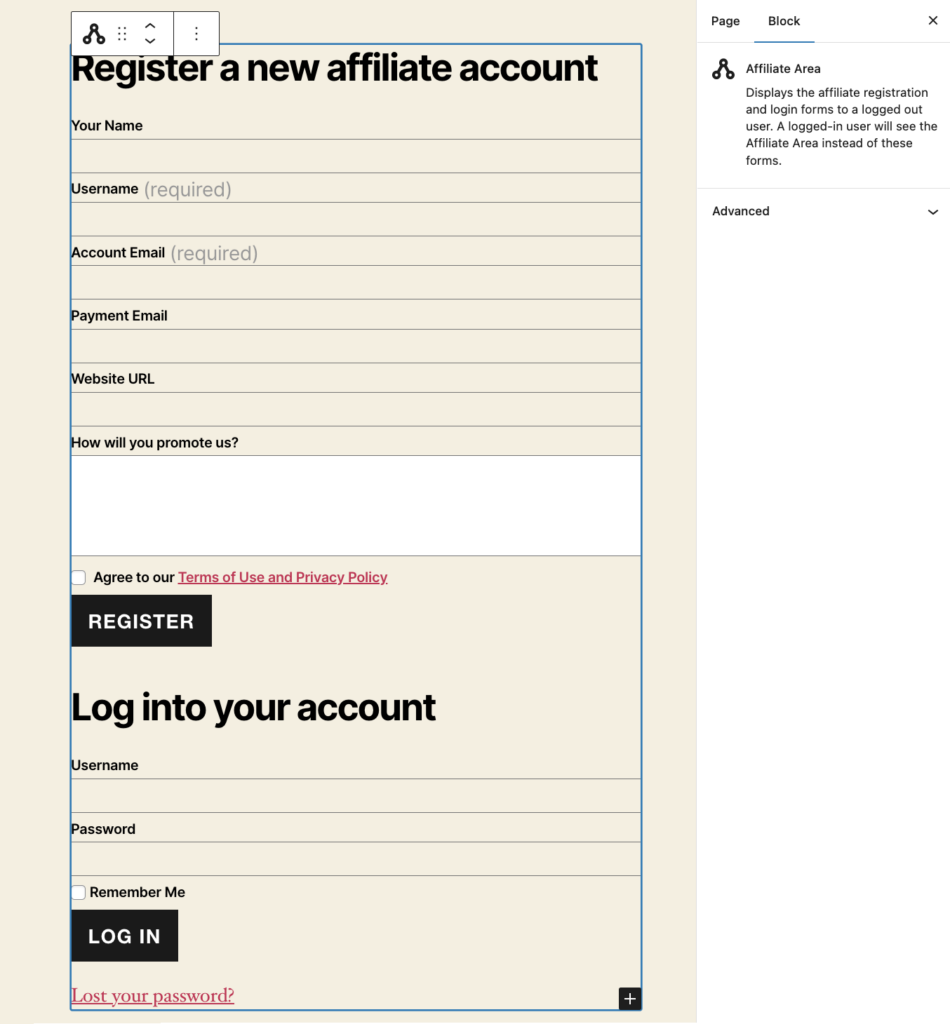
Notice the default affiliate registration form does not include the password fields, but no worries, we’ll show you how to add these easily in the Add new fields section, but first, let’s get you comfortable customizing the default fields.
3. Customize default fields
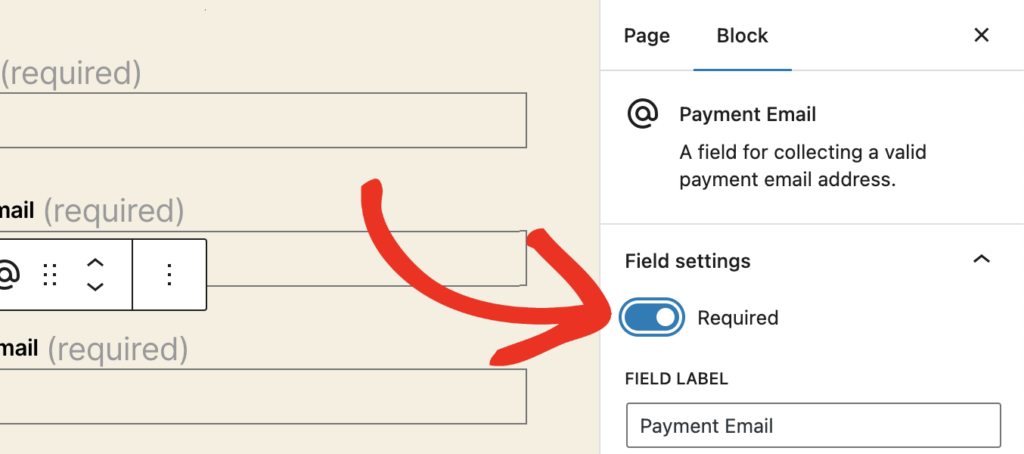
Now that you have the basic fields, you can begin to make changes. For example, if you’d like the Payment Email field to be required, you can click anywhere inside the field or field label to display the field settings on the right side of your screen.

Next, slide the Required slide to the right to turn on, and this will add (required) to the field label automatically.
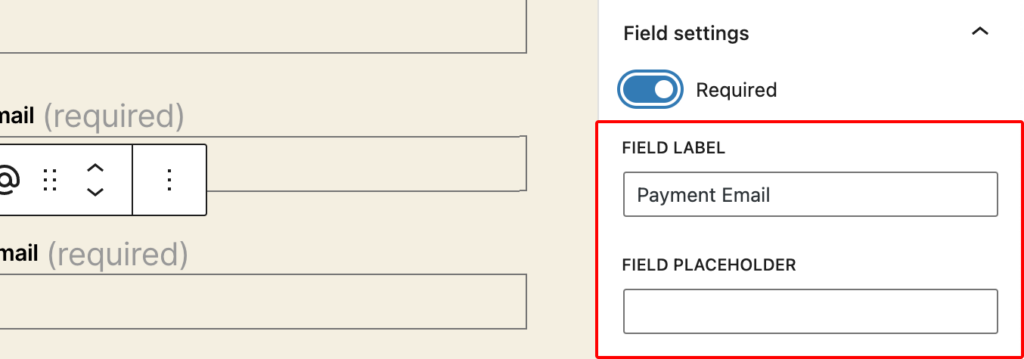
While in that same field settings area, you can also change the label in the FIELD LABEL field, perhaps to something like PayPal Email. You can also add placeholder text just below that as well in the FIELD PLACEHOLDER field.
4. Remove default fields
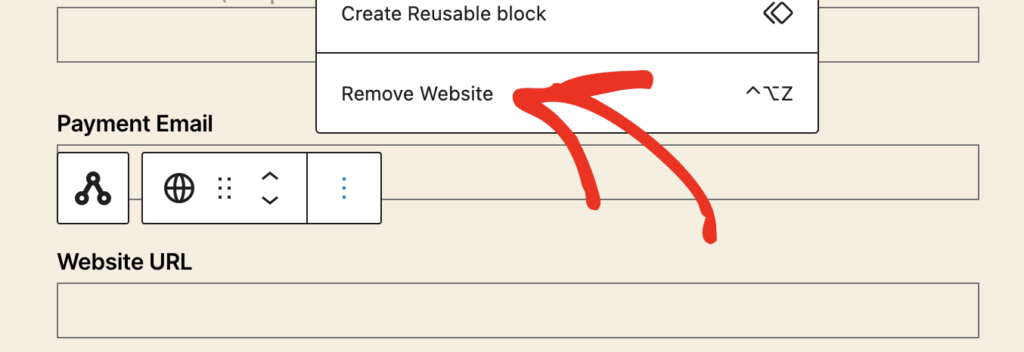
If there are fields on the default affiliate registration block that simply don’t apply, feel free to remove them! For example, if you’d like to remove the Website URL field, click anywhere in the field label or field contents, then click the 3 dot ellipses.

Select the field name to remove at the bottom.
5. Add new fields
Adding new fields to the affiliate registration form is one of the most popular requests we receive in support. You can probably see by now that it’s going to be painless using blocks.
Let’s start by showing you how to add the Password fields. The fields are connected to the parent block, so first make sure you’ve got the affiliate registration form selected.

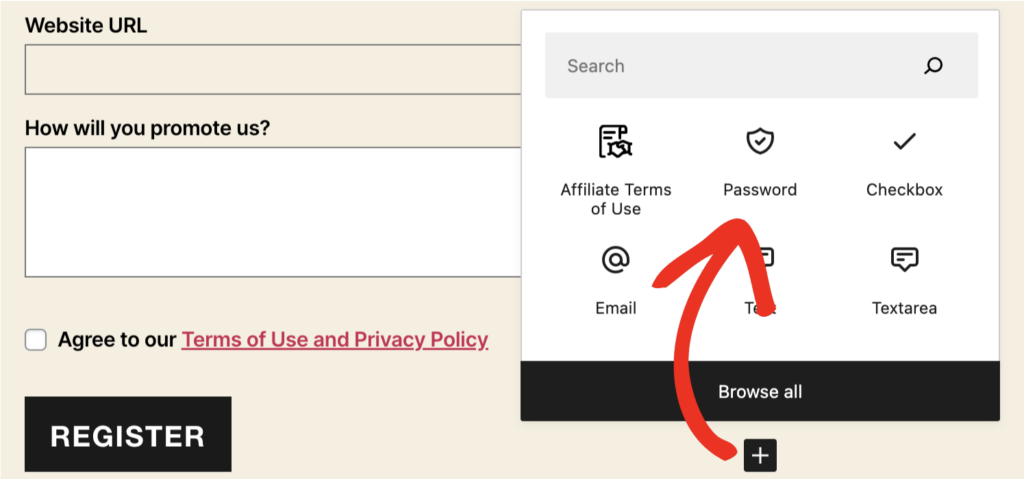
Now at the bottom+right of the affiliate registration form you should see a plus sign, and click to see the available fields that can be added.

Select the Password field to add it to the form (the Confirm Password field will also be added automatically.)
Then, you can use the arrows to position the fields up or down within the registration form to where you’d like them to be.
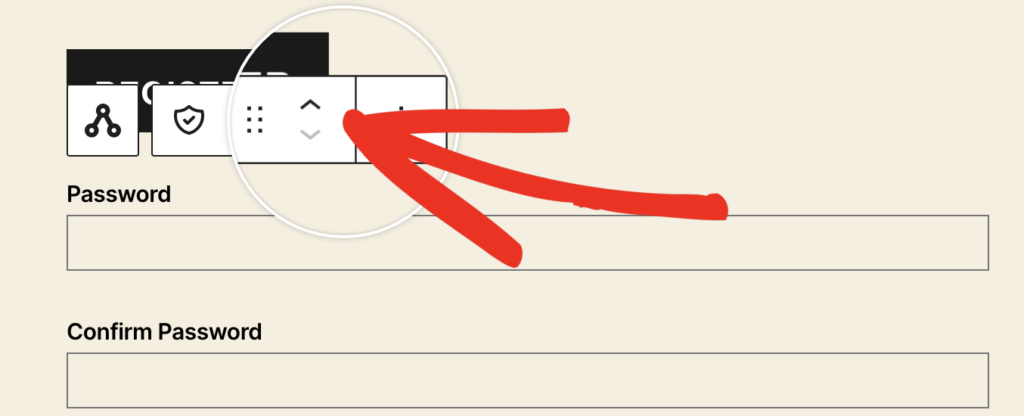
Click to save your changes on the page.

6. Change Register button text
The default label for the button to submit the affiliate registration form is Register, but you can easily change that as well. Click on the button, then change the text in the BUTTON TEXT field to what you prefer.
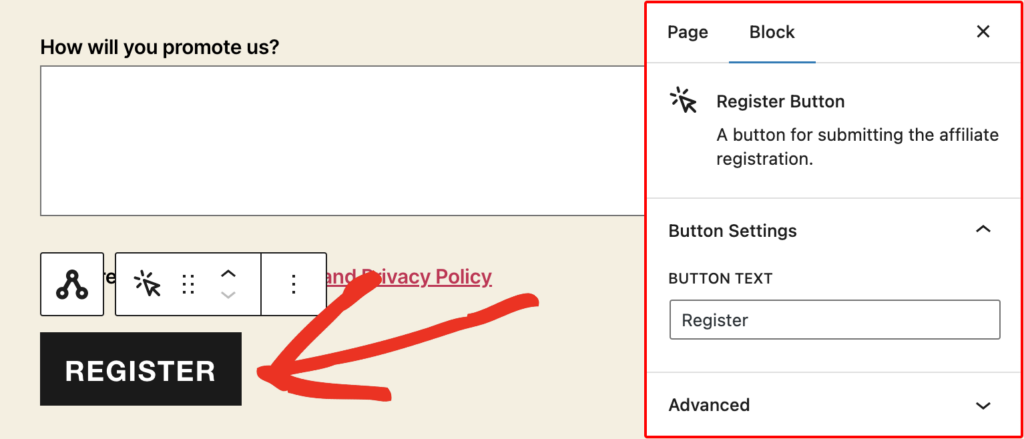
7. FAQs
Yes! Your Affiliate Registration block does not have to reside on the Affiliate Area page, it can be on the page of your choice. Think of this as the equivalent to using the [affiliate_registration] shortcode on a separate page before blocks were available. The same applies to the Affiliate Login block as well, the related shortcode for that used to be [affiliate_login].
Yes! With blocks this is now possible. You can place Affiliate Registration blocks on as many pages as you like, and each one can be configured differently if preferred.
Yes, you can move the default fields, or any field, up or down in any position you like using the up/down directional arrows in the block/field settings.

That’s it! You can now customize the Affiliate Registration Form using the WordPress block editor. Next, have a look at additional ways to add new affiliates to rev up your affiliate program: Adding new affiliate accounts