





You’ve got a WordPress site that sells something, and you’d like other people to promote it for you: bloggers, customers, creators who already talk about what you sell. What you need is a way to give each of them a link, credit them for the sales it brings in, and pay them.
You can set all of that up with AffiliateWP. Install it, run its setup wizard to connect the plugin that handles your checkout, set a commission rate, and share the affiliate registration page AffiliateWP creates for you. From there, affiliates sign up, get a referral link, and AffiliateWP records a commission each time someone they send buys from your site.
Because the whole program runs inside WordPress, you manage affiliates, referrals and payouts from the same dashboard you already use.
In this guide, I’ll walk you through every step, from the wizard to your first payout. Along the way, you’ll run a test referral, so you know tracking works before you invite anyone.
What you need
Before you start, make sure you have these three things in place:
- An AffiliateWP license: every plan covers everything in this guide, including Stripe and PayPal payouts. Automatic payouts are on Pro and higher. See the plans.
- A checkout that runs on your WordPress site: WooCommerce, Easy Digital Downloads, MemberPress, LearnDash, WP Simple Pay, Gravity Forms and the other plugins on the integrations list.
- A second browser or a private window: you need it for the test referral in Step 6.
That second point is the one real limit, and it’s worth being upfront about. AffiliateWP records a sale when the payment goes through one of its integrations on your WordPress site.
If your customers pay outside WordPress, such as on a hosted store or a third-party checkout page, AffiliateWP never sees the order and can’t credit the affiliate.
How to set up an affiliate program in WordPress
With those in place, the setup takes seven steps, and each one builds on the last.
Step 1: Install AffiliateWP
AffiliateWP isn’t in the WordPress.org directory, so a search inside WordPress won’t find it. Instead, you’ll install it from the plugin zip in your AffiliateWP account.
After you buy a plan, download the plugin zip from your AffiliateWP account. Then go to Plugins » Add Plugin » Upload Plugin, upload it and click Activate.
On activation, AffiliateWP creates three pages for you: Affiliate Area, Affiliate Login and Affiliate Registration. There’s no need to build a registration page yourself, because you’ll use this one in Step 4.
As soon as the plugin is active, the setup wizard takes over, so that’s where we’ll go next.
Step 2: Run the setup wizard
The setup wizard handles the core settings in one pass, and it opens on its own the first time you activate AffiliateWP.
If you need to reopen it later, go to AffiliateWP » Settings, find the Setup Wizard row on the General tab and click Launch Setup Wizard. It has five short steps:
- Welcome: paste your license key from your account.
- Plugin Integration Setup: AffiliateWP detects the plugins it supports and turns their integrations on. Tick the one that runs your checkout if it isn’t already ticked.
- Affiliate Payouts: choose how you’ll pay affiliates: Stripe, PayPal or Store Credit. Manual payouts are always on, so you can skip this and decide later.
- Commissions and Growth Tools: pick your currency and set the commission amount as a percentage or a flat amount.
- All set: click Finish Setup and Exit.


Don’t worry about getting every choice right here. Everything the wizard sets can be changed on the settings tabs later, and that’s where we’ll go next.
Step 3: Choose your integration and commission rules
Now that the wizard has done the groundwork, it helps to confirm two things before you go further: the integration and your commission rules.
Go to AffiliateWP » Settings » Integrations and confirm the plugin that takes your payments is ticked. Tick only the ones you sell through: WooCommerce for a WooCommerce store, LearnDash for a LearnDash course site.

Then open the Commissions tab. The Default Commission Settings section holds the rules that apply to every affiliate, unless you give one affiliate their own rate.
Here’s what each setting controls, with a sensible place to start:
| Setting | What it controls | Starting point |
|---|---|---|
| Referral Rate Type | Percentage of the sale, or a flat amount per product or per order | Percentage suits most stores |
| Referral Rate | The commission itself | 20 by default; match what your margins allow |
| Cookie Expiration | How many days after a click a purchase still counts | 30 days by default |
| Credit Last Referrer | Whether the most recent affiliate gets the sale when two affiliates sent the same customer | Off unless you want last-click attribution |
| Reject Unpaid Referrals on Refund | Whether a refund cancels the commission | On by default; leave it on |
| Commission Holding Period | Days to wait before a commission can be paid | Your refund window plus a week |
The holding period is the one I’d think about first. Setting it to your refund window plus a week gives refunds time to come through before a commission can be paid.

With your rules in place, it’s time to give affiliates a way to join.
Start your affiliate program today. Every AffiliateWP plan includes the setup wizard, coupon tracking and Stripe and PayPal payouts. 14-day money-back guarantee. See AffiliateWP plans
Step 4: Set up the affiliate registration form
Your registration page is where new affiliates apply, and AffiliateWP has already created it for you.
The Affiliate Registration page holds a ready-made form asking for name, username, email, payment email, website and how the applicant will promote you.
The form is built from blocks, so you can open the page in the block editor and add a text field, dropdown, checkbox or terms of use box without a separate form plugin. See the affiliate registration page for the options.

Next, decide who gets in. Go to AffiliateWP » Settings » Affiliates and, in the Registration & Management section, check that Allow Affiliate Registration is on and decide on Require Approval.
Both are on by default, so applicants wait as Pending until you accept them at AffiliateWP » Affiliates. For a public program, I’d keep approval on.
Once the form is ready, link the registration page from your footer so people can find it. If you’d like to recruit existing customers too, the affiliate signup widget lets a logged-in customer join in one click.
Before you share that page, let’s make sure tracking works, starting with an affiliate you control.
Step 5: Add a test affiliate
Testing as yourself won’t work (you’ll see why in the next step), so start by creating one affiliate you control.
Go to AffiliateWP » Affiliates and add an affiliate with a second email address you can read. Make sure its status is Active, because pending affiliates can’t earn referrals.

With your test affiliate active, you’re ready to send a referral through your store.
Step 6: Run a test referral
This is the step that tells you whether everything works, so it’s worth doing carefully. AffiliateWP won’t credit affiliates for their own purchases.
If you test while logged in as the affiliate, or check out with the affiliate’s email address, no referral is created, and that looks exactly like broken tracking. So here’s how to run the test cleanly:
- At AffiliateWP » Affiliates, open the test affiliate and copy their Affiliate URL. With default settings it looks like
example.com/ref/1/. - Open a private window, where you’re not logged in, and visit that link.
- Check AffiliateWP » Visits in your normal window. A new visit for that affiliate means the link tracked.
- Back in the private window, buy something using a different email address than the affiliate’s.
- Check AffiliateWP » Referrals. The referral appears as Pending and changes to Unpaid once the order is paid (in WooCommerce, when the order reaches Processing or Completed).

Once you’ve seen the referral, refund or delete the test order. Our testing checklist has a longer version of this check if you’d like to go further.
Now that you know referrals are being recorded, the last piece is paying for them.
Step 7: Set up affiliate payouts
Go to AffiliateWP » Settings » Payouts. In the Payout Methods section, click Configure on the method you want, add its details, switch the card on and save.
You can turn on more than one method. Here’s what each one does:
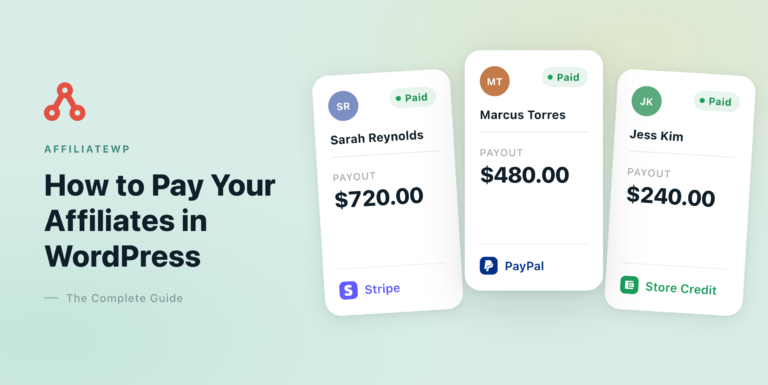
- Stripe pays affiliates’ bank accounts. Affiliates finish a short Stripe setup from their Affiliate Area, and you can reach affiliates abroad too. See Stripe payouts.
- PayPal pays to each affiliate’s PayPal email address, using an app from your PayPal business account. See PayPal payouts.
- Store Credit pays affiliates in credit they spend in your shop. It works with WooCommerce, or Easy Digital Downloads with its Wallet extension. See Store Credit.
- Manual is always available: you pay however you like and AffiliateWP marks the commissions paid.

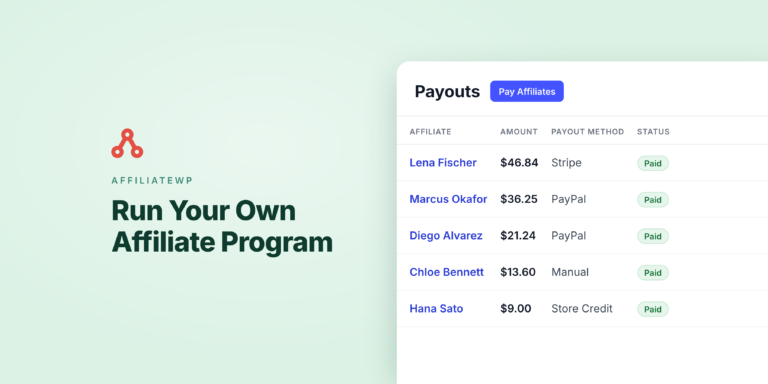
When it’s time to pay, go to AffiliateWP » Payouts and click Pay Affiliates. AffiliateWP gathers every Unpaid commission, pays each affiliate through their own method, and groups the run into a batch on the Batches tab.
If you’re on Pro, the Schedules tab runs the same payout for you weekly or monthly.
That’s your program set up. If a test referral didn’t show up along the way, the next section walks through the usual causes.
Troubleshooting: referrals not tracking
If a sale didn’t produce a referral, the quickest place to start is AffiliateWP » Visits, because no visit means no referral. From there, work through these checks in order:
- No visit recorded: check the affiliate is Active, and that the link uses your referral variable (ref by default). Caching, a CDN or a script optimiser can stop the tracking cookie from being set; exclude AffiliateWP’s scripts or try the Use Fallback Referral Tracking Method setting on the Advanced tab.
- Visit recorded, no referral: confirm the integration is ticked at AffiliateWP » Settings » Integrations, and that you weren’t logged in as the affiliate or using their email at checkout.
- Referral stuck at Pending: the order hasn’t reached a paid status yet. Complete or process the order in your store.
- Referral missing on a free or fully discounted order: Ignore Referrals with Zero Amount on the Commissions tab skips zero-amount referrals when it’s on.
- Referral Rejected: the order was refunded or failed, and Reject Unpaid Referrals on Refund did its job.
For anything else, turn on Enable Debug Mode on the Advanced tab and repeat the test. You can then read the log in the Debug Assistant tab under AffiliateWP » Tools.
The full guide is visits or referrals are not working.
What your affiliates see once you launch
Once your program is live, it helps to know what your affiliates see on their side. An approved affiliate logs in to your Affiliate Area.
There, they copy their referral link from the Affiliate URLs tab and see their visits, referrals and earnings.
They can also download any banners or text links you add on the Creatives tab, and enter their payment details on the Settings tab.
AffiliateWP can email them when their application is accepted and when they earn a referral, using templates you edit on the Emails tab.
Meanwhile, you see every affiliate, visit and referral in wp-admin, and you decide when commissions are paid.
Frequently asked questions
Here are answers to the questions that come up most when setting up a program.
Which AffiliateWP plan do I need to start an affiliate program?
Any plan. Personal includes the setup wizard, every payout method (Stripe, PayPal, Store Credit and Manual), coupon tracking and the main integrations.
Higher plans add features such as Multi-Currency on Plus, and automatic payouts, Recurring Referrals and Lifetime Commissions on Pro. Plans are billed yearly, and you can compare them on the pricing page.
Do I need WooCommerce to run an affiliate program?
No. AffiliateWP works with WooCommerce, but also with Easy Digital Downloads, MemberPress, LearnDash, WP Simple Pay, Gravity Forms and other plugins that take payments on WordPress.
What matters is that the checkout happens on your WordPress site through a supported plugin, so AffiliateWP can see the order.
Can affiliates track sales with coupons instead of links?
Yes. On WooCommerce, Easy Digital Downloads and several other integrations, you can link a coupon code to an affiliate, and any order that uses it credits that affiliate, with or without a click on their link.
That suits influencers and podcasters whose audience types a code rather than clicking.
Does AffiliateWP take a cut of my affiliate sales?
No. AffiliateWP is a yearly license with no platform or transaction fees, so commissions go from you to your affiliates in full.
Stripe and PayPal do charge their own fees for the payouts they send, and those are set by them, not by AffiliateWP.
Next, pay your affiliates on a schedule
Now that your program is running and referrals are coming in, the next job is paying affiliates without doing it by hand each month.
Our guide to automating affiliate payouts in WordPress covers schedules and minimum earnings. If you’re running WooCommerce, the WooCommerce affiliate program guide covers coupons and store credit in more detail.
Launch your affiliate program with AffiliateWP
The first year is discounted, and renewals are at the regular price. Every plan comes with a 14-day money-back guarantee.
Great tutorial! Many do not know how to set up a WordPress affiliate program?
AffiliateWP is the best affiliate management plugin for WordPress. I will write a post with recommendations on my website https://zarada.nanetu.rs
I never used this AffilateWP plugin but I frankly use the direct amazon associate and other hosting affiliate program. BUt this article is well known and well described article.
5 minutes? That’s a very quick setup process. Thank you.
With all this information you can be a master setting up affiliate links program in Wordpress.
Step by step this will help you easily and quickly.
Thanks for this
I looked high and low for this. Very insightful piece of article. Appreciate your effort.
Affiliate plugins are so important nowadays!
This guide was very essential. I needed this. Thanks.