Notice: There is no legacy documentation available for this item, so you are seeing the current documentation.
Would you like to access AffiliateWP add-ons to extend the functionality of your affiliate marketing program? Each AffiliateWP license level comes with its own set of add-ons to help you get the most out of your affiliate marketing program.
In this tutorial, we’ll show you how to install and activate add-ons for AffiliateWP.
Accessing the AffiliateWP Add-ons
When navigating to AffiliateWP » Addons you will see a list of all available add-ons from AffiliateWP.
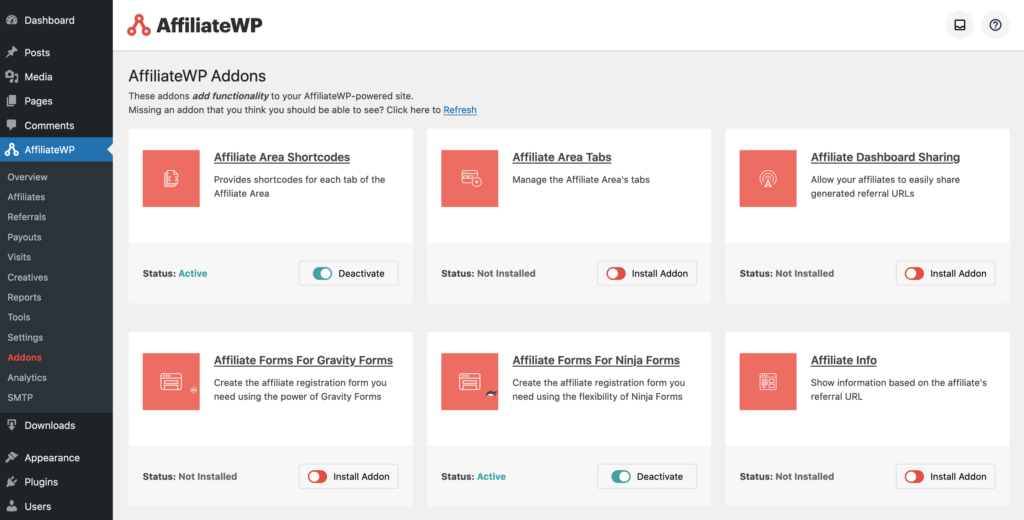
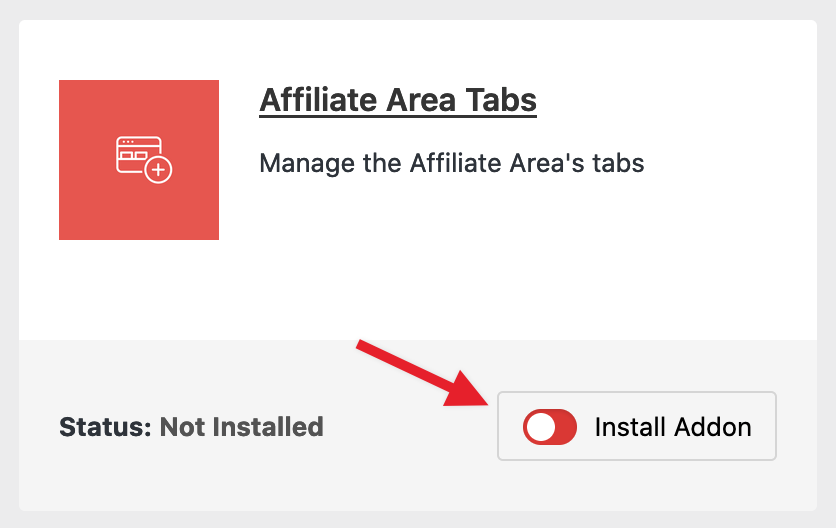
Based on which license you own, you will see options to install each of the add-ons. All you have to do is toggle the “Install Addon” option and AffiliateWP will download, install, and activate the add-on for you!
Installing and Activating Add-ons Manually
Add-ons can be downloaded directly from within your AffiliateWP account Downloads. Once your add-on has been downloaded, you are ready to install and activate it!
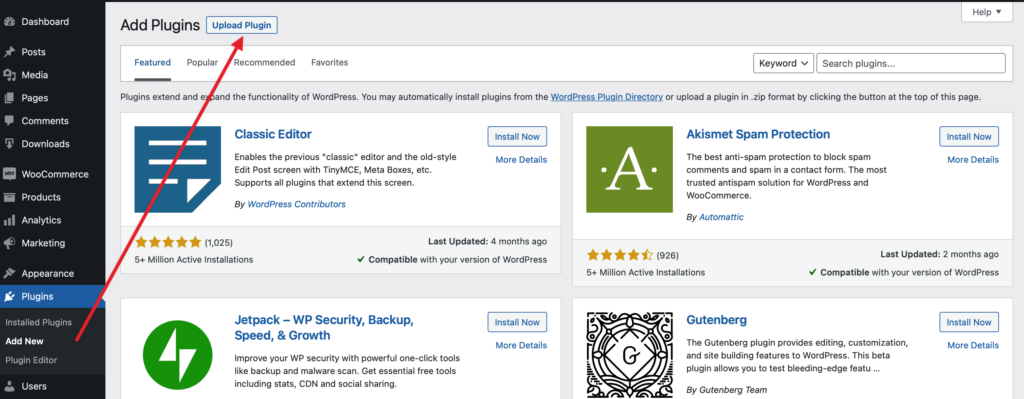
Navigate to the site where you’d like to install the AffiliateWP add-on. Then, inside the admin dashboard, go to Plugins » Add New and click the Upload Plugin button.
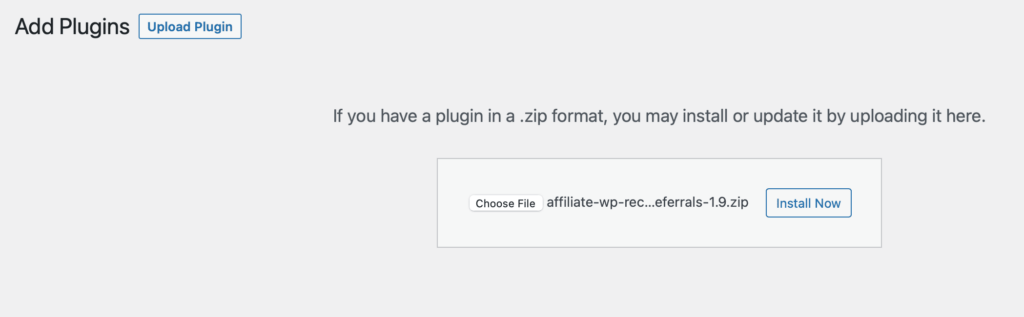
From here, you’ll see the option to upload the plugin. Click on the Choose File button and select the AffiliateWP add-on zip file you just downloaded.
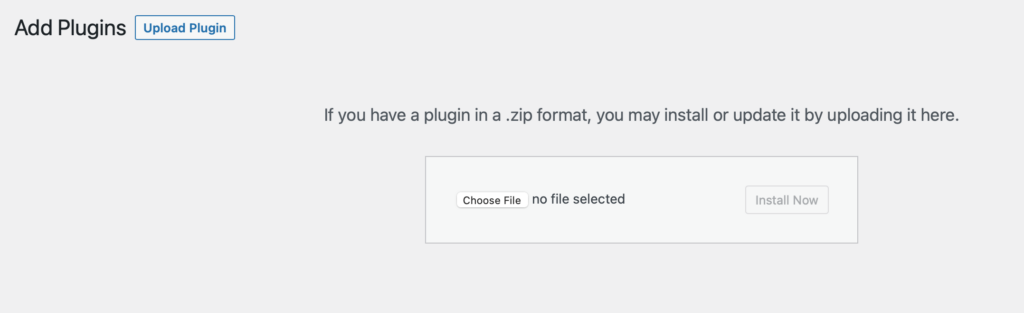
After your file is uploaded, go ahead and click on the Install Now button.
This will begin the installation process for you. Once the plugin is installed, click on the Activate Plugin button to activate AffiliateWP on your site.
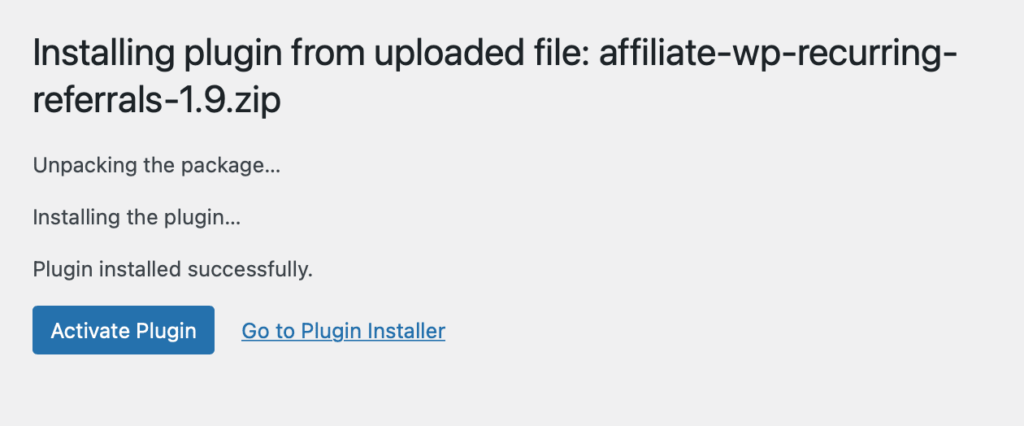
Congratulations, you’ve now installed and activated your add-on!
If you’d like the setup steps for a specific addon, please check out our documentation for each addon.